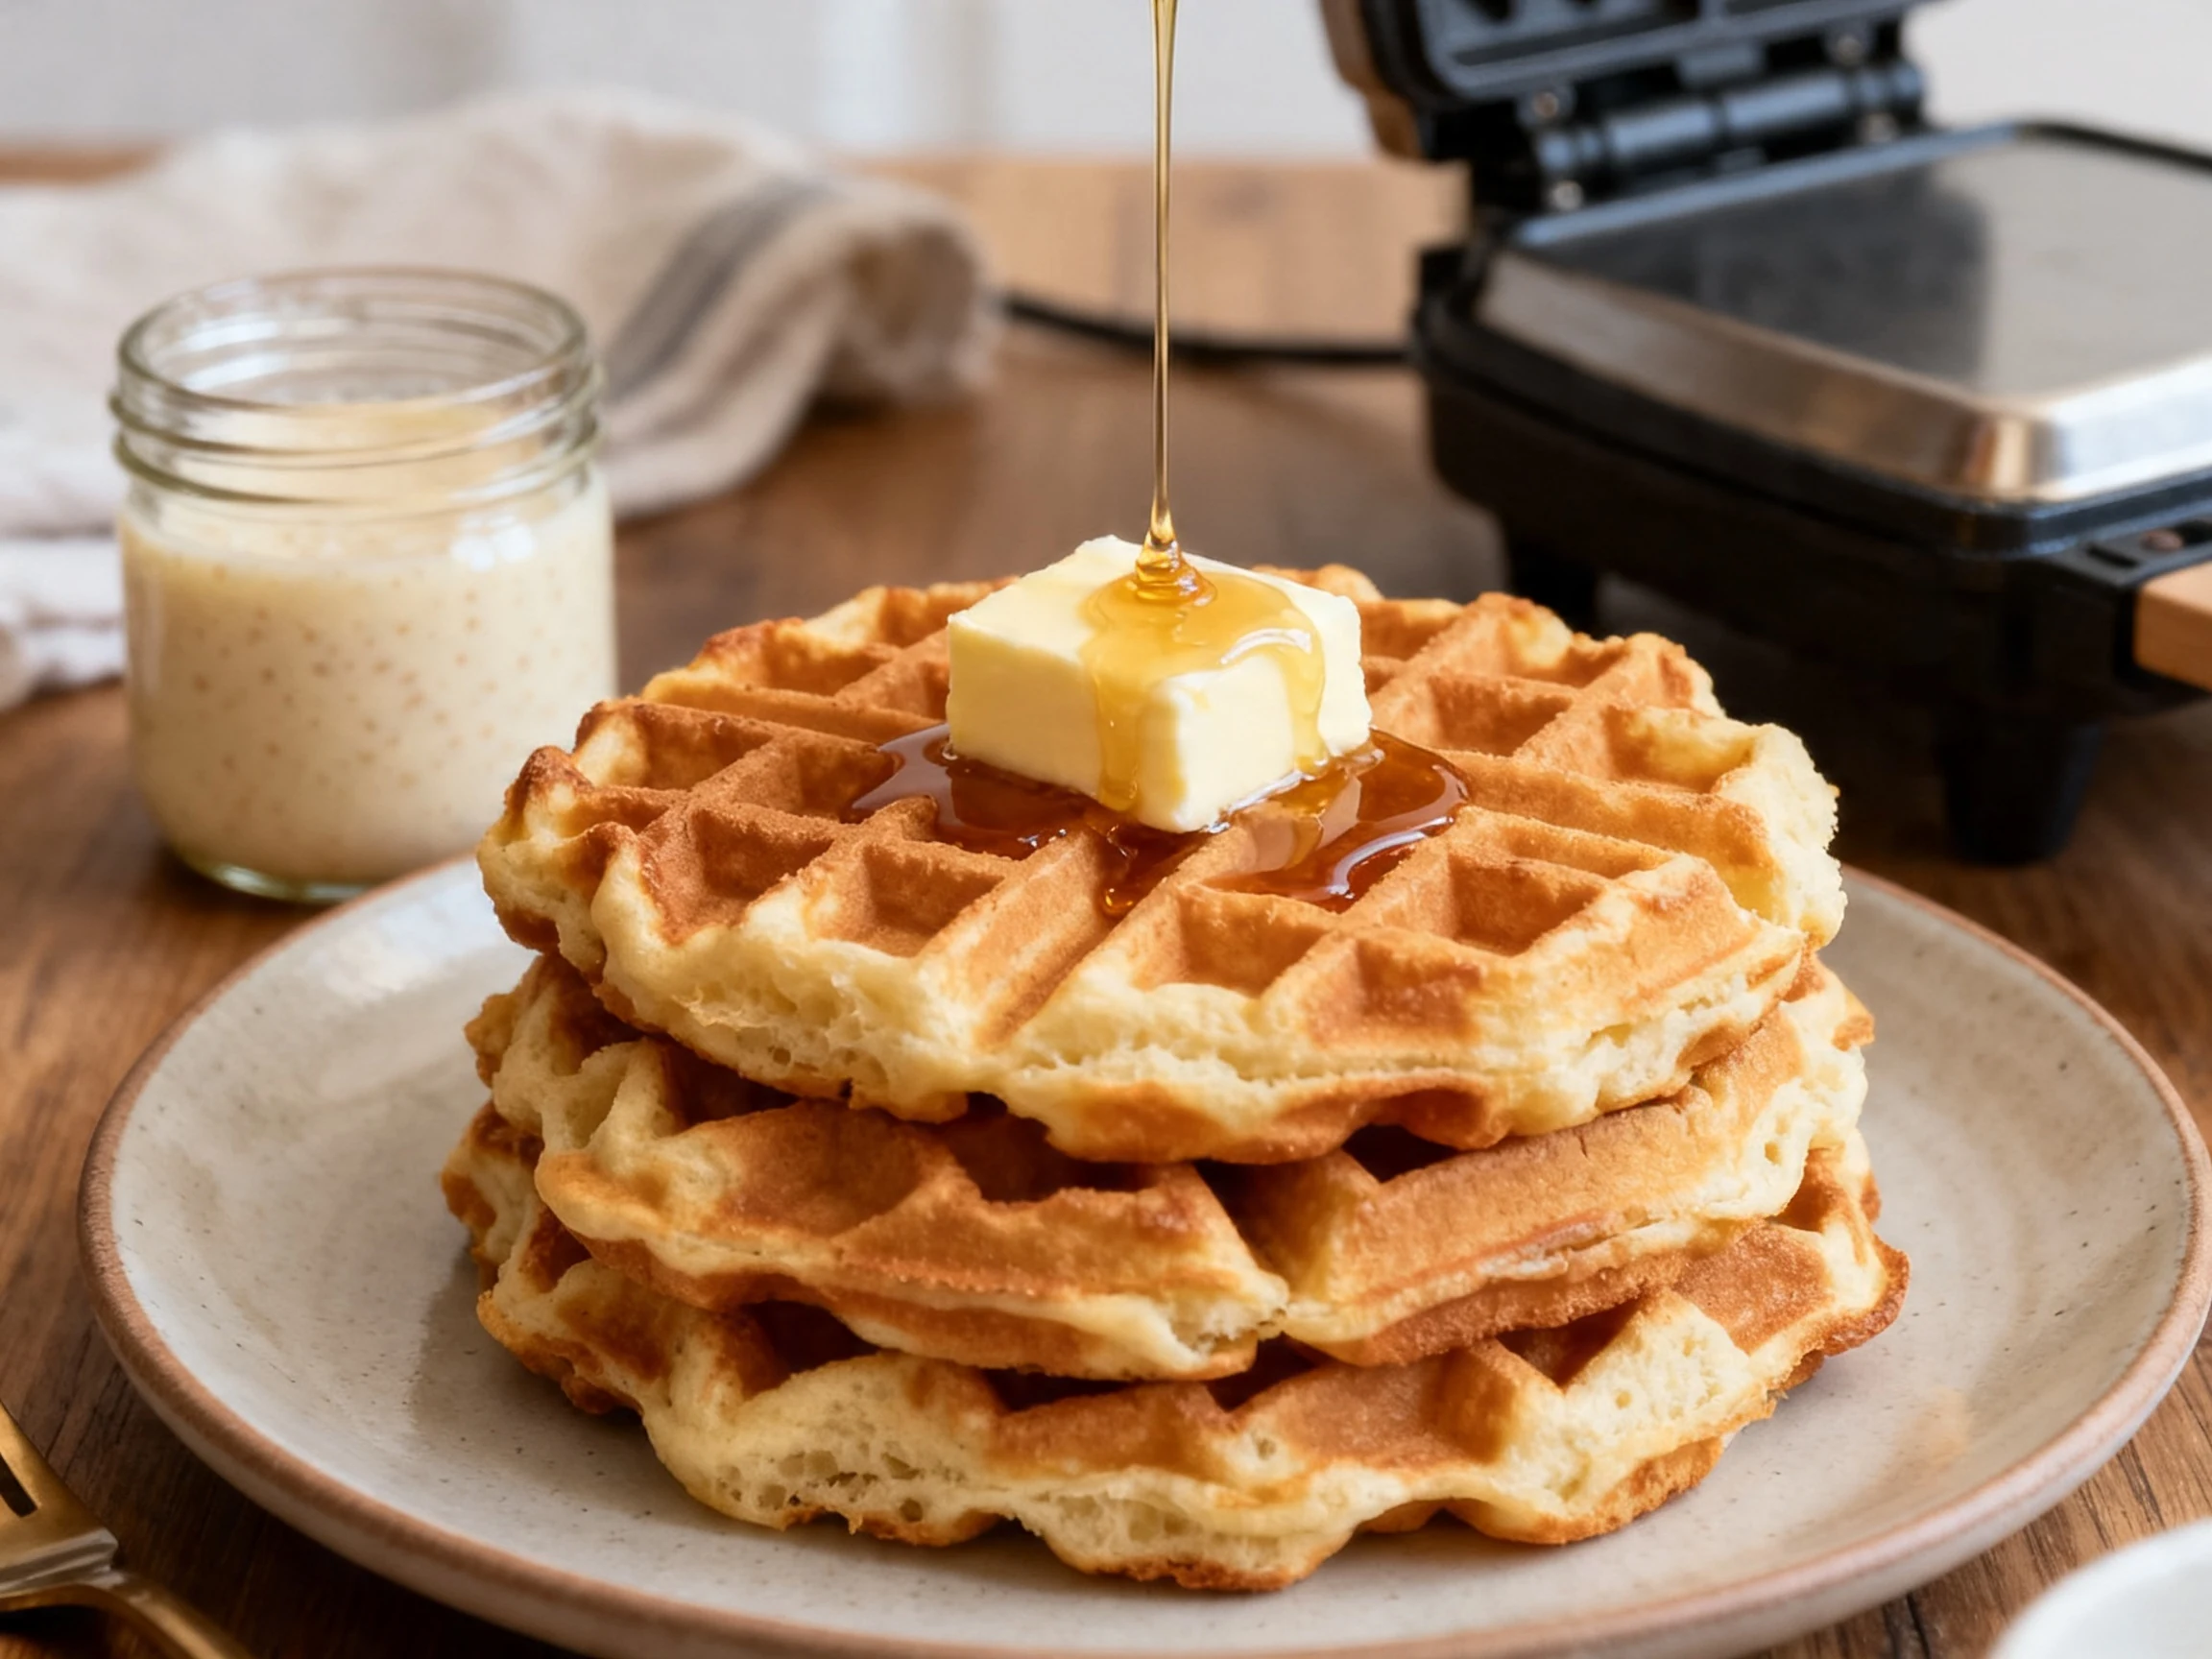
Sourdough Discard Waffle Recipes for Lazy Weekend Wins
Turn leftover starter into crisp, fluffy waffles fast, with easy swaps, smart tips, and foolproof breakfast timing.
Your sourdough discard has been sitting in the fridge, judging you. Again. Good news: it is about to become the crispiest, fluffiest, most low effort breakfast flex in your kitchen.
Waffles are already elite, but adding discard gives them deeper flavor, better texture, and a very satisfying “look at me reducing waste” vibe. You get tang, crunch, and a tender middle without doing anything wildly impressive. Honestly, this is the kind of recipe that makes people think you have your life together.
If you have flour, eggs, milk, and a waffle iron, you are dangerously close to a breakfast people will request on repeat. And if your starter is past peak and looking a little grumpy, perfect. That is basically its moment.
What Makes This Recipe Awesome
This recipe wins because it turns a leftover ingredient into something that tastes intentional. The discard adds a subtle tang that balances the richness of butter and the sweetness of syrup. Instead of “using up scraps,” you end up with waffles that taste like a bakery made them on purpose.
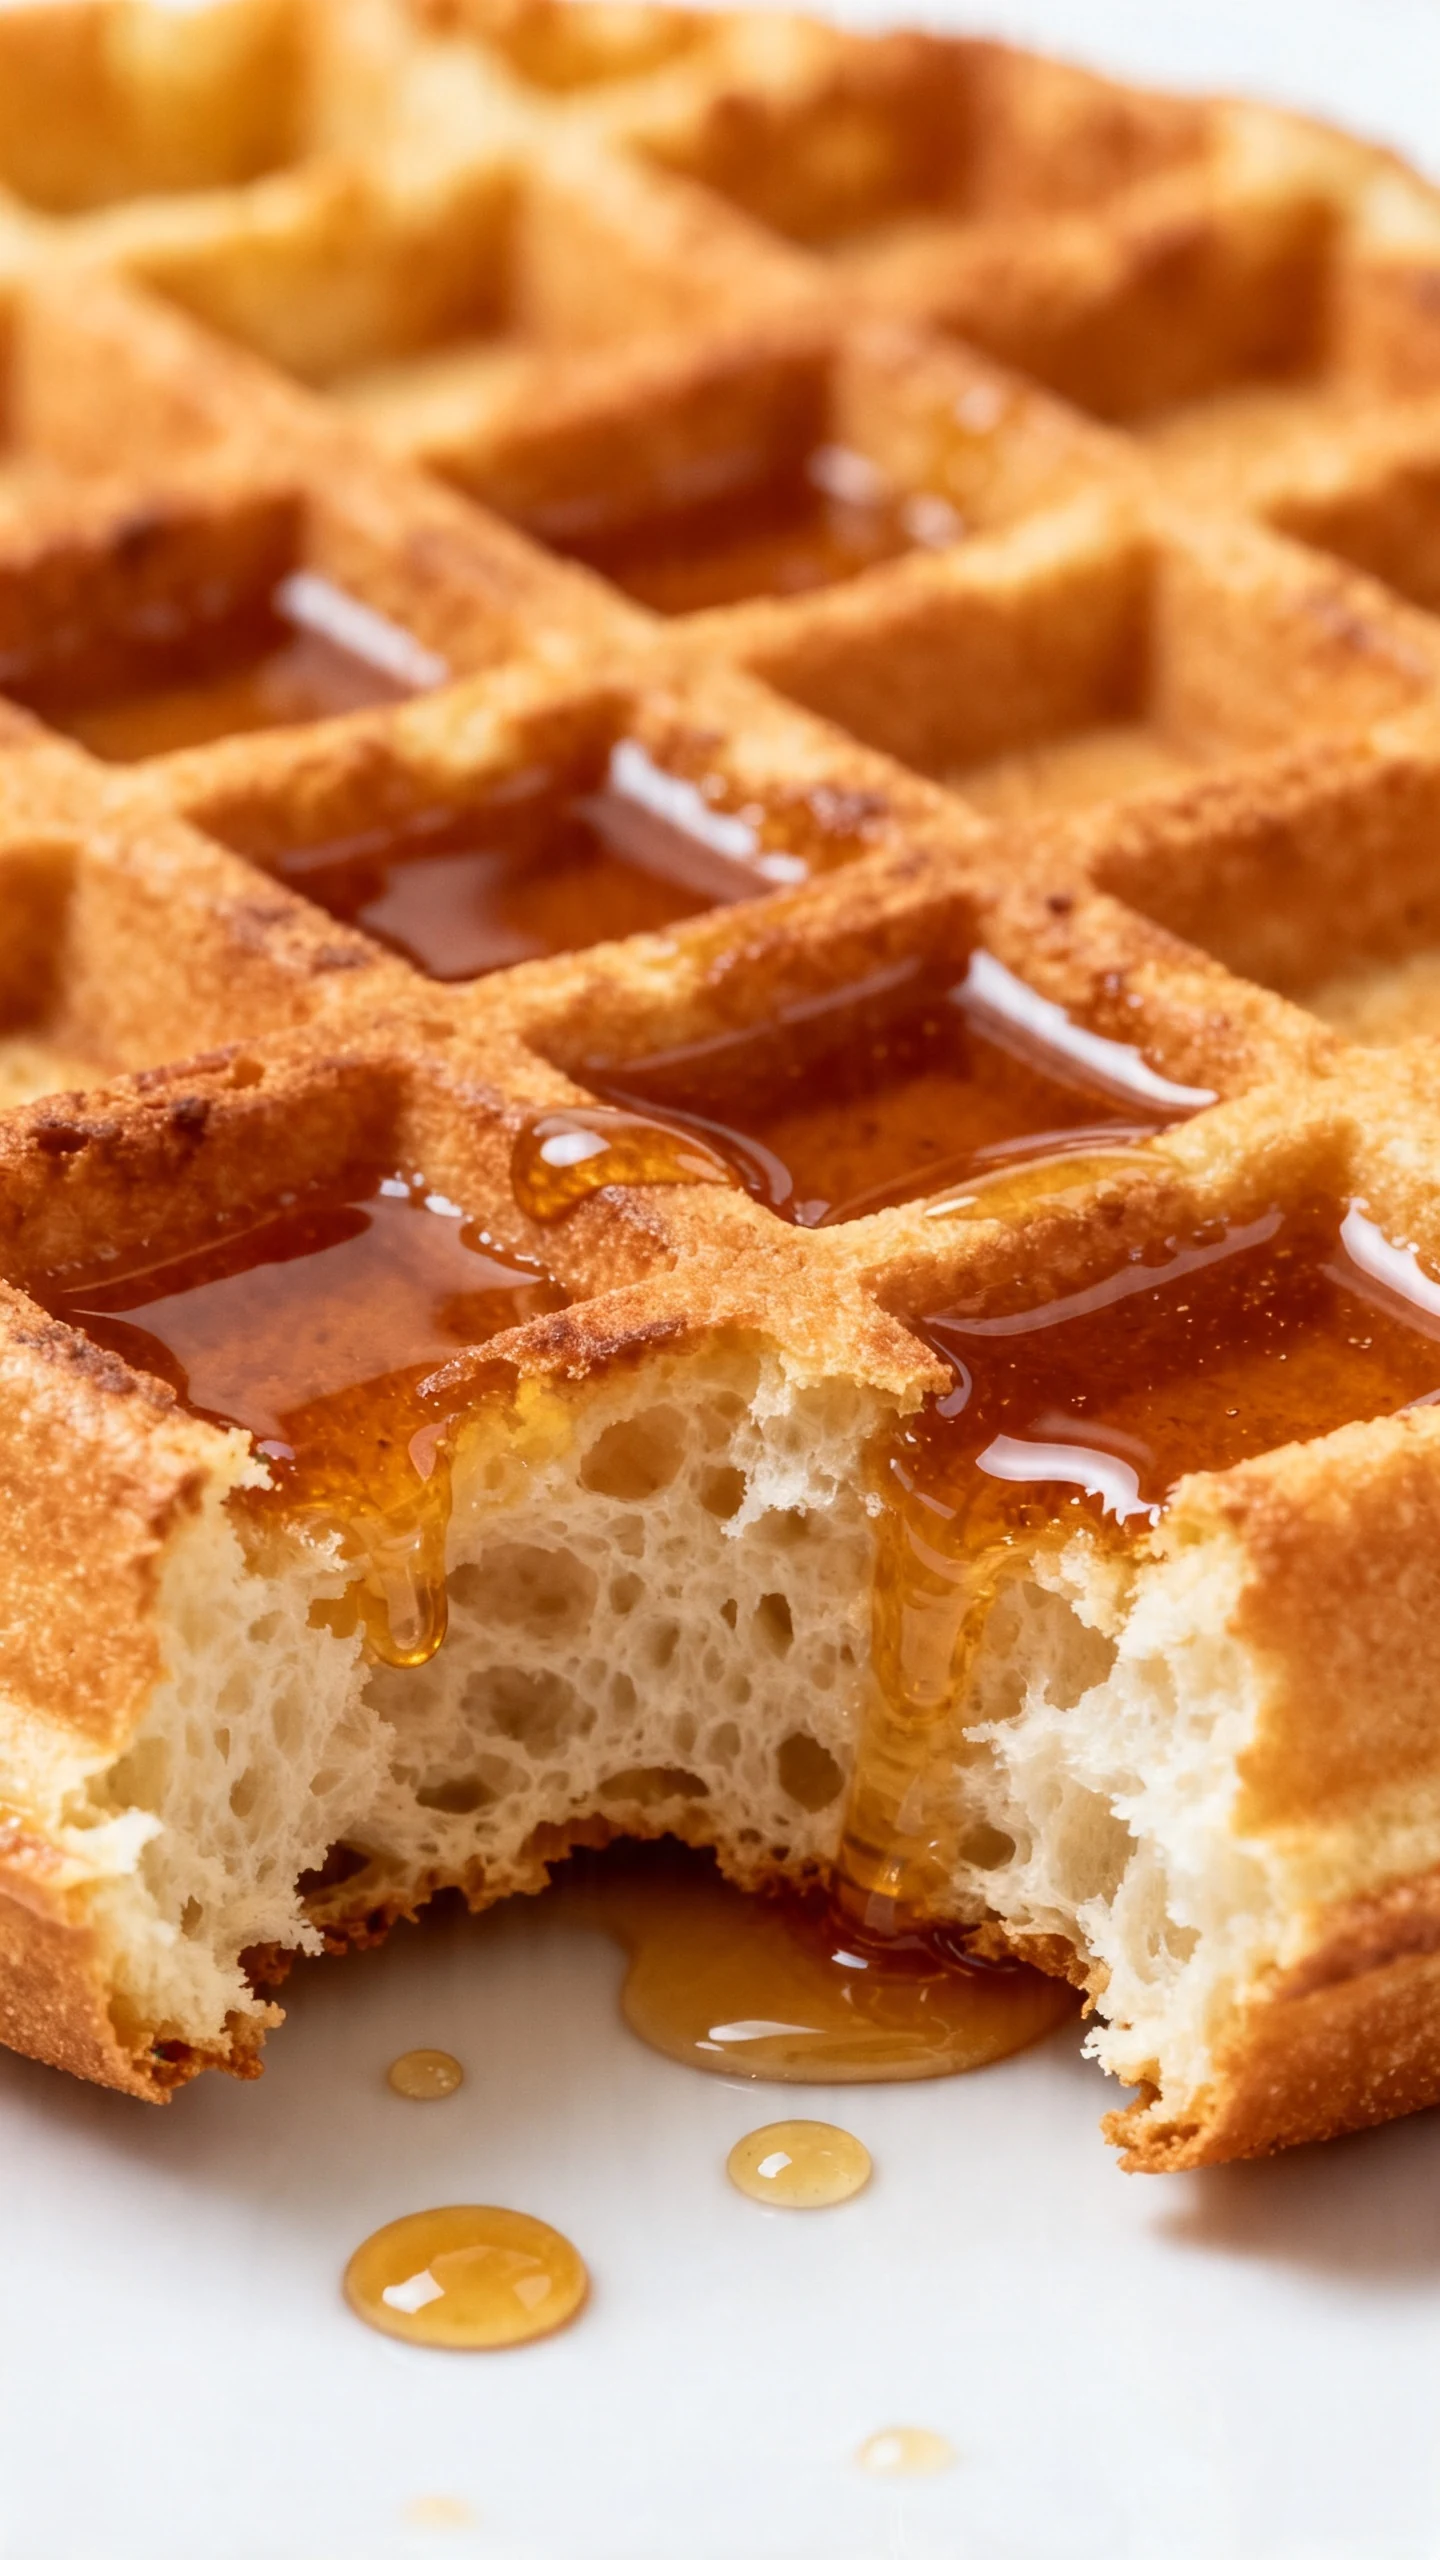
The texture also deserves a slow clap. You get crisp edges, a soft center, and enough structure to hold fruit, whipped cream, or a ridiculous amount of maple syrup. No sad floppy waffles here.
It is flexible too. You can make the batter the same day for a quick breakfast, or let it rest overnight for even more flavor. Sweet version, savory version, classic version, chaos version with chocolate chips, all valid.
Best of all, this recipe makes sourdough maintenance feel less annoying. Feeding a starter somehow sounds charming until you have three jars of discard and a mild identity crisis. These waffles fix that fast.
What Goes Into This Recipe – Ingredients
Here is everything you need for a classic batch of sourdough discard waffles. This makes about 4 to 6 waffles, depending on your waffle maker and how ambitious you pour.
- 1 cup sourdough discard, unfed and at room temperature if possible
- 1 1/2 cups all purpose flour
- 1 tablespoon sugar, or 2 tablespoons if you like a sweeter waffle
- 1 teaspoon baking powder
- 1/2 teaspoon baking soda
- 1/2 teaspoon fine salt
- 2 large eggs
- 1 1/4 cups milk
- 4 tablespoons melted butter, plus more for serving if you live correctly
- 1 teaspoon vanilla extract
Optional add ins can push these in fun directions without wrecking the batter. Cinnamon, orange zest, blueberries, mini chocolate chips, chopped pecans, or shredded cheddar all work well. FYI, keep chunky mix ins modest so the waffles still cook evenly.
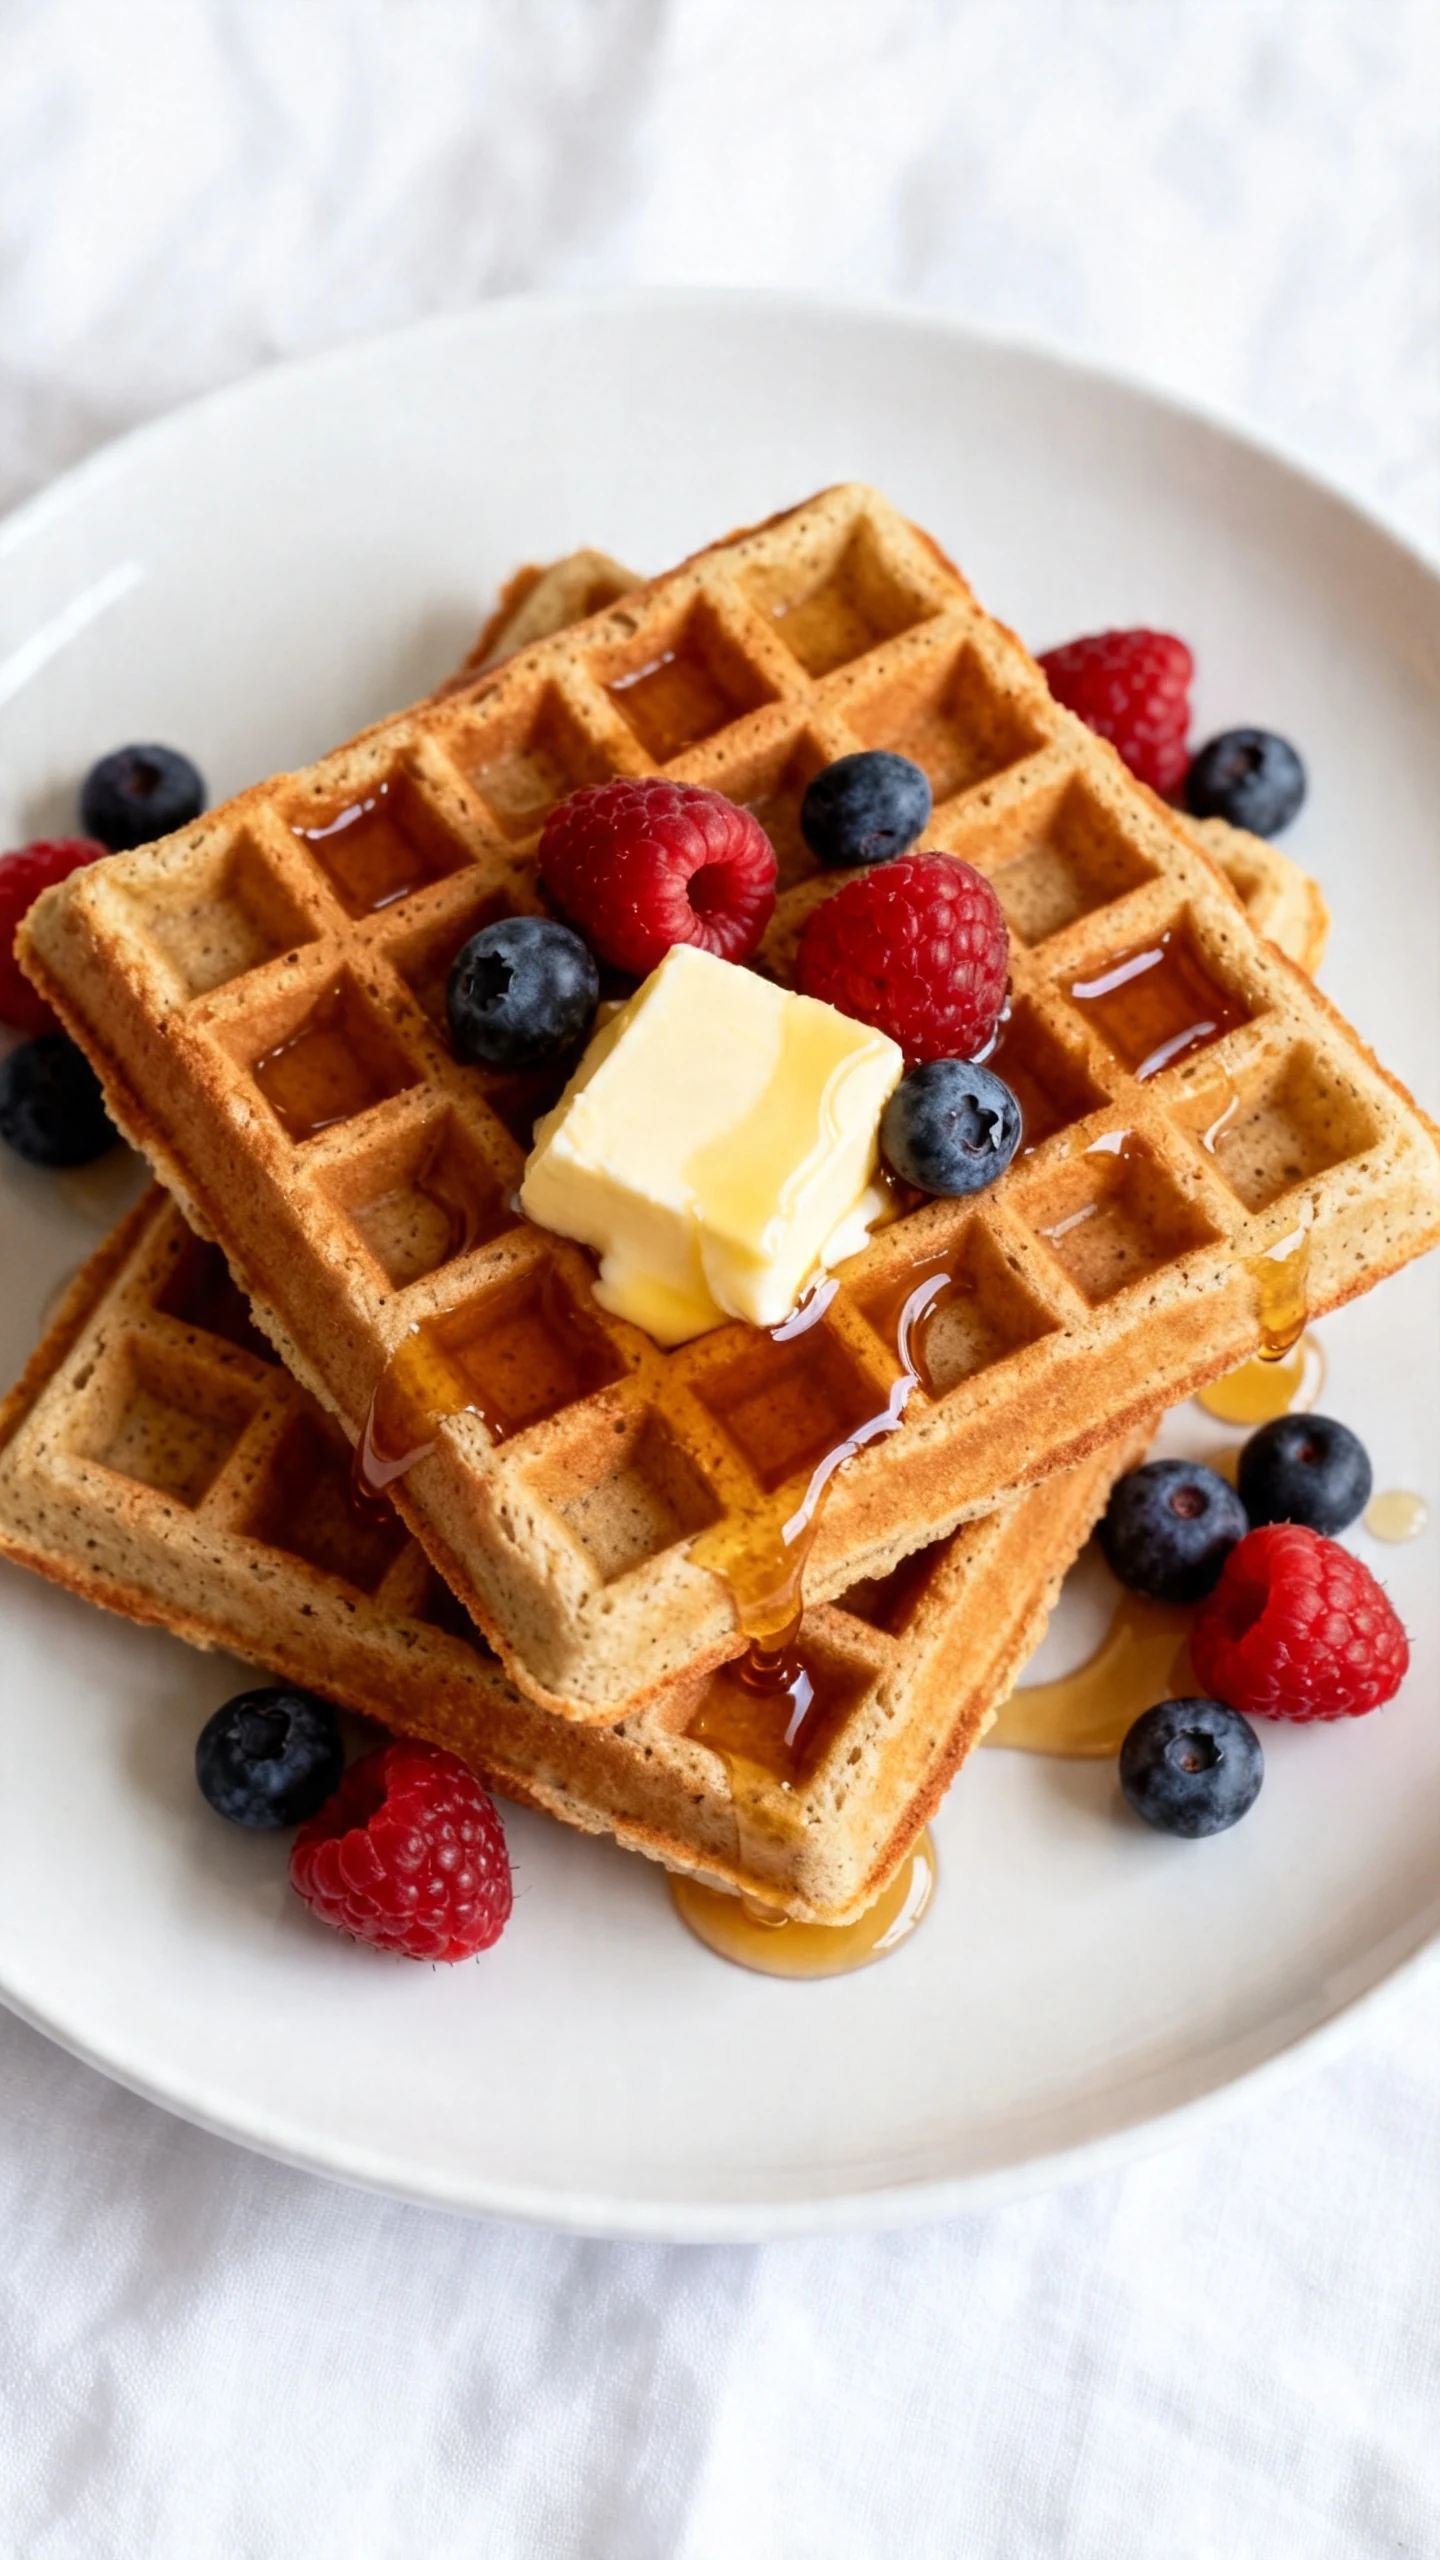
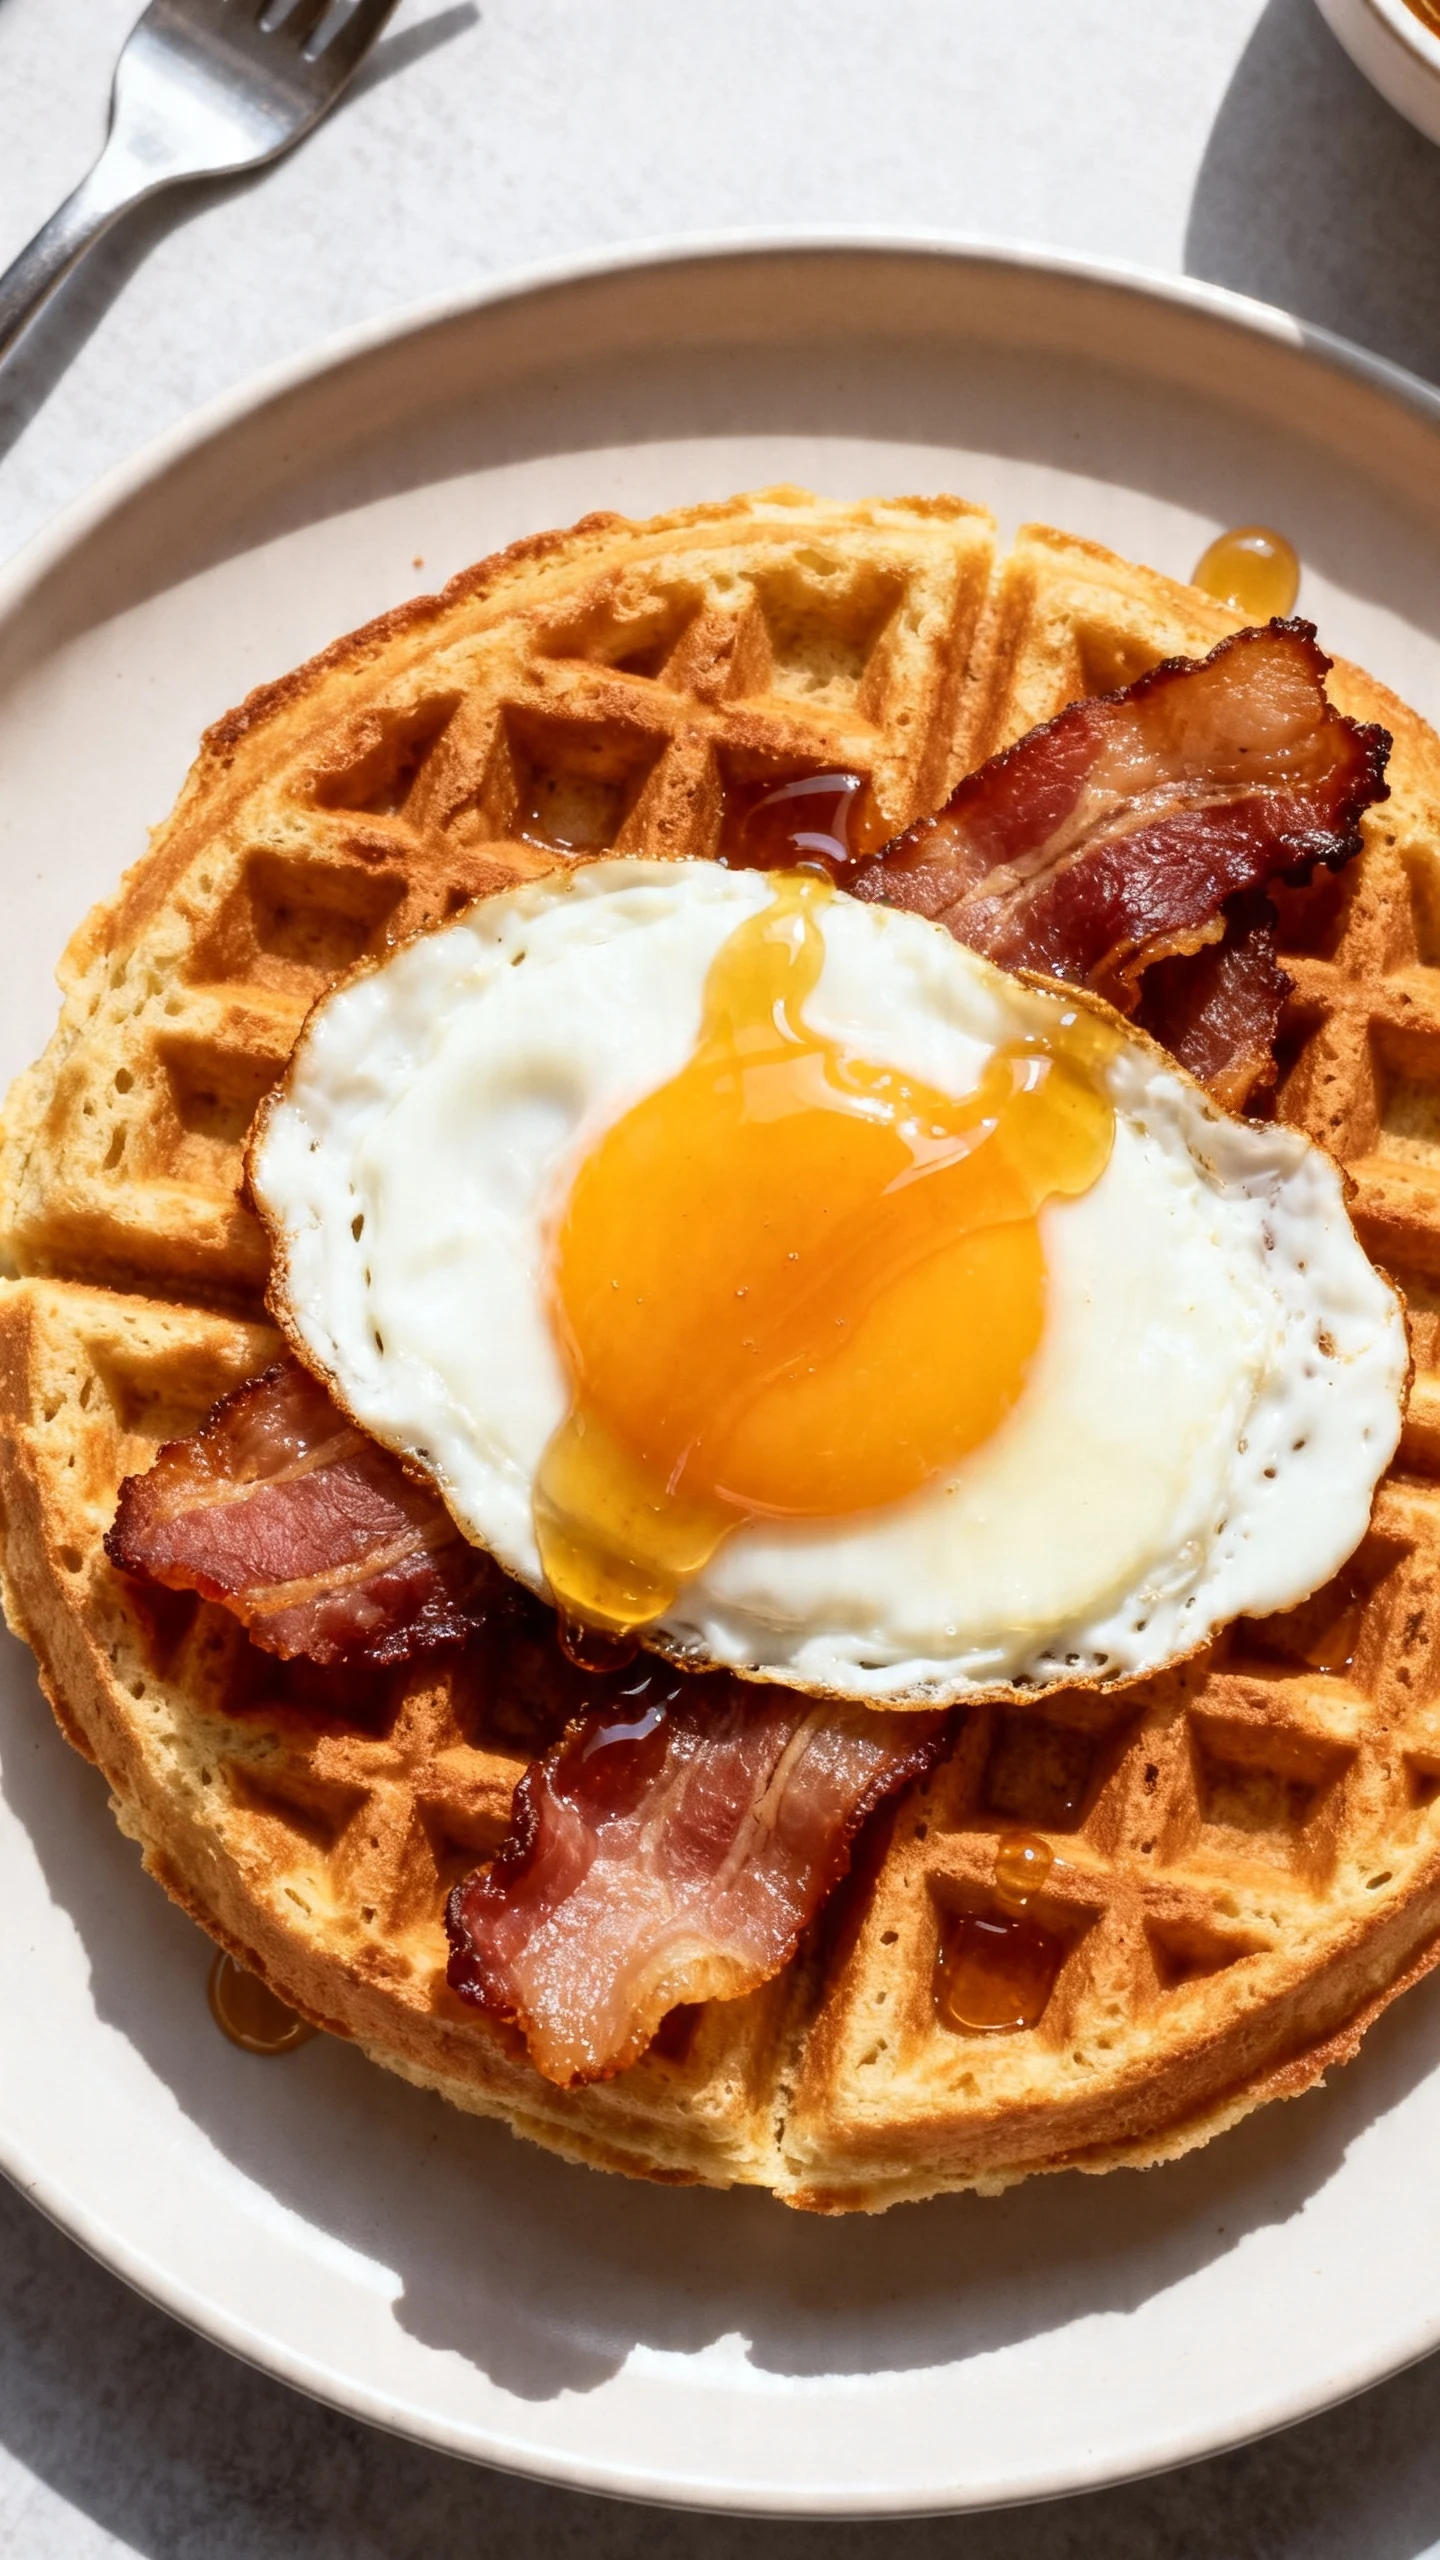
For serving, think maple syrup, berries, Greek yogurt, powdered sugar, fried eggs, crispy bacon, or even a swipe of salted honey butter. Waffles are not the place for restraint.
The Method – Instructions
-
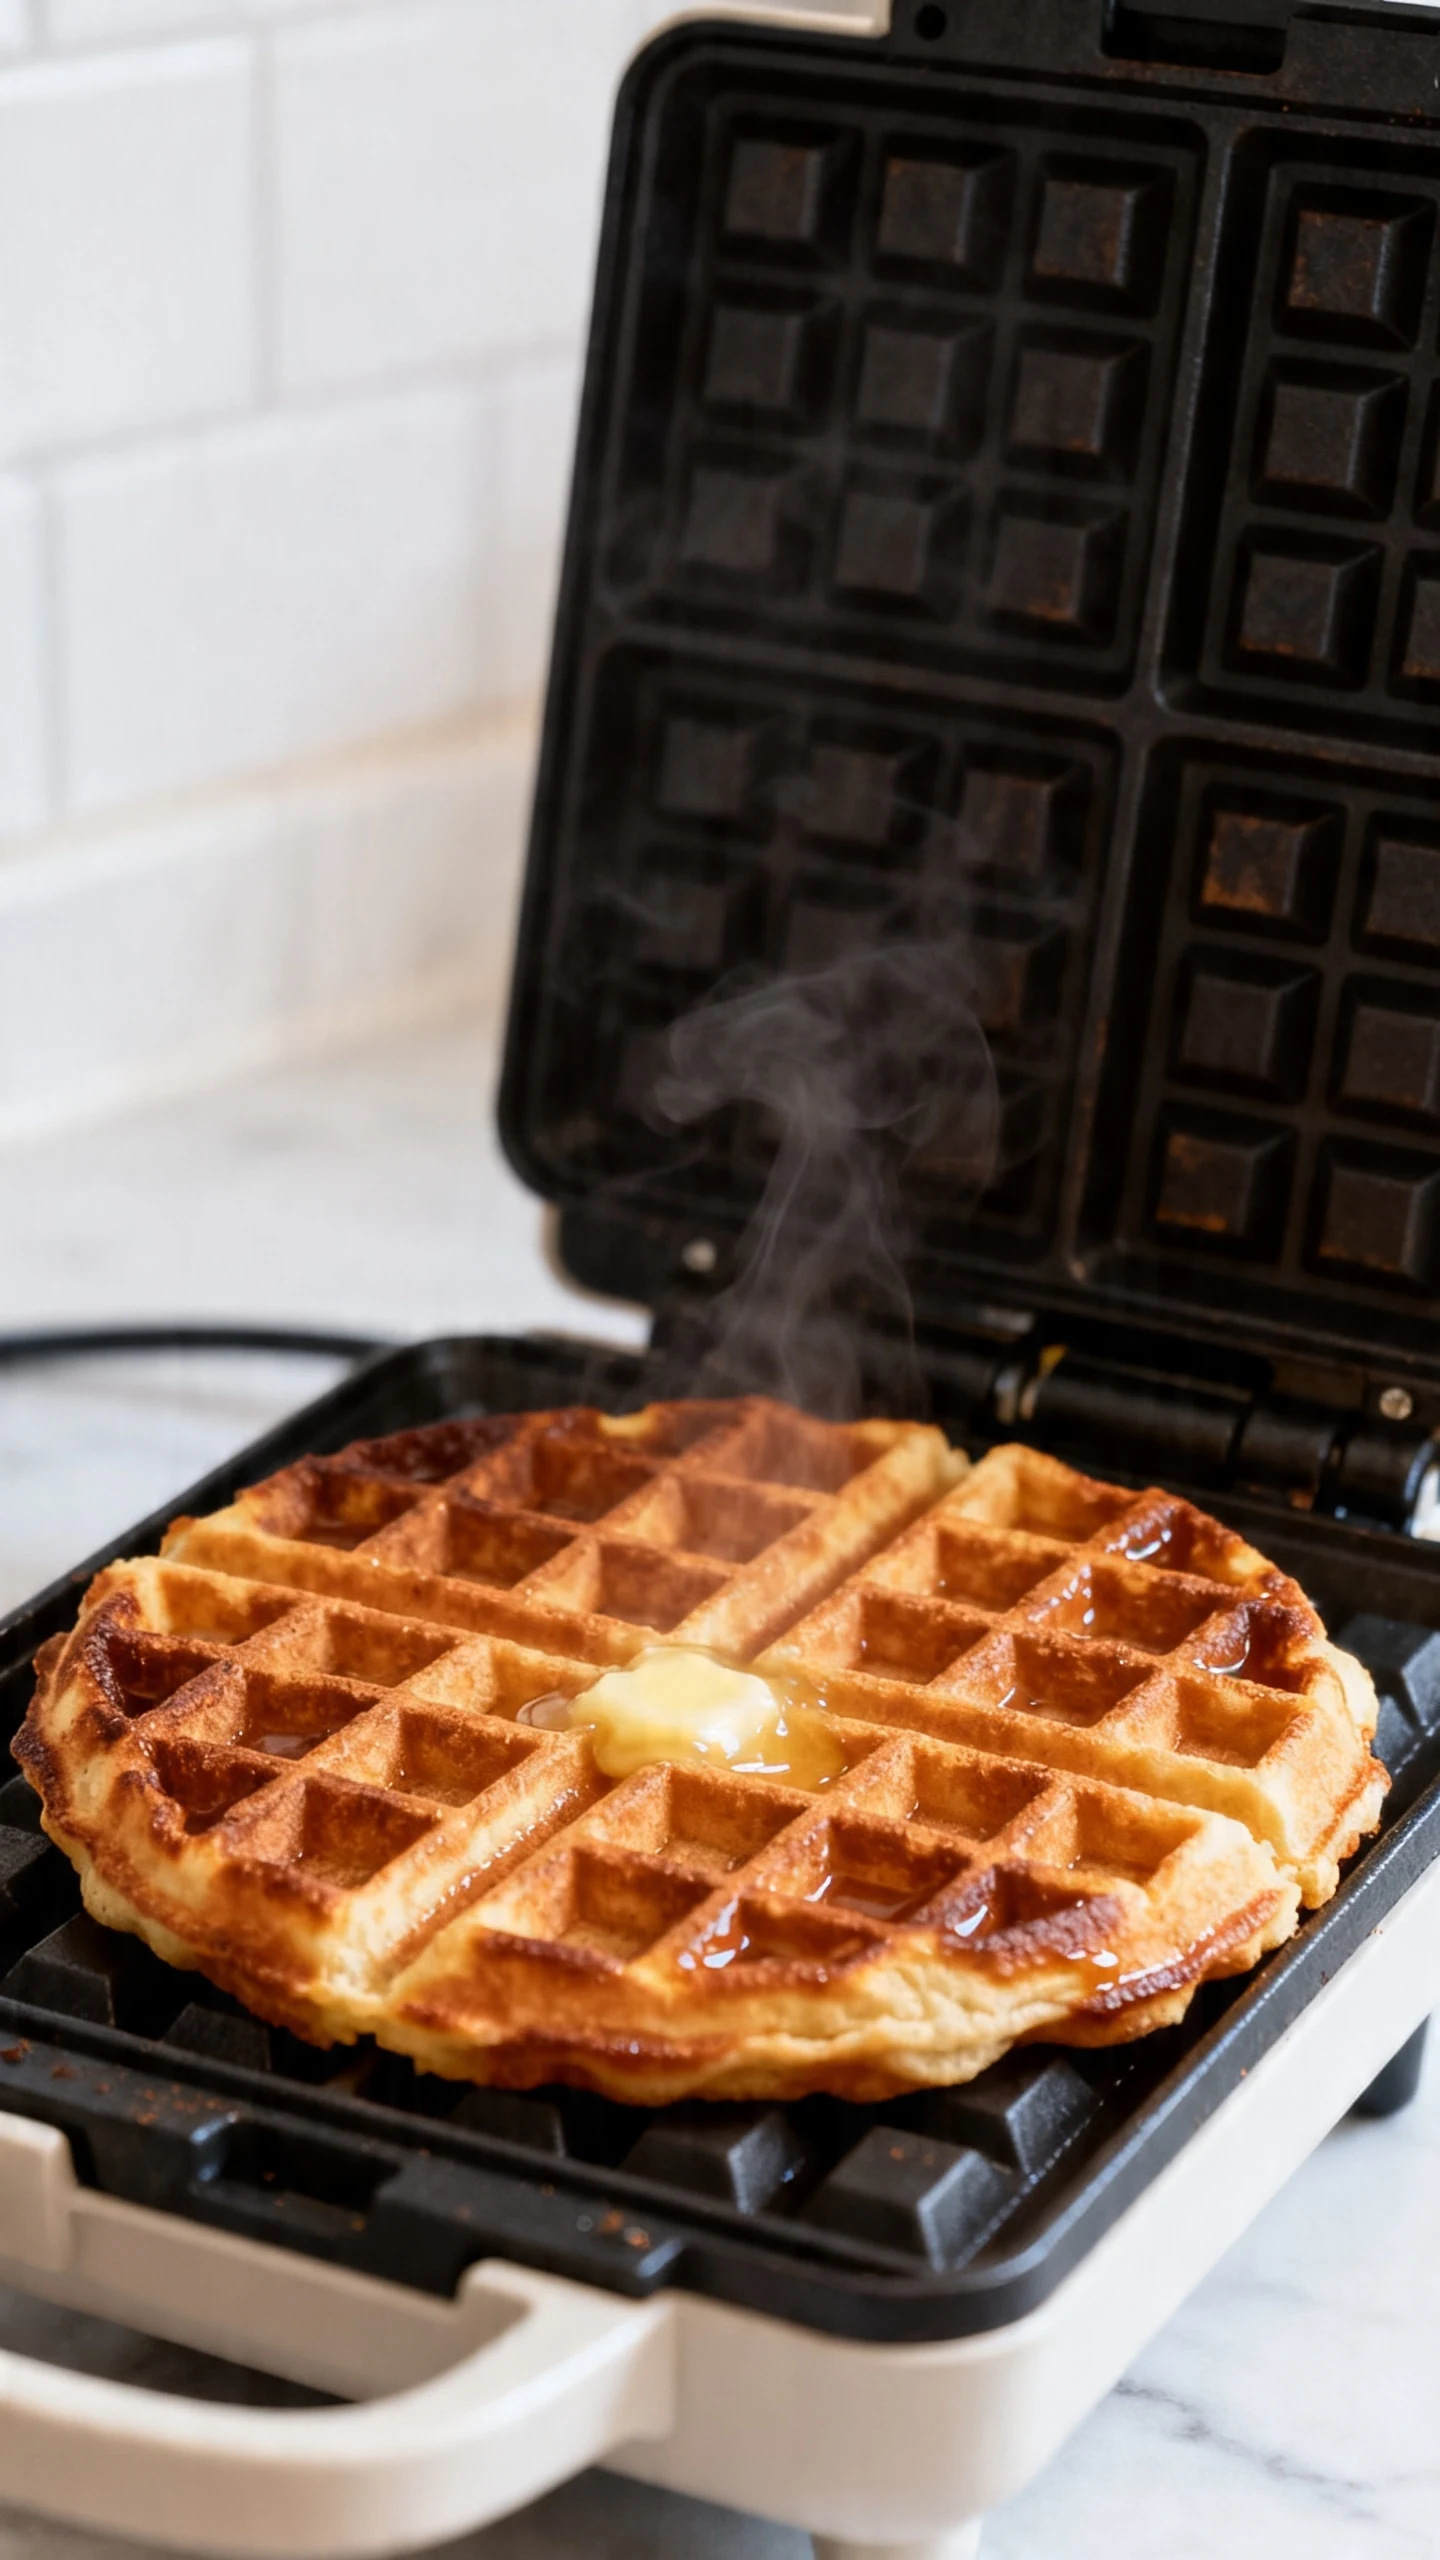
Preheat the waffle iron. Do this first, not halfway through while the batter stares at you. A fully heated iron gives you better browning and less sticking, which is a very nice way to begin the day.
-
Mix the dry ingredients. In a large bowl, whisk together the flour, sugar, baking powder, baking soda, and salt. This step spreads everything evenly, so you do not bite into a random pocket of baking soda and rethink your choices.
-
Mix the wet ingredients. In a second bowl, whisk the sourdough discard, eggs, milk, melted butter, and vanilla until smooth. A few small lumps are fine. This is waffle batter, not a chemistry exam.
-
Combine without overmixing. Pour the wet mixture into the dry ingredients and stir just until no obvious dry streaks remain. The batter should look thick but scoopable. If it seems too thick, add a splash of milk. If it looks thin, add a spoonful of flour.
-
Let the batter rest for 5 to 10 minutes. This quick pause helps the flour hydrate and the leaveners wake up. It is a small step with a big payoff, like seasoning your food instead of hoping for the best.
-
Grease the waffle iron lightly if needed. Some machines do not need it, some absolutely do. If yours has betrayed you before, trust history and brush or spray it lightly.
-
Cook the waffles. Add enough batter to cover most of the grid without overflowing. Close the lid and cook until the waffles are golden brown and crisp, usually 4 to 6 minutes depending on your machine. Do not keep opening the lid every 20 seconds. Let the iron do its job.
-
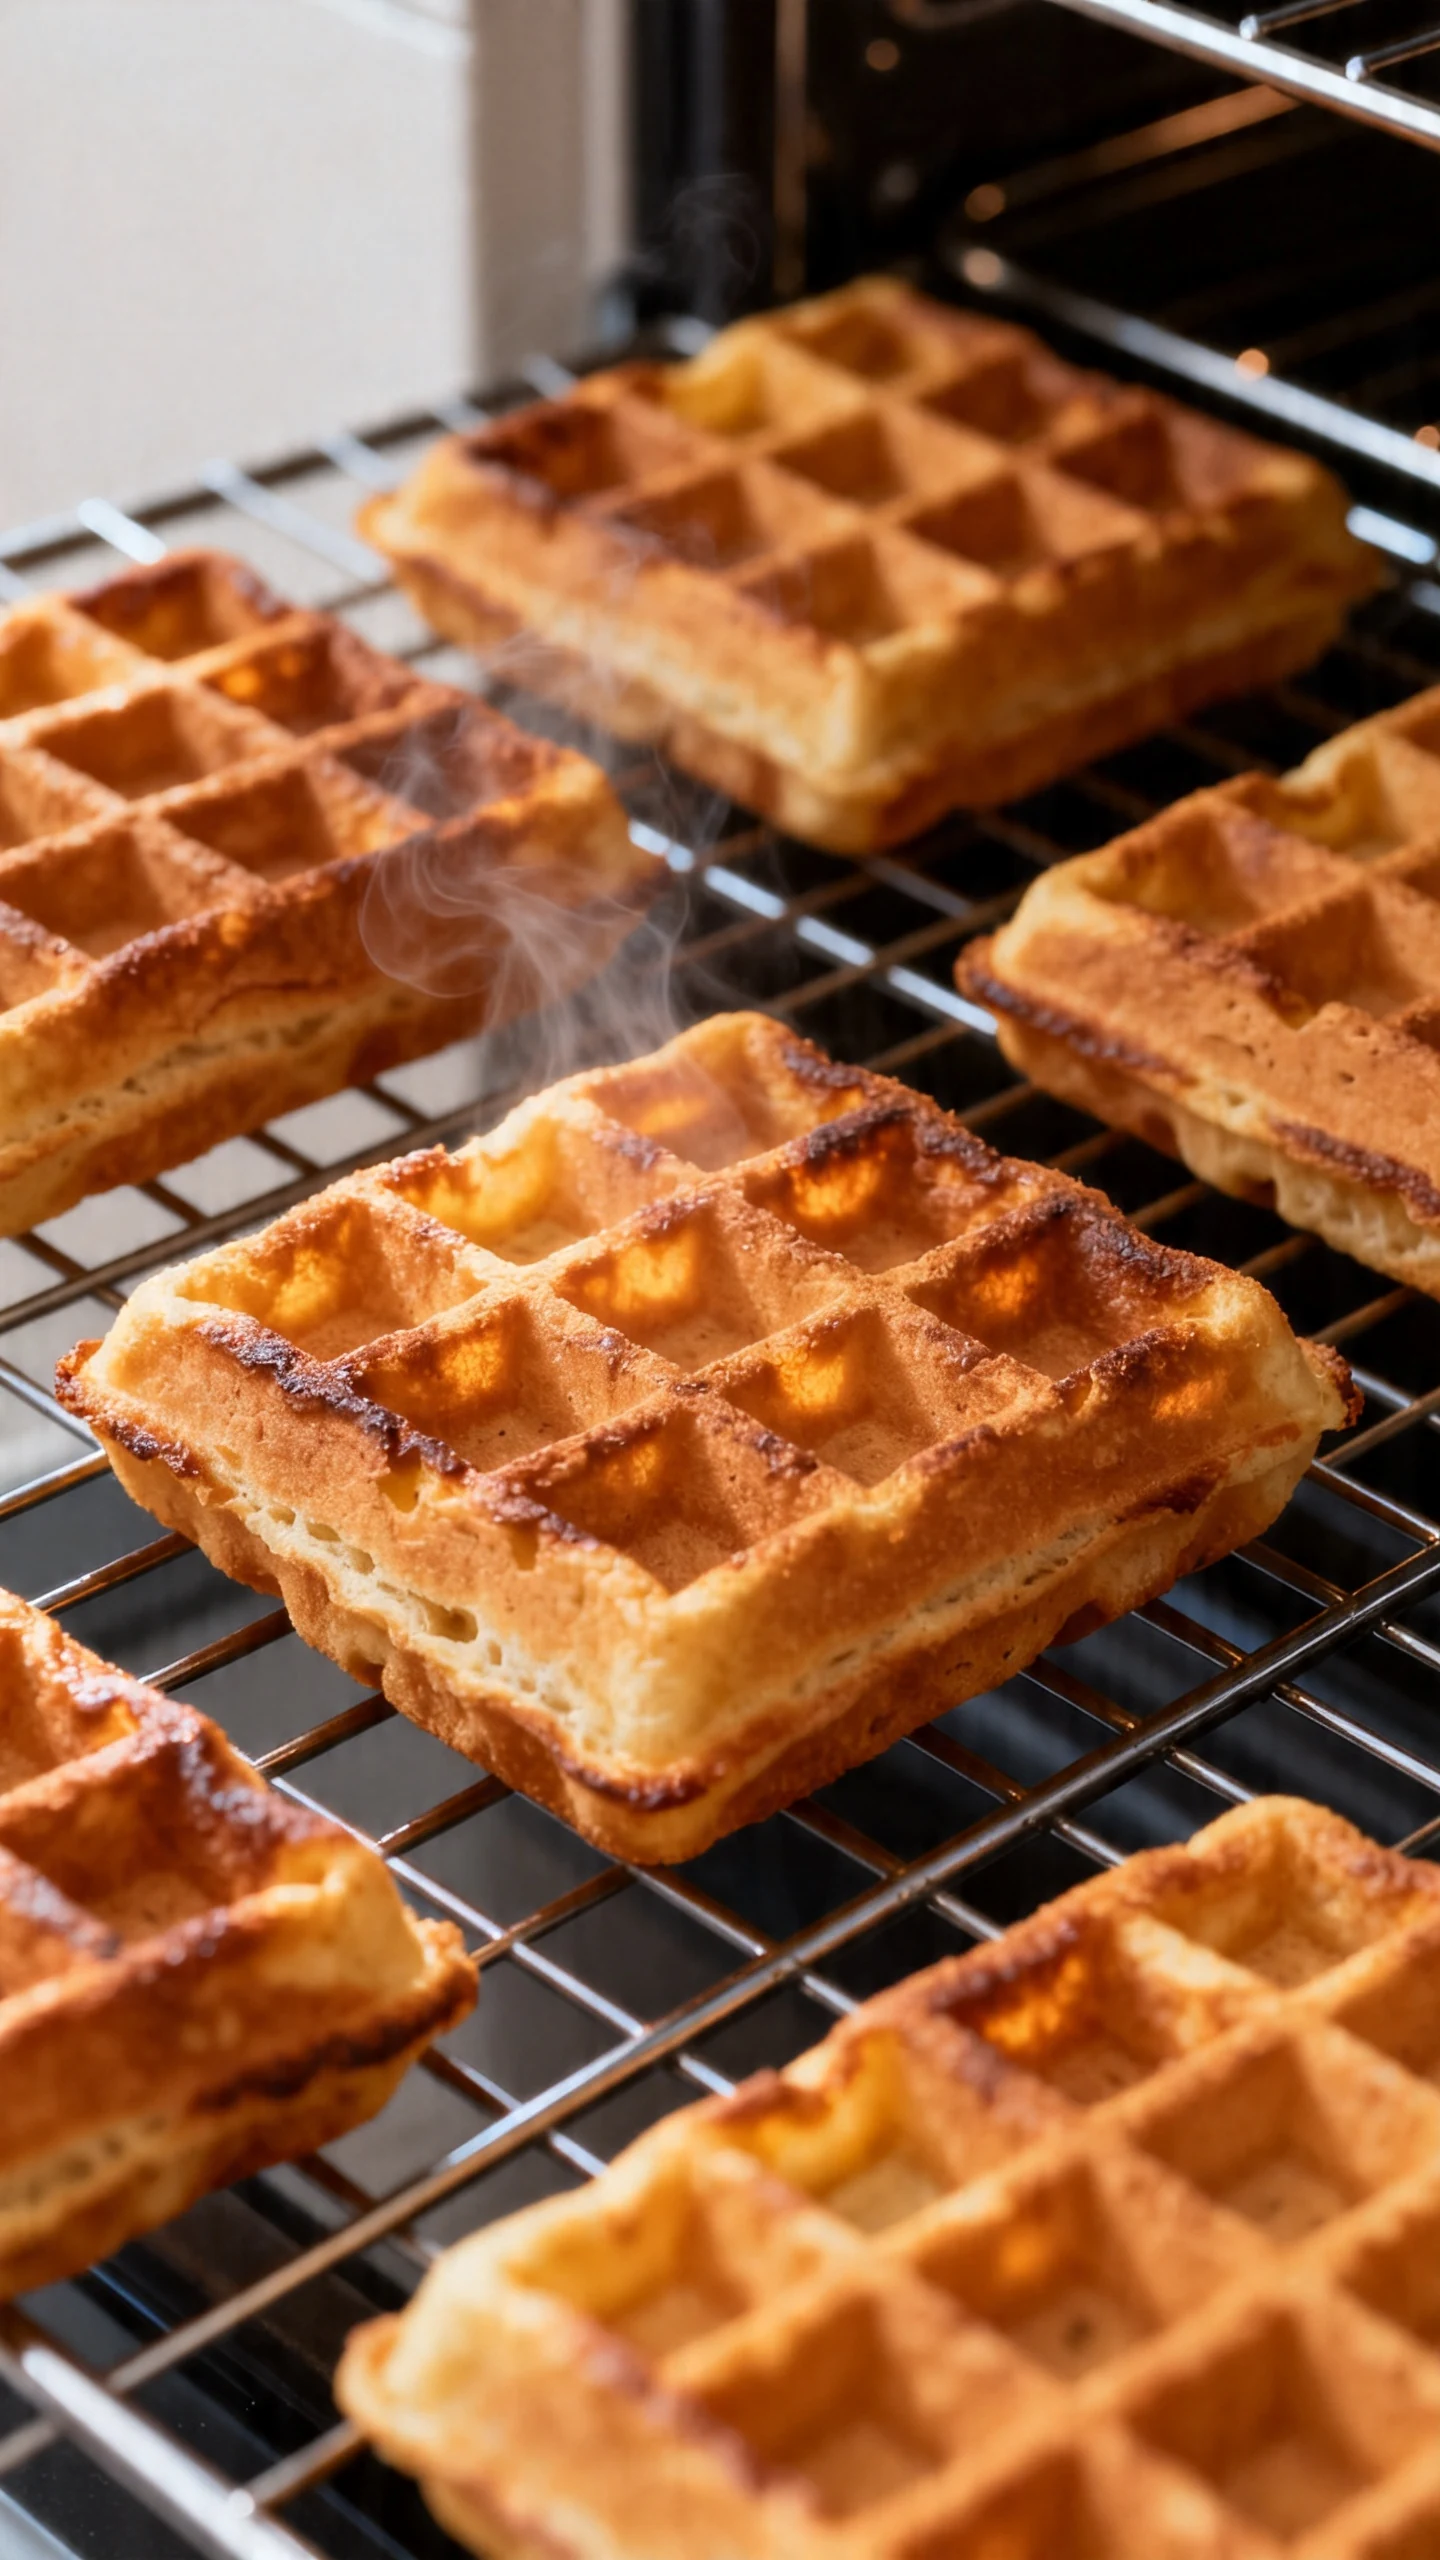
Hold finished waffles in a warm oven. Place cooked waffles directly on an oven rack at low heat, around 200°F, while you finish the batch. This keeps them crisp. Stacking them on a plate traps steam and turns triumph into disappointment.
-
Serve hot with toppings. Go classic with butter and maple syrup, or push savory with fried chicken and hot honey. Either way, aim shamelessly high.
Keeping It Fresh

These waffles store surprisingly well, which means future you gets rewarded. Let them cool completely, then refrigerate in an airtight container for up to 3 days. Reheat them in a toaster or oven to bring back the crisp edges.
For longer storage, freeze them in a single layer until firm, then transfer to a freezer bag or container. They keep well for up to 2 months. Pop them straight from the freezer into the toaster, because waiting for breakfast to thaw is rude.
If you want to prep ahead, you can also mix the batter the night before and refrigerate it. Give it a gentle stir in the morning and add a splash of milk if it thickens too much. The flavor gets even better after a little rest.
What’s Great About This
It reduces waste. This is the obvious win, but it matters. Instead of tossing discard, you turn it into a breakfast people actually get excited about.
It tastes better than standard waffles. The discard adds complexity without making the waffles aggressively sour. You get a gentle tang that makes sweet toppings pop and savory toppings feel extra smart.
It fits real life. You can make it fast, prep it ahead, freeze extras, and adapt the flavor without much effort. IMO, any breakfast recipe that works on sleepy Saturdays and chaotic weekdays deserves respect.
It feels special without being fussy. You are not laminating dough or tempering anything dramatic. You are stirring a bowl, pressing a lid, and somehow ending up with brunch energy.
Pitfalls to Watch Out For
Using a cold waffle iron. If the iron is not fully heated, the waffles cook unevenly and stick more easily. Hot iron, better crust, fewer kitchen grudges.
Overmixing the batter. Stir too much and the waffles get dense and chewy. Mix just until combined, then stop while you are ahead.
Ignoring the thickness of your discard. Some starters are looser, some are thick enough to build confidence. If your batter seems off, adjust with a little milk or flour. The goal is thick and pourable, not cement or soup.
Pulling the waffles too early. Steam usually means the inside still needs time. Wait until the steam slows and the waffle looks deeply golden. Pale waffles rarely become legends.
Stacking hot waffles. This one hurts because it feels efficient. It is not. Stacking traps steam and softens the crisp exterior you just worked for.
Mix It Up
If you want the same core recipe with different moods, you have options. This batter handles swaps and add ins really well, so you can keep breakfast interesting without learning a whole new formula every weekend.
- Cinnamon vanilla: Add 1 teaspoon cinnamon and a little extra vanilla for cozy, pancake shop energy.
- Blueberry lemon: Fold in fresh blueberries and a bit of lemon zest for a bright, classic combo.
- Chocolate chip: Add mini chocolate chips for a breakfast that says, “I reject unnecessary rules.”
- Cheddar chive: Skip or reduce the sugar, then add shredded cheddar and chopped chives for a savory version.
- Whole wheat: Replace up to half the all purpose flour with whole wheat flour for a nuttier flavor and heartier texture.
- Buttermilk style: Swap part of the milk for buttermilk if you want extra tang and tenderness.
You can also serve them differently to make the exact same batch feel new. Try fried eggs and avocado, strawberries and whipped cream, spiced apples, peanut butter and banana, or crispy chicken with hot honey. Yes, waffles contain multitudes.
FAQ
Can I use discard straight from the fridge?
Yes, absolutely. Cold discard works fine, though room temperature discard blends a little more easily into the batter. If you use it cold, just whisk well and expect the batter to be slightly thicker at first.
Does the discard need to be recently fed?
No. This recipe is designed for unfed discard, which is the whole point. You are using what you have left over, not creating a new chore in a cute apron.
Will the waffles taste very sour?
Usually, no. Most batches come out gently tangy, not sharply sour. If your discard is older and more acidic, the flavor may be stronger, but sugar, butter, and toppings balance it well.
Can I make the batter the night before?
Yes. Cover it and refrigerate overnight. In the morning, stir gently and add a little milk if needed to loosen the batter before cooking.
Can I make these dairy free?
Yes. Use your favorite unsweetened non dairy milk and replace the butter with melted plant based butter or a neutral oil. The texture may change slightly, but the waffles still turn out very good.
Can I make them gluten free?
You can try a good one to one gluten free flour blend, though results depend on your starter and brand of flour. The texture may be a bit more delicate, so cook them until fully set and nicely browned.
Why are my waffles not crispy?
This usually comes down to three things: batter that is too wet, an iron that is not hot enough, or waffles getting stacked after cooking. Hold them on a rack in a warm oven and reheat leftovers in a toaster, not a microwave.
What if I do not have a waffle iron?
You can use the batter for pancakes. Cook them on a griddle or skillet over medium heat until bubbles form and the edges look set, then flip. They will be excellent, even if they lack the dramatic square pockets.
In Conclusion
Sourdough discard waffles solve a very specific problem in the most delicious way possible. They use up extra starter, they come together with pantry basics, and they deliver crisp, fluffy payoff that feels far fancier than the effort involved.
Once you make them, your discard stops looking like a burden and starts looking like breakfast. That is a pretty solid upgrade for something most people nearly throw away. Keep this recipe close, because one batch tends to turn into a weekly habit fast.