Gluten Free Cake Recipes That Taste Like a Bakery Secret
Make tender, fluffy cakes for birthdays or Tuesday cravings, with simple swaps, reliable tips, and zero weird gritty texture.
You don’t need a pastry degree to pull off a cake that makes people ask, “Wait… this is gluten-free?” You need a smart formula, a couple of non-negotiables, and the confidence to ignore anyone who says it “can’t be fluffy.” Because it can. And it will. The goal here isn’t “good for gluten-free” consolation cake; it’s real-deal, brag-worthy cake.
Here’s the cheat code: pick one master batter you can remix into multiple flavors, learn the two texture levers (fat and moisture), and stop overbaking like the oven is trying to win. You’ll get a soft crumb, a clean slice, and that tiny bounce that screams “bakery.” Ready to make your cake pan earn its keep?
What Makes This Recipe Awesome
This is a flexible master cake that turns into vanilla, chocolate, lemon, funfetti, or spice with small tweaks. It uses a balanced gluten-free flour blend plus a little extra structure so you don’t end up with a gummy center or a sandy bite. The batter stays forgiving, which means you can mix it without sweating every second like it’s a cooking show elimination round.
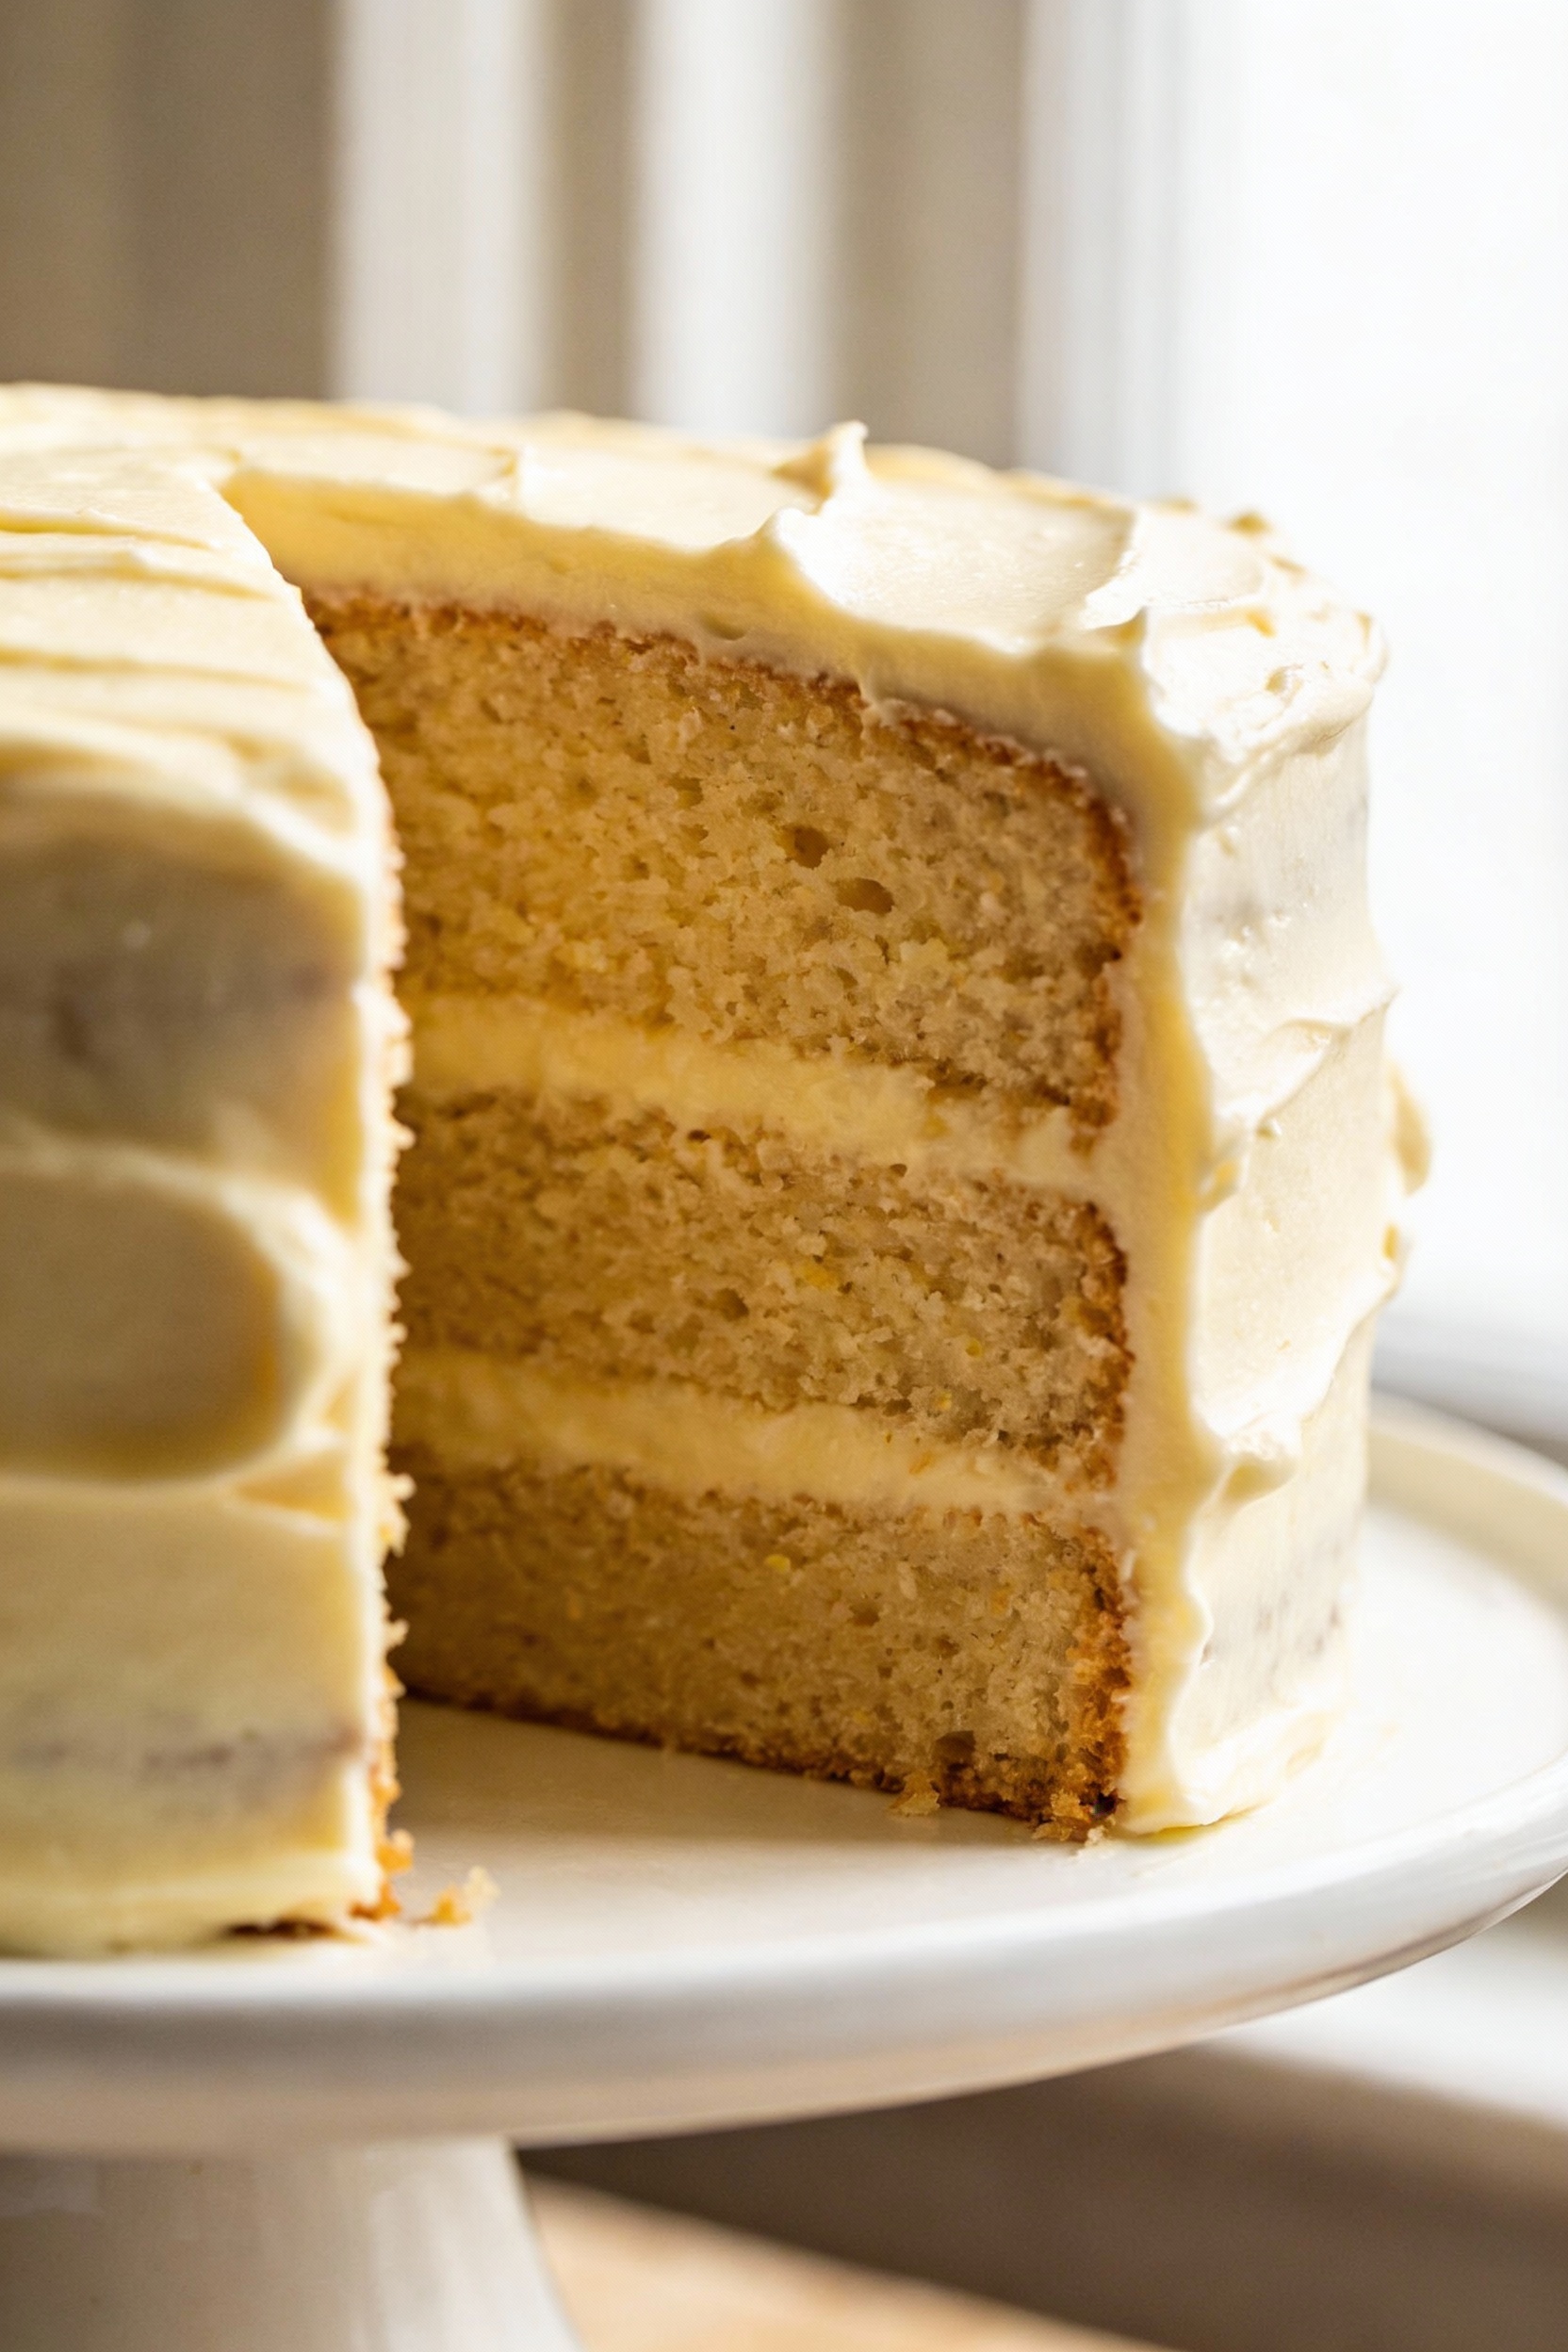
You also get a cake that stays moist for days, not hours. The crumb holds together, slices cleanly, and doesn’t crumble into sadness the moment you frost it. And yes, it tastes like cake, not like “a nutritious alternative.”
Ingredients Breakdown
Use these ingredients for one 8-inch two-layer cake (or one 9×13-inch sheet cake). Keep everything at room temp for the smoothest batter.
- Gluten-free all-purpose flour blend (with xanthan gum): 2 1/2 cups
- Almond flour: 1/2 cup
- Baking powder: 2 1/2 teaspoons
- Baking soda: 1/2 teaspoon
- Fine salt: 3/4 teaspoon
- Granulated sugar: 1 3/4 cups
- Unsalted butter, softened: 1/2 cup
- Neutral oil (avocado/canola): 1/3 cup
- Eggs: 3 large
- Sour cream or full-fat Greek yogurt: 3/4 cup
- Milk (dairy or unsweetened non-dairy): 3/4 cup
- Vanilla extract: 1 tablespoon
- Apple cider vinegar or lemon juice: 2 teaspoons
Optional flavor add-ins (choose one direction):
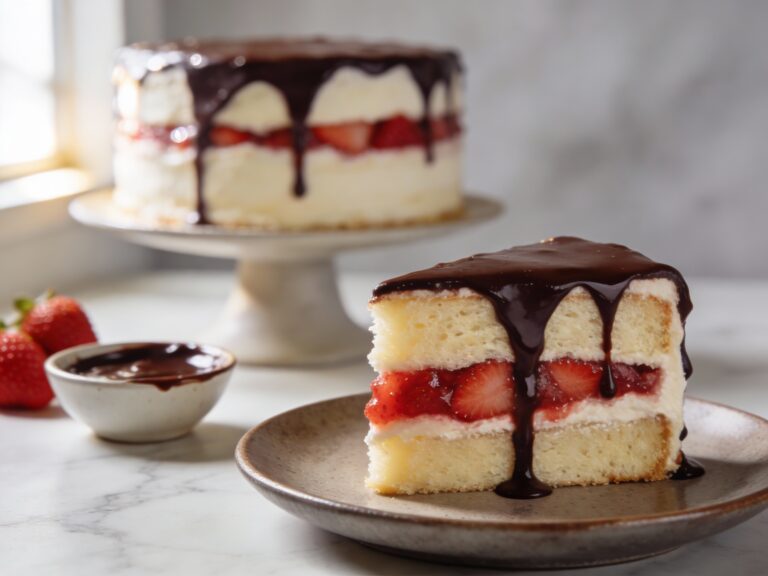
- Chocolate: 1/2 cup cocoa powder plus 1/4 cup extra milk
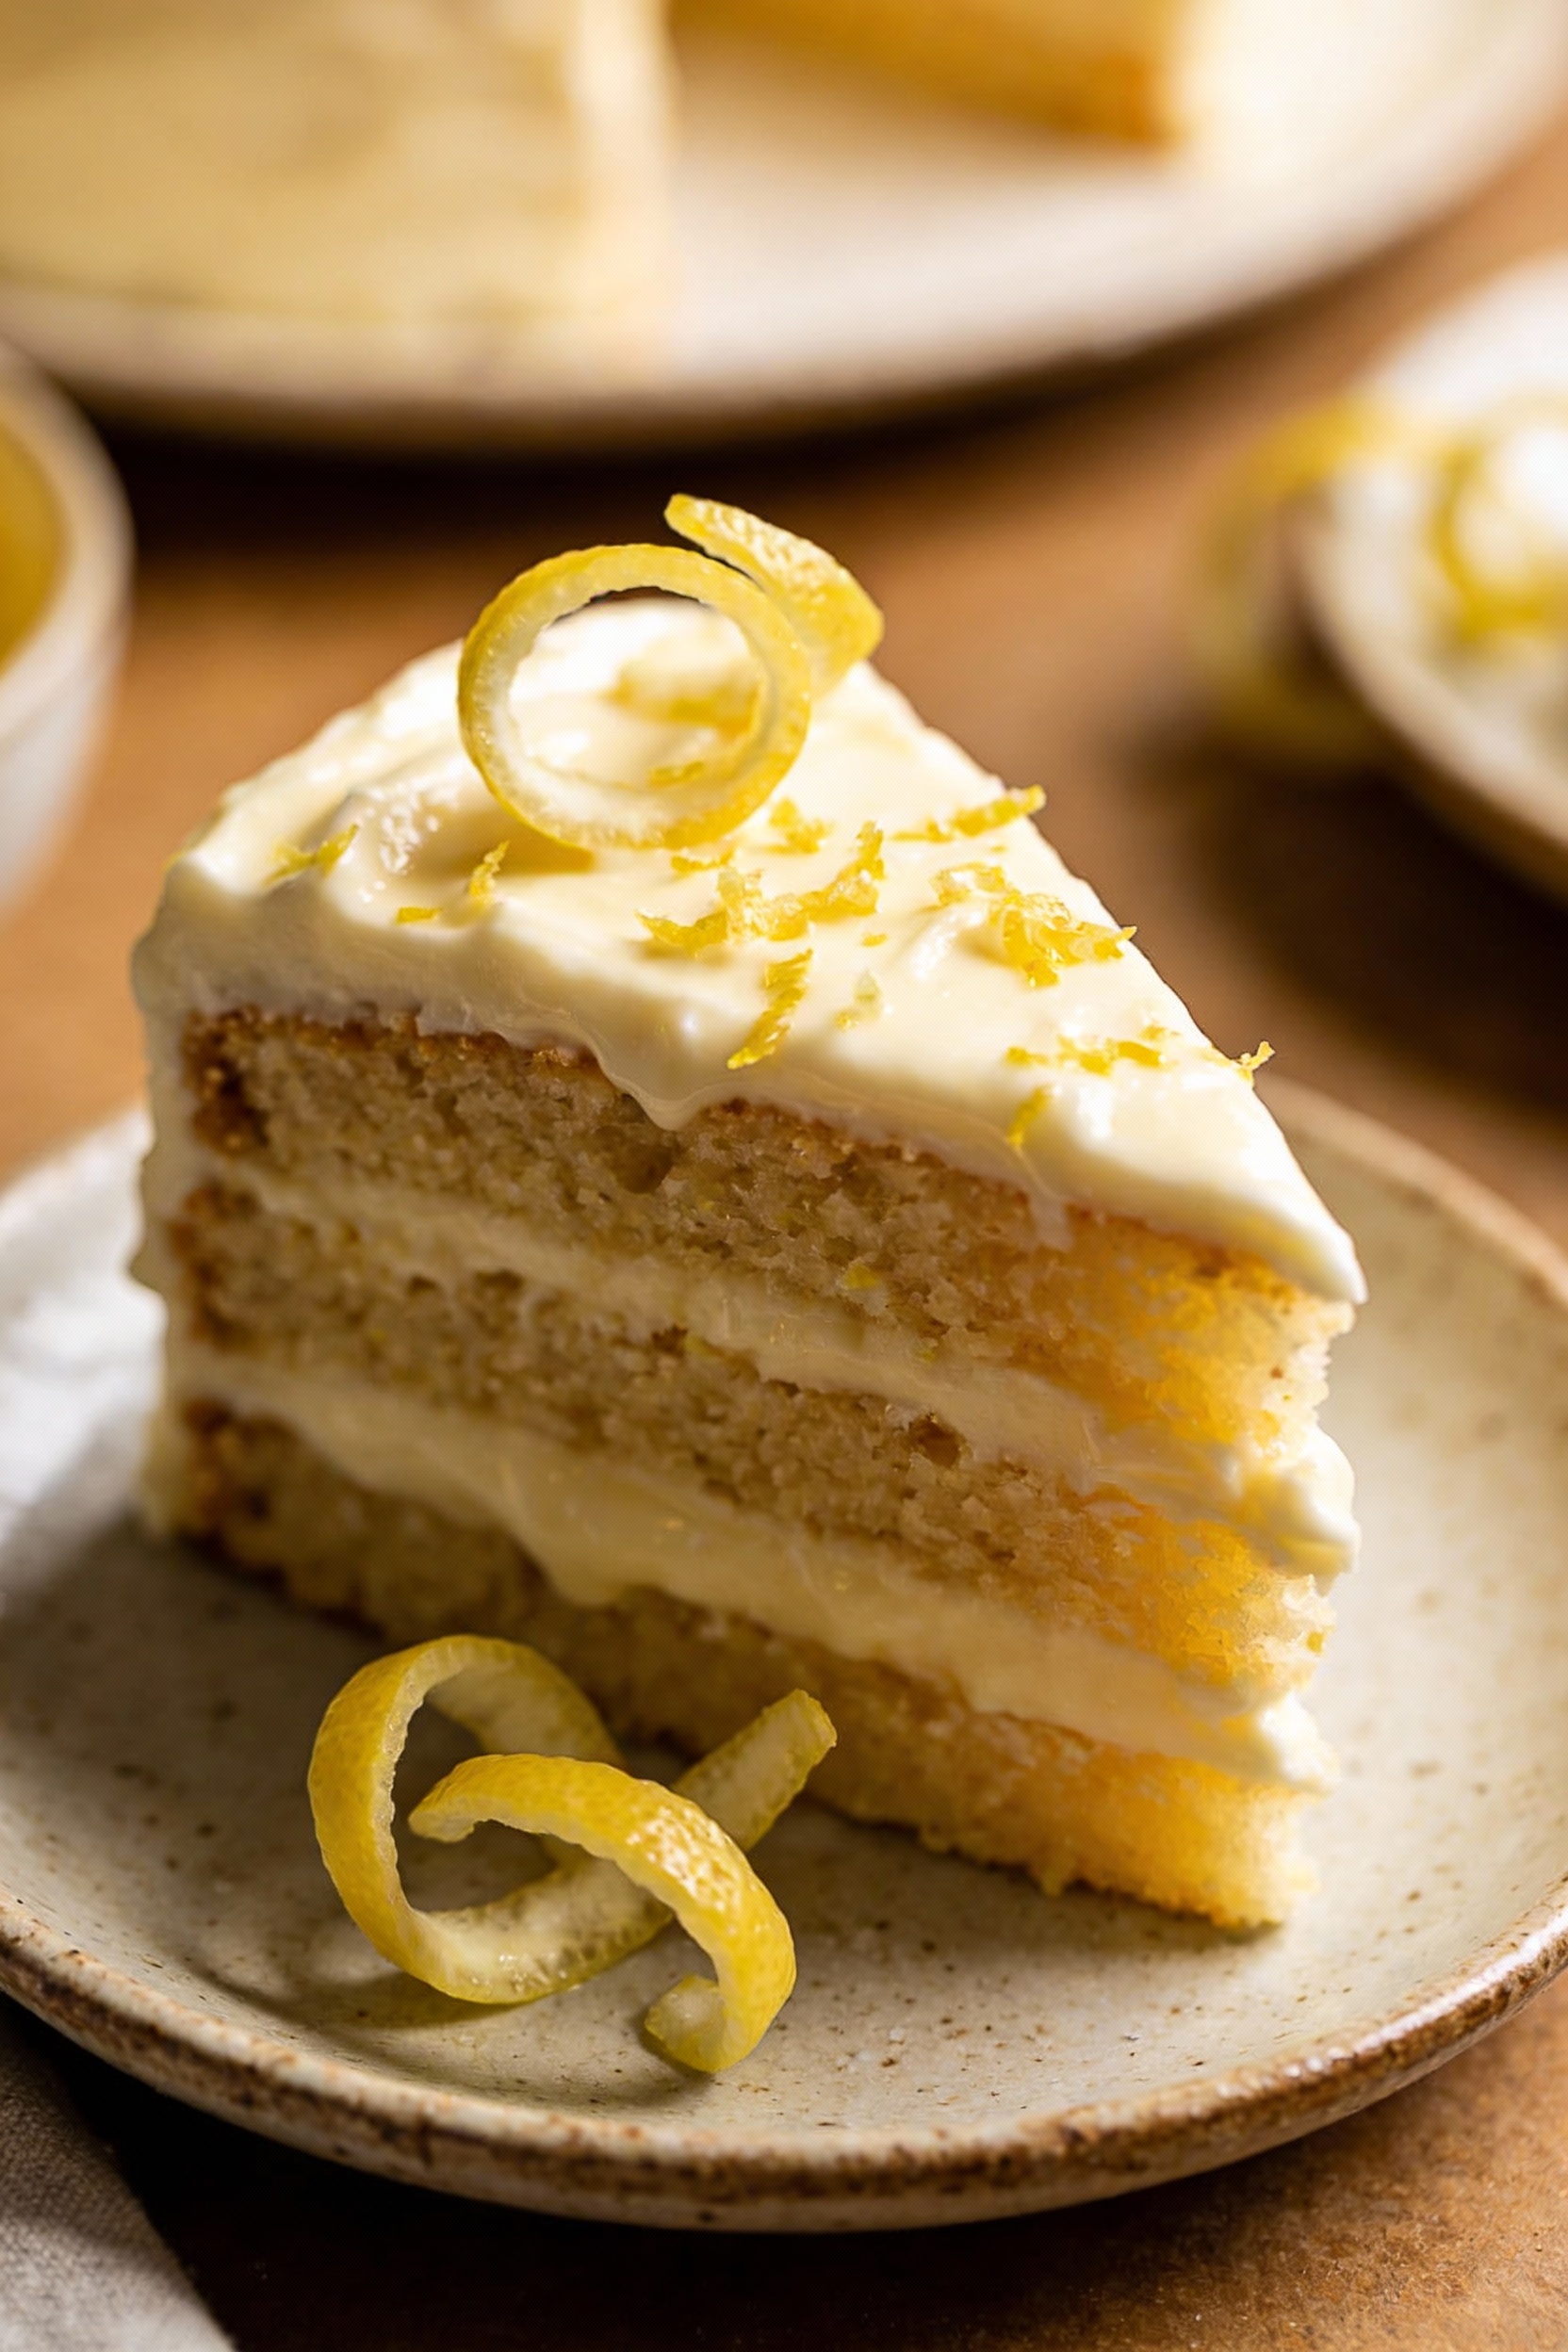
- Lemon: zest of 2 lemons plus 2 tablespoons lemon juice (reduce milk by 2 tablespoons)
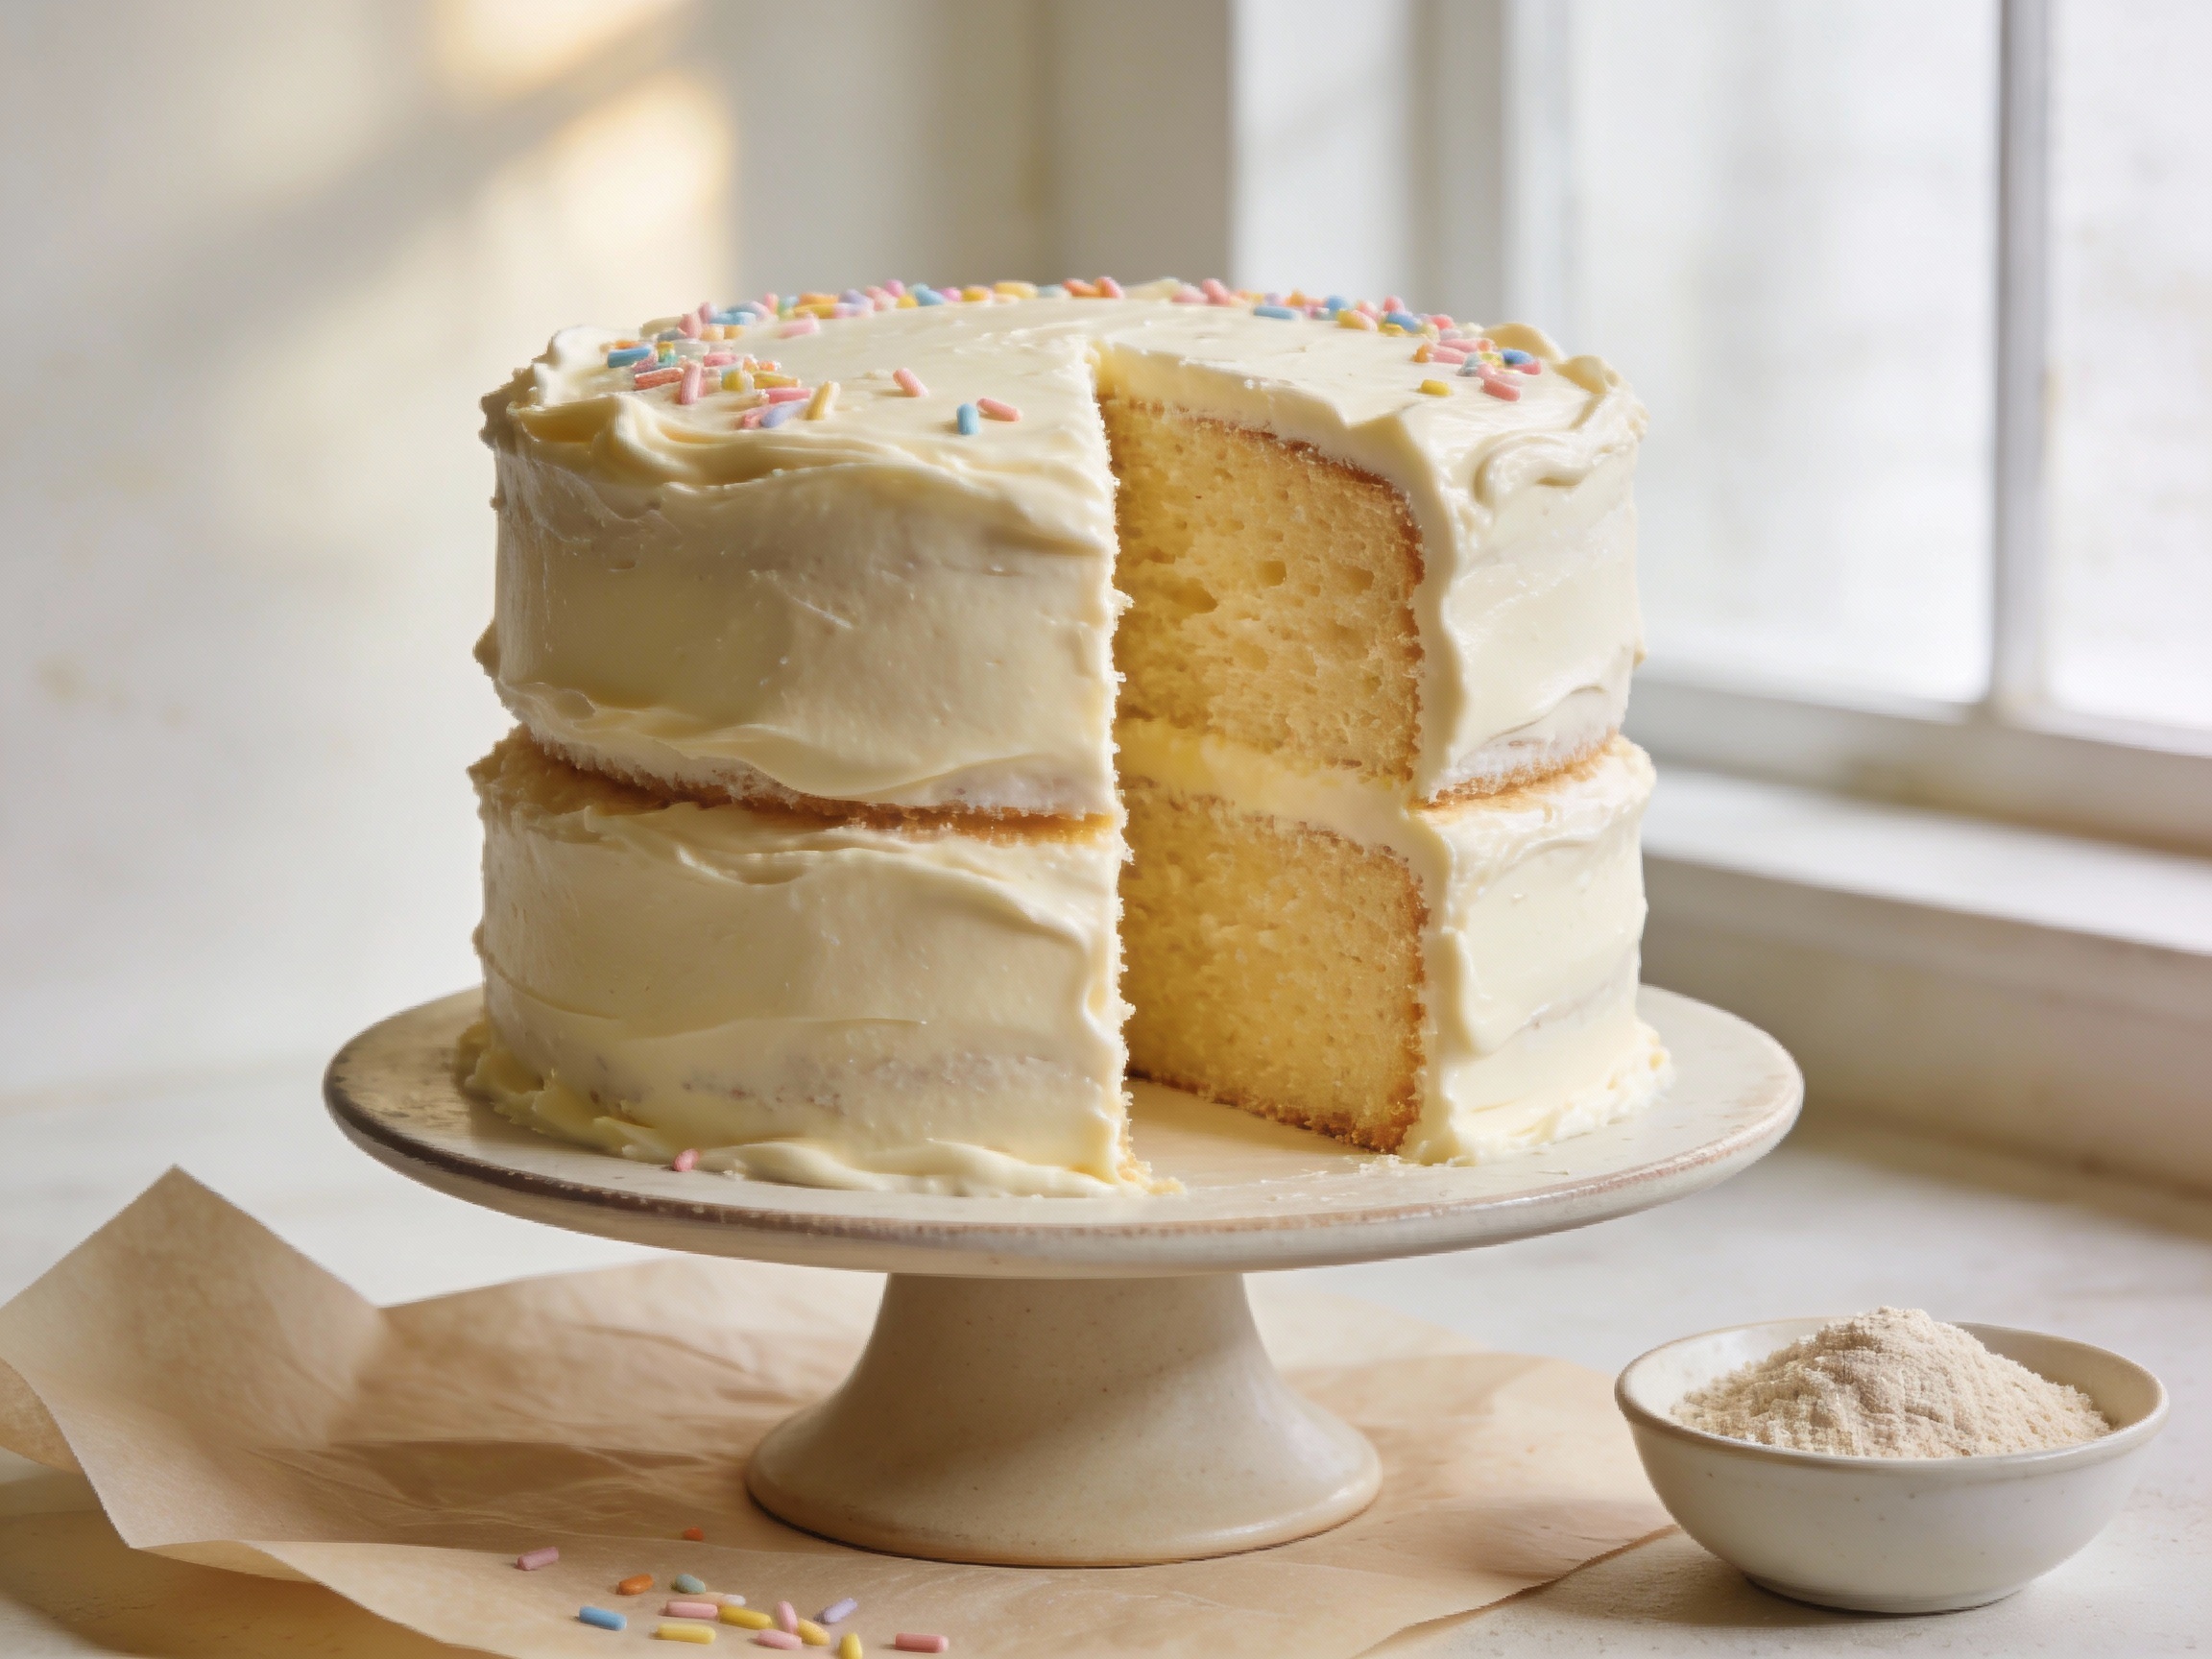
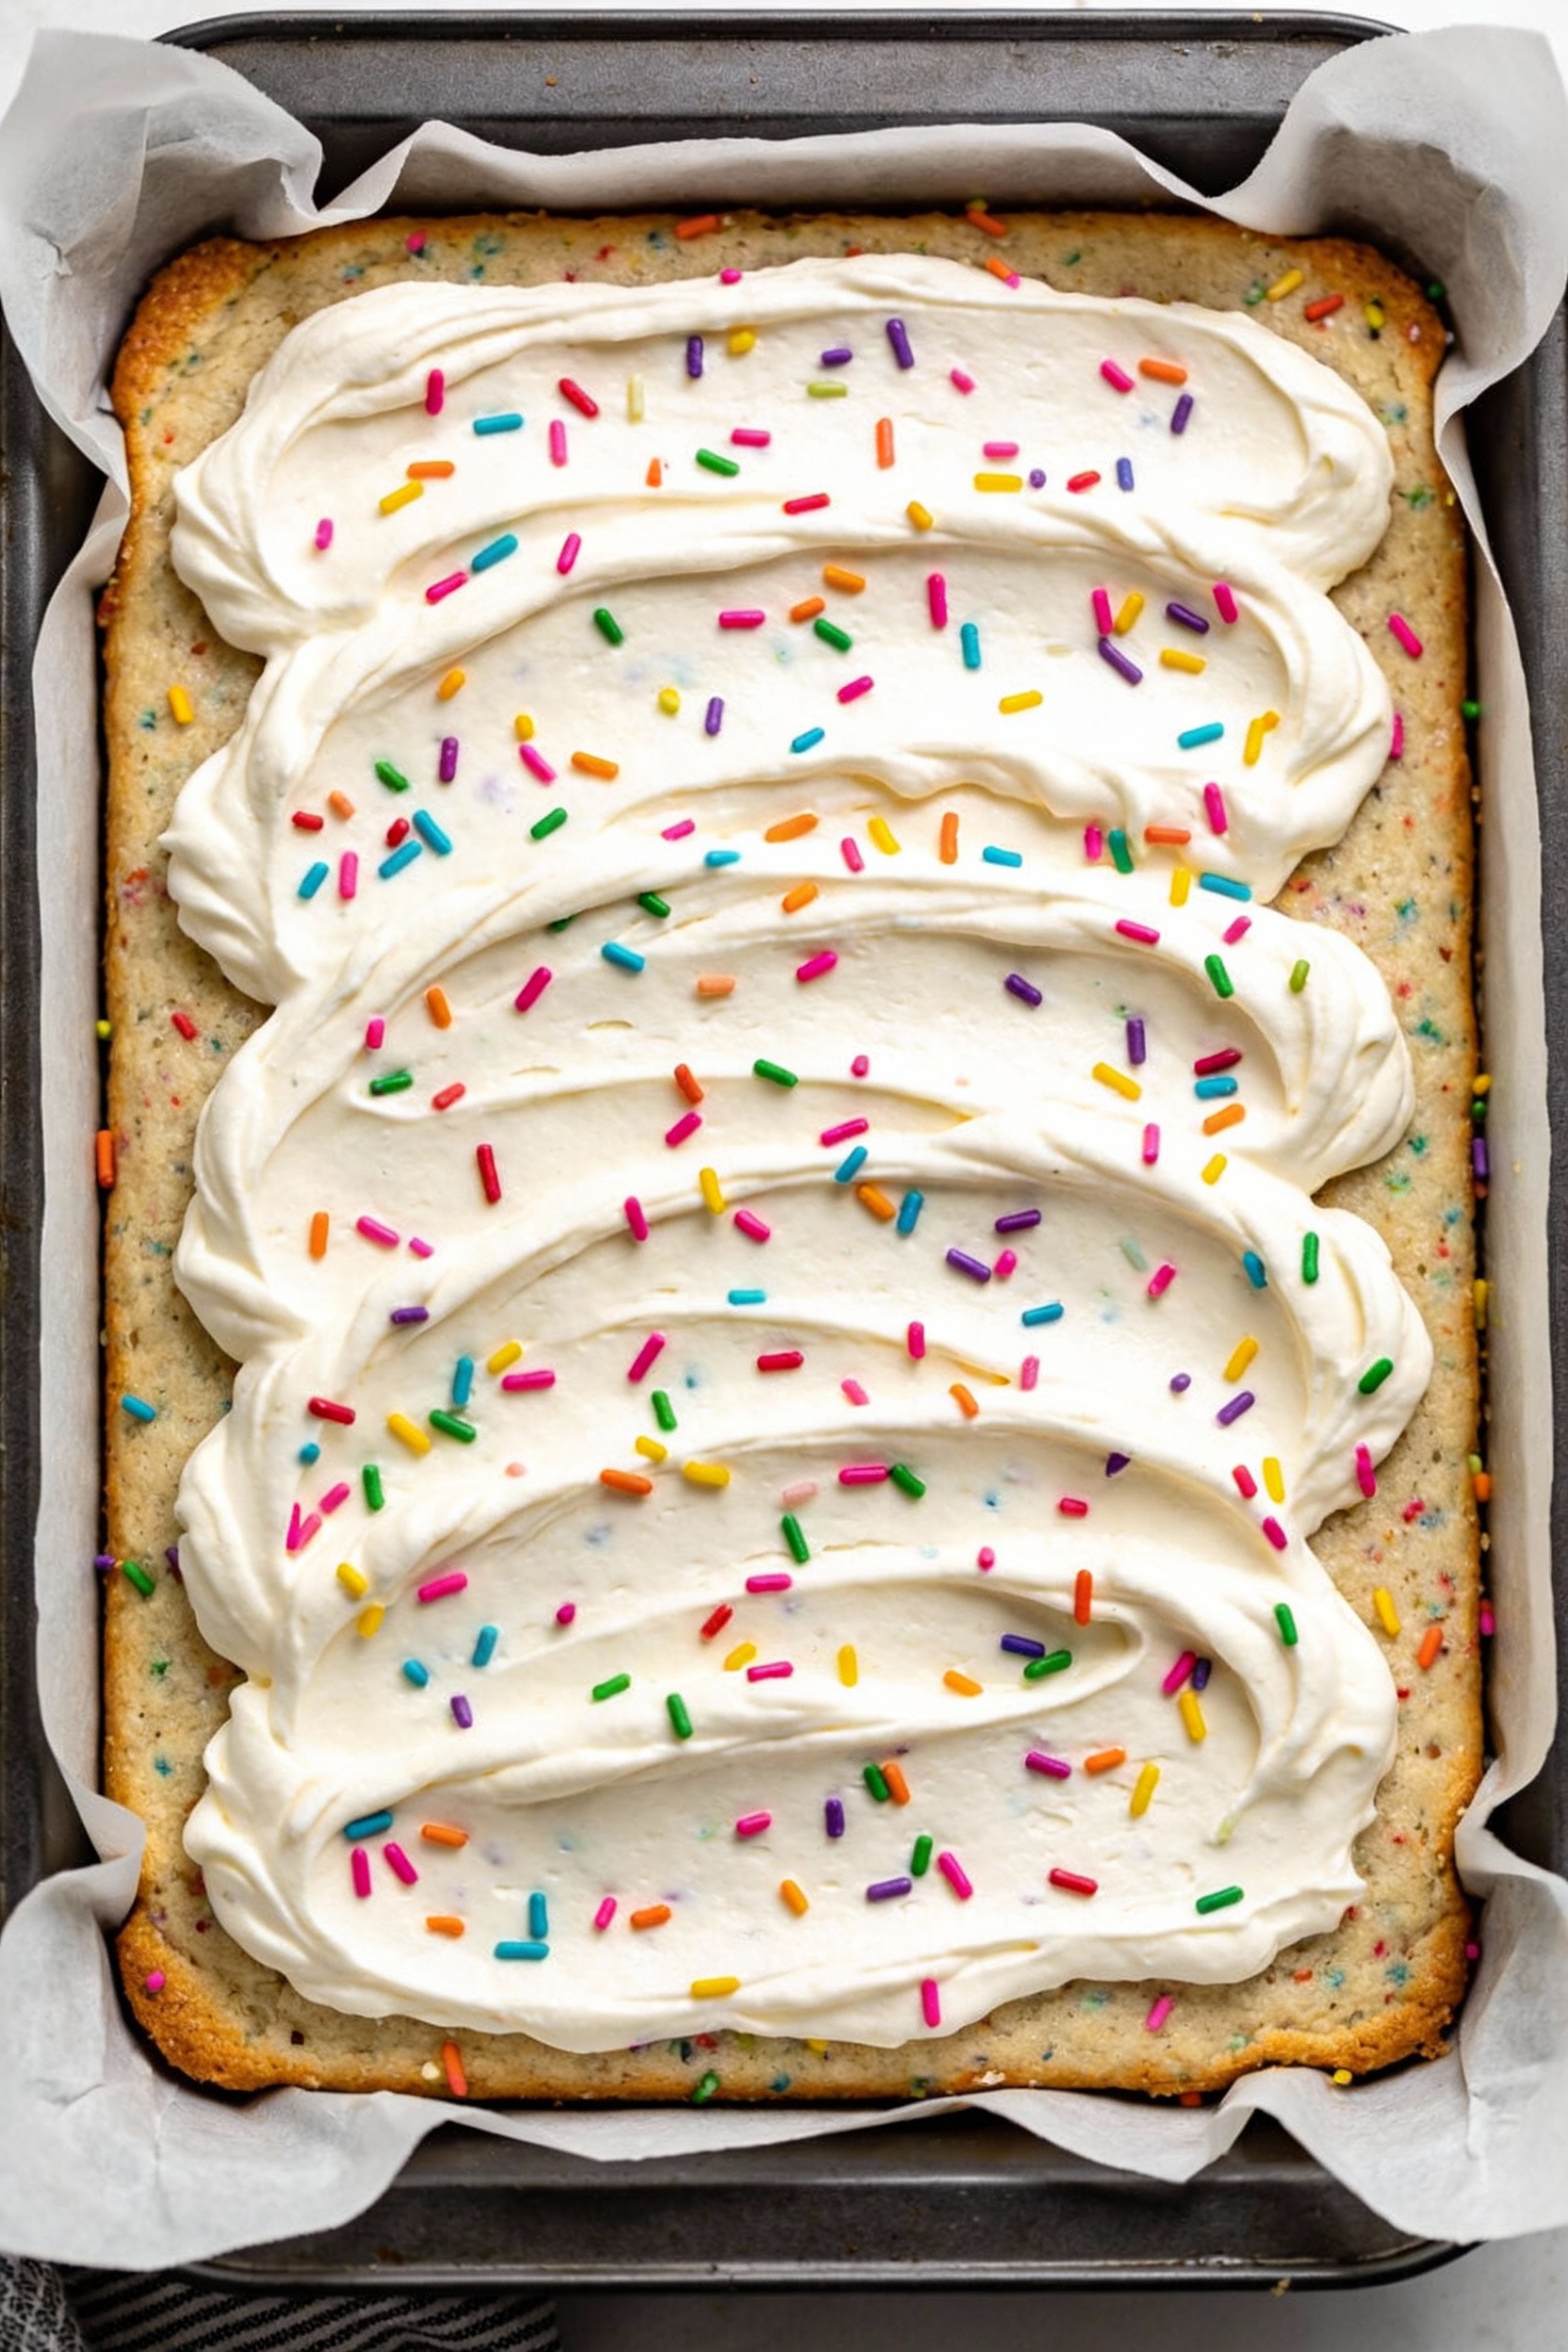
- Funfetti: 1/2 cup gluten-free rainbow sprinkles
- Spice: 2 teaspoons cinnamon plus 1/4 teaspoon nutmeg
Quick buttercream (optional but strongly encouraged):
- Unsalted butter, softened: 1 cup
- Powdered sugar: 3 1/2 to 4 cups
- Milk or cream: 2 to 4 tablespoons
- Vanilla extract: 2 teaspoons
- Pinch of salt: to taste
Step-by-Step Instructions
Follow this list and you’ll look like you “just threw it together,” which is the best kind of lie.
-
Prep the pans. Heat oven to 350°F. Grease two 8-inch pans and line bottoms with parchment. Dust lightly with flour blend if you want extra insurance.
-
Whisk the dry team. In a bowl, whisk flour blend, almond flour, baking powder, baking soda, and salt until evenly combined. Break up any clumps like they owe you money.
-
Cream the base. In a large bowl, beat butter and sugar until fluffy, about 2 to 3 minutes. Add oil and beat again until glossy.
-
Add eggs with intention. Beat in eggs one at a time. Scrape the bowl so you don’t end up with a butter pocket hiding at the bottom like a prank.
-
Stir in the moisture. Mix in sour cream (or yogurt), vanilla, and vinegar. The batter might look slightly curdled for a second. Ignore it. It will behave.
-
Alternate dry and milk. Add half the dry mix, then half the milk. Repeat. Mix just until smooth and no dry streaks remain. Overmixing is how you earn a dense cake, FYI.
-
Choose your flavor. Fold in your chosen add-ins. For cocoa, whisk cocoa into the dry mix first and add the extra milk so the batter stays silky.
-
Rest the batter. Let it sit 10 minutes. Gluten-free flours hydrate slowly, and this rest helps the crumb set up tender instead of gritty.
-
Bake smart. Divide batter evenly into pans. Bake 25 to 32 minutes, or until the center springs back and a toothpick comes out with a few moist crumbs.
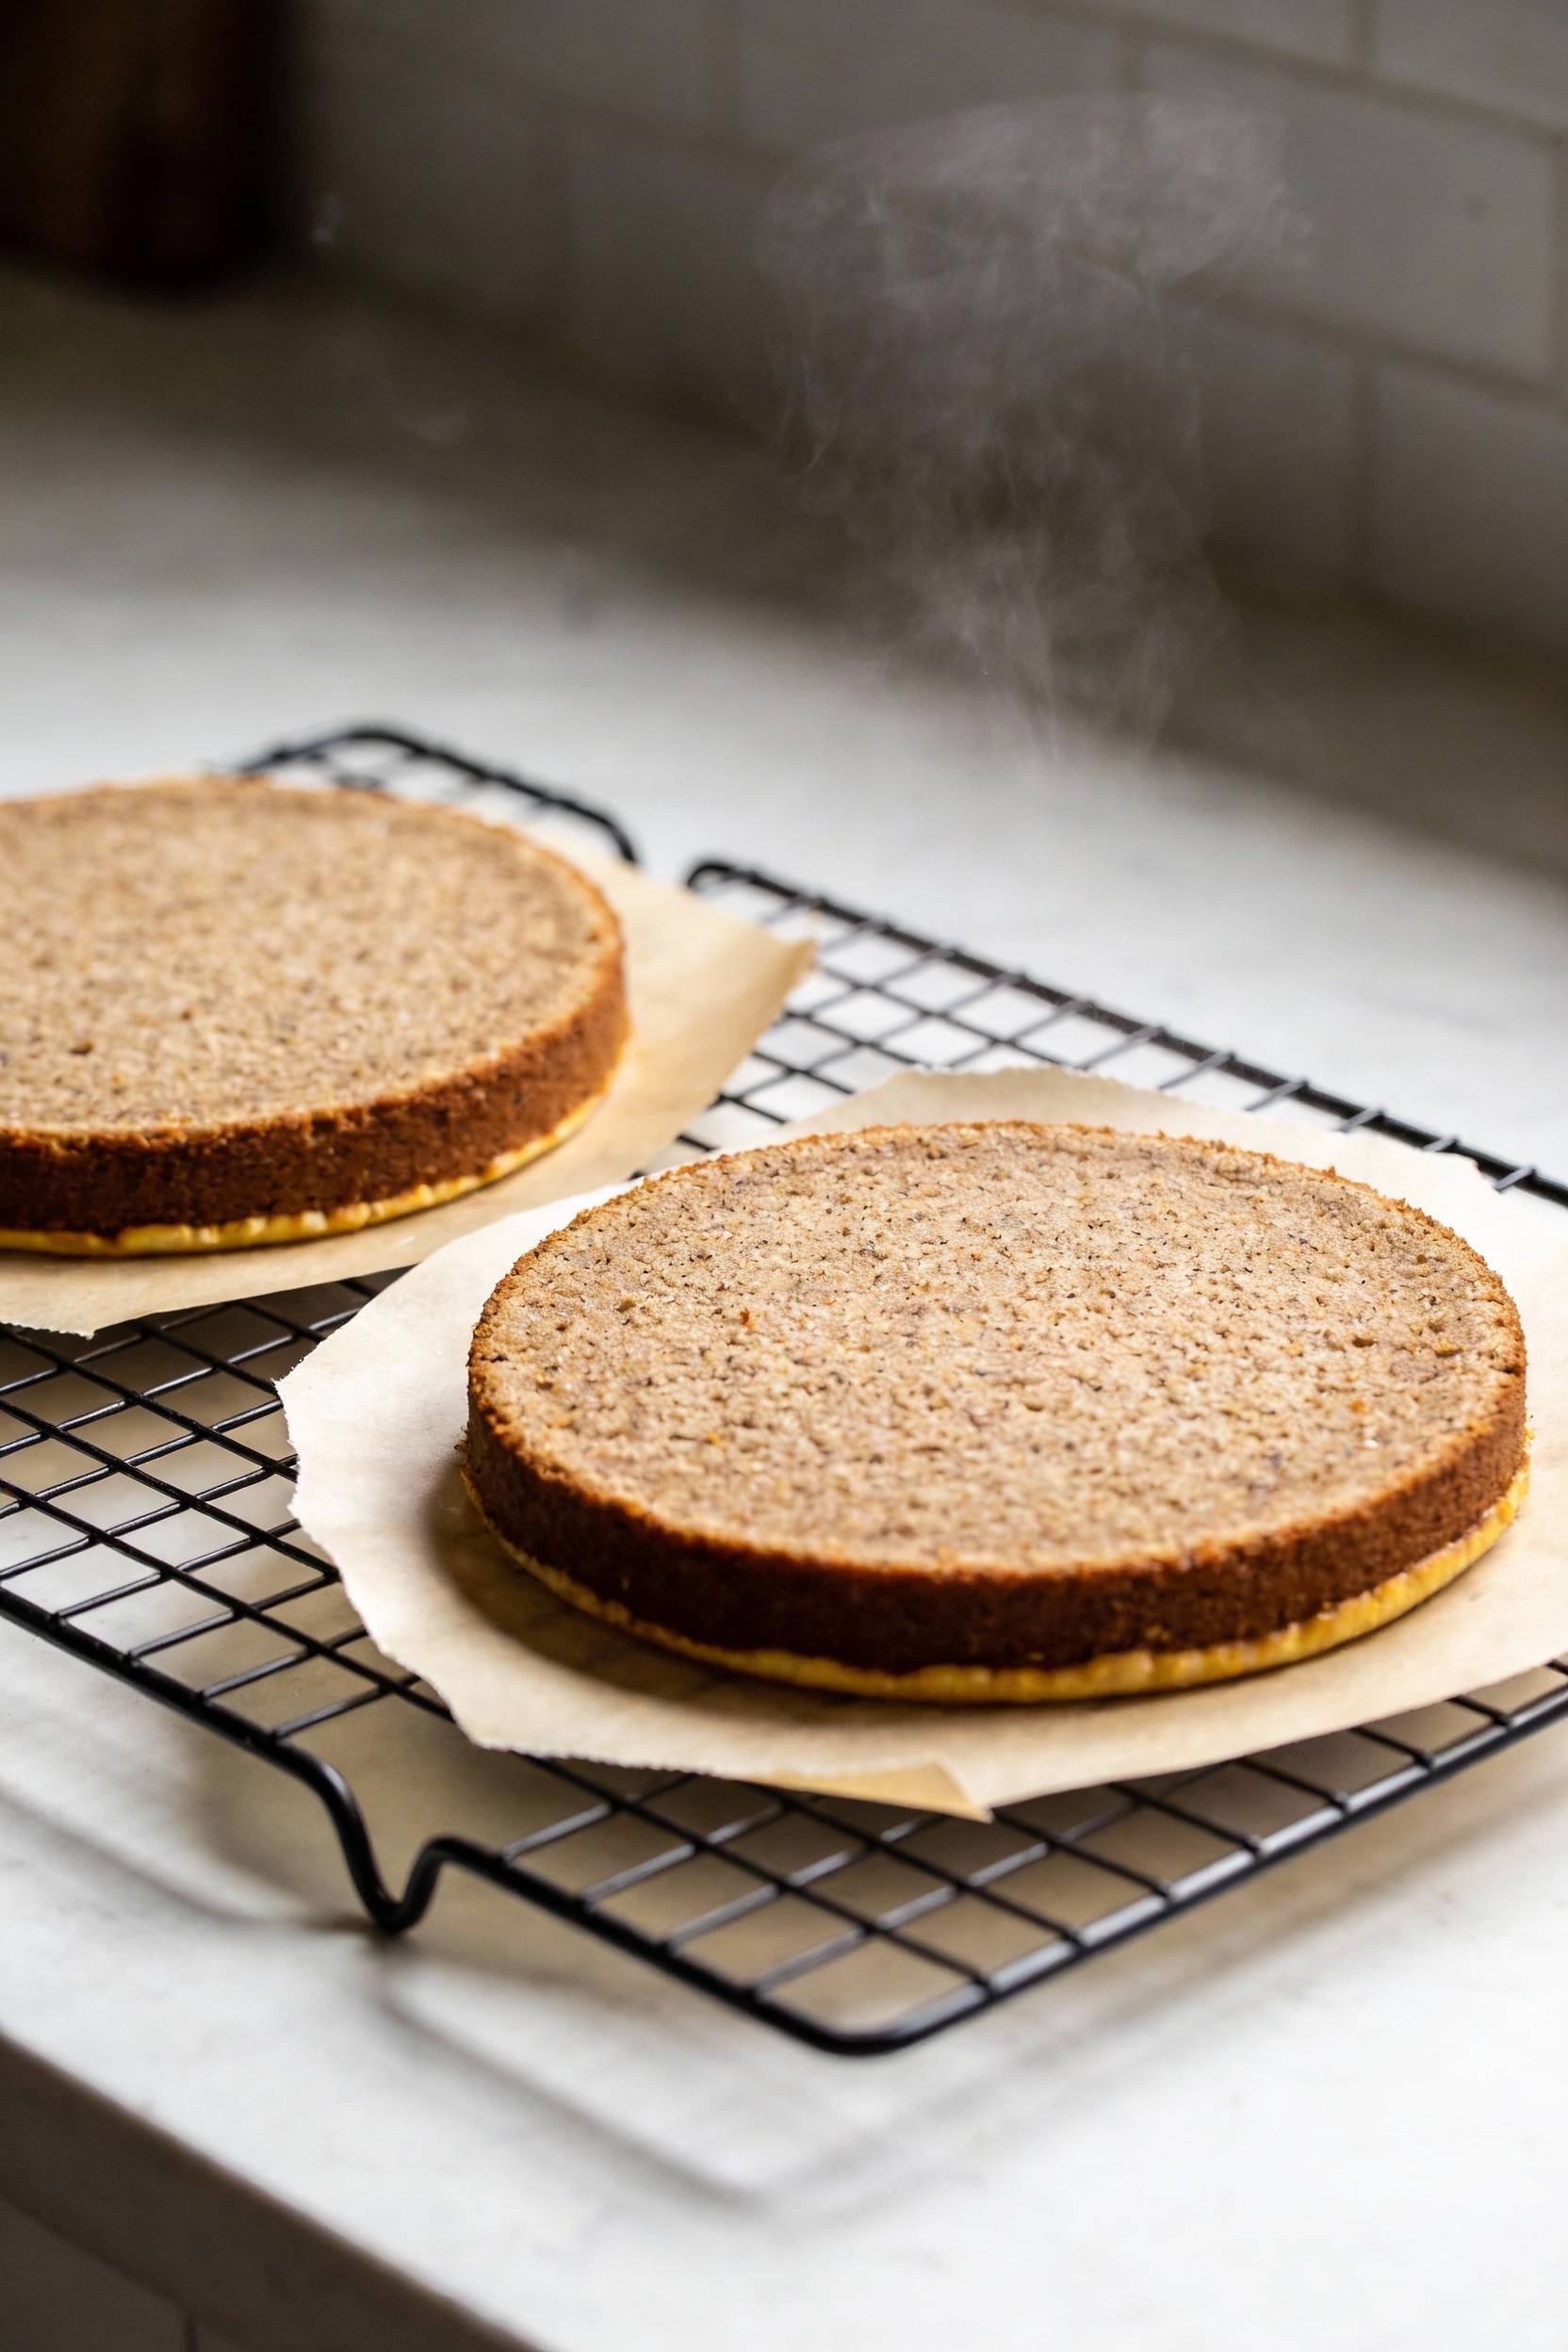
-
Cool like a pro. Cool in pans 10 minutes, then turn out onto a rack. Cool completely before frosting unless you enjoy buttercream sliding off like it’s escaping.
-
Optional buttercream. Beat butter until smooth. Add powdered sugar in batches, then vanilla, salt, and milk until spreadable. Taste and adjust. You’re the boss.
-
Assemble and level up. Trim domes if needed. Frost, stack, crumb coat, chill 15 minutes, then finish frosting. Add sprinkles or lemon zest if you want applause.
How to Store
Store frosted cake covered at cool room temperature for up to 2 days if your kitchen isn’t tropical. For longer storage, refrigerate it covered for up to 5 days. Let slices sit at room temp 20 to 30 minutes before eating so the crumb softens back up.
For freezing, wrap unfrosted layers tightly in plastic wrap, then foil, and freeze up to 2 months. Thaw overnight in the fridge, then bring to room temp before frosting. You can also freeze frosted slices on a tray, then wrap them individually for emergency cake situations, which are real and valid.
What’s Great About This
- Fluffy, not fragile so you can actually stack layers without fear.
- Moist for days thanks to sour cream and oil working as a team.
- Adaptable flavors with small, predictable changes.
- No gritty texture when you rest the batter and measure correctly.
- Reliable rise with both baking powder and baking soda.
Don’t Make These Errors
- Skipping the parchment. Gluten-free cakes can cling harder than a bad memory. Line the pans and save your sanity.
- Measuring flour by “vibes.” Spoon into the cup and level, or use a scale. Too much flour makes the crumb dry and tight.
- Overbaking to “be safe.” That’s how you get cardboard. Pull it when the center springs back and crumbs look moist.
- Not resting the batter. Hydration matters. Ten minutes can be the difference between tender and sandy.
- Cold ingredients. They won’t emulsify well, and the batter turns lumpy. Room temp is the quiet hero here.
- Using a flour blend without xanthan gum. If your blend lacks it, add 1 teaspoon xanthan gum or the cake may crumble.
Alternatives
Want to customize without breaking the texture? Here are swaps that actually work.
- Dairy-free: Use dairy-free butter, unsweetened plant milk, and dairy-free yogurt or sour cream. Choose a thicker yogurt for best structure.
- Egg-free: Use 3 flax eggs (3 tablespoons ground flax plus 9 tablespoons water) and add 1/4 teaspoon baking powder. Expect a slightly denser crumb, but still tasty.
- Lower sugar: Reduce sugar to 1 1/2 cups. The cake will be slightly less moist and less tender, but still solid.
- No almond flour: Replace almond flour with 1/2 cup more gluten-free flour blend and add 1 extra tablespoon oil for moisture.
- Cupcakes: Fill liners 2/3 full and bake 16 to 20 minutes. Cool completely before frosting or they’ll sweat.
If you want a naturally gluten-free route, you can explore almond-based or flourless chocolate cakes. They’re rich and dramatic, but they won’t give you that classic birthday-cake crumb. Different vibe, same happiness.
FAQ
Which gluten-free flour blend works best for cake?
Use a 1-to-1 all-purpose blend designed for baking that includes xanthan gum. If your blend doesn’t include it, add about 1 teaspoon for this cake to help it hold together and slice cleanly.
Why does my gluten-free cake taste gritty?
Grit usually comes from under-hydrated rice flour or a dry batter. Rest the batter 10 minutes, measure flour carefully, and don’t skip the sour cream or yogurt. IMO, the rest step does more than people want to admit.
How do I keep gluten-free cake from being dry?
Use a mix of butter and oil, include a creamy ingredient like sour cream, and don’t overbake. Also, store it covered so moisture stays in the cake instead of evaporating into your kitchen like it’s trying to ghost you.
Can I make this as a sheet cake?
Yes. Bake in a greased and parchment-lined 9×13-inch pan at 350°F for about 30 to 38 minutes. Start checking early because sheet cakes can overbake fast around the edges.
Do I need to chill the cake before frosting?
You don’t have to, but chilling the layers for 20 to 30 minutes makes them easier to handle and reduces crumbs. It’s especially helpful if you’re stacking layers and want clean sides.
How do I know when it’s done if toothpicks lie?
Look for a springy center, lightly golden edges, and a cake that begins to pull away from the pan. A toothpick should come out with moist crumbs, not wet batter. If it’s totally clean, you might already be one minute late.
Final Thoughts
This is the kind of cake that makes gluten-free feel like a non-issue, not a disclaimer. Once you nail the master batter, you can crank out birthday cakes, cupcakes, brunch cakes, and “I had a long day” cakes on repeat. Keep your ingredients room temp, rest the batter, and don’t overbake. That’s the whole game.
If you tell people it’s gluten-free, they’ll act surprised. If you don’t, they’ll just ask for seconds. Choose your chaos wisely.