Icebox Cake Recipes That Taste Bakery-level Fast
No oven, no stress: layer, chill, and slice a creamy crowd-pleaser that looks fancy, feeds a group, and fits busy days.
You want a dessert that gets compliments like you hired a pastry chef, but you also want to do absolutely nothing. Fair. Icebox cake is the cheat code: stack, chill, and let time do the hard work. It’s the kind of dessert that feels illegal because it’s so low effort. If you can spread whipped cream and line up cookies, you can “bake” a masterpiece. And yes, people will ask for the recipe like it took you hours.
Why This Recipe Works
Icebox cake wins because it uses simple science that acts like magic. The cookies soften as they chill, soaking up moisture from the cream and turning into tender, cake-like layers. Meanwhile, the filling sets up so every slice holds its shape instead of sliding into a creamy landslide. The result tastes like tiramisu’s laid-back cousin who still shows up looking great.
It’s also flexible. You can swap flavors, add fruit, go chocolate-heavy, or keep it classic vanilla. The fridge does the work, which means you get a “wow” dessert without heating up the kitchen. IMO, this is peak dessert engineering.
What Goes Into This Recipe – Ingredients
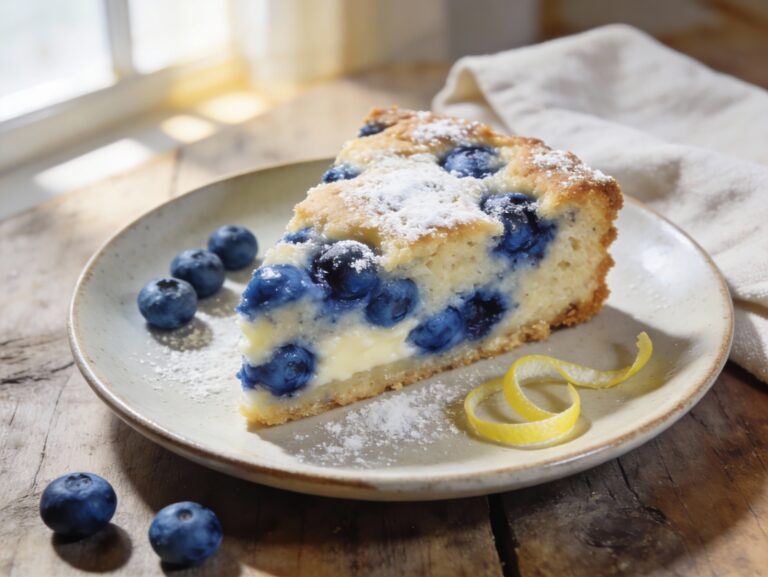
This is a classic no-bake vanilla-and-berries icebox cake foundation you can remix endlessly. Use what you have, but keep the structure: crunchy layers plus a creamy filling that can set.
- Graham crackers (or vanilla wafers, chocolate wafers, or digestive biscuits)
- Heavy whipping cream (cold)
- Cream cheese (softened, optional but adds stability)
- Powdered sugar
- Vanilla extract
- Pinch of salt
- Fresh strawberries (sliced)
- Fresh blueberries (or raspberries, blackberries)
- Lemon zest (optional, brightens the flavor)
- Mini chocolate chips or chocolate shavings (optional topping)
- Jam (optional thin layer for extra fruit punch)
How to Make It – Instructions
This listicle format keeps it simple. You’ll build layers like a dessert architect who refuses to use an oven.
-
Pick your pan. Use a 9×13 dish for a party or an 8×8 for smaller batches. Line with parchment if you want clean slices and zero drama.
-
Whip the base. Beat cold heavy cream until it thickens, then add powdered sugar, vanilla, and salt. Stop at stiff peaks so it holds layers instead of oozing.
-
Add the “cheat code” (optional). Beat softened cream cheese until smooth, then fold in a portion of whipped cream. This makes the filling sturdier and more sliceable.
-
Start the first layer. Spread a thin layer of cream on the bottom of the dish. This keeps the cookies from sliding like they’re on a water park ride.
-
Lay down cookies. Add a single layer of graham crackers, breaking pieces to fit. Aim for full coverage so every bite gets that cake-like texture.
-
Spread, then fruit. Add a thick layer of cream, then sprinkle on berries. If you want extra flavor, dot a few teaspoons of jam and lightly swirl.
-
Repeat like you mean it. Keep layering cookies, cream, and fruit until you reach the top. Finish with cream so it looks clean and inviting.
-
Top it off. Add lemon zest, chocolate shavings, or extra berries. Keep toppings light so slicing stays neat.
-
Chill for the transformation. Cover and refrigerate at least 6 hours, ideally overnight. FYI, patience tastes like better texture.
-
Slice and serve. Use a sharp knife, wipe between cuts, and act surprised when everyone asks how you made it.
Preservation Guide
Icebox cake stores like a champ, but it has a prime window where it tastes best. Think of it like peak avocado timing, except less stressful and more delicious.
- Refrigerator: Cover tightly and store for up to 3 days. Best texture hits around 12 to 36 hours.
- Freezer: Freeze up to 1 month for a firmer, ice-cream-cake vibe. Wrap well to prevent freezer odors from joining the party.
- Thawing: Thaw in the fridge for 4 to 6 hours. For clean slices, cut while still slightly frozen.
- Make-ahead tip: Assemble the night before and add delicate toppings (like extra berries) right before serving.
If your cake gets a little soft on day three, it’s not ruined. It just turned into a more pudding-like dessert, which is still a win if you’re honest with yourself.
Health Benefits
Let’s be real: this is dessert, not a multivitamin. But you can make choices that keep it feeling lighter while still tasting like a celebration. The fruit adds fiber, antioxidants, and brightness that balances the rich cream. And portion control is easier when slices look pretty and intentional.
- Berries: Provide antioxidants and vitamin C, plus they make the whole dessert taste fresher.
- Homemade control: You choose sugar level, toppings, and portion size instead of guessing what’s in a store-bought cake.
- No baking required: Less heat in the kitchen, which is a summer “health benefit” for your mood.
- Protein boost option: Add Greek yogurt to the filling for a tangy, slightly higher-protein twist.
If you want a lighter version, use less filling per layer and lean on fruit for volume. Your taste buds won’t file a complaint.
Don’t Make These Errors
Icebox cake looks forgiving, but it has a few classic mistakes that can turn “wow” into “why is this soup.” Avoid these and you’ll look unstoppable.
- Not chilling long enough: The cookies need time to soften and the filling needs time to set. Rushing equals messy slices.
- Under-whipping the cream: Soft peaks won’t hold layers. Whip to stiff peaks so it stacks like a proper dessert.
- Overloading watery fruit: Too much juicy fruit can thin the filling. Pat berries dry and don’t pile them like a fruit salad.
- Using thin cookies without support: Very delicate cookies can vanish into mush. Pair them with a firmer filling or mix cookie types.
- Skipping the bottom cream layer: Cookies on a dry dish slide around and break. A thin cream “glue” fixes it.
- Adding heavy toppings too early: Crunchy toppings get soggy fast. Add them closer to serving if you want texture.
Also, don’t “eyeball” salt like it’s optional. A tiny pinch makes the sweetness pop and keeps the flavor from tasting flat.
Mix It Up
Once you master the base, you can spin out flavors like you run a dessert studio. Pick a theme, keep the layering logic, and you’re golden.
- Chocolate peanut butter: Chocolate wafers, peanut butter folded into the filling, and a drizzle of chocolate on top.
- Cookies and cream: Crushed chocolate sandwich cookies between layers and a vanilla filling. Extra crumbs on top for maximum effect.
- Banana pudding style: Vanilla wafers, sliced bananas, and a touch of cinnamon. Add a thin caramel drizzle if you want chaos.
- Lemon berry: Add lemon zest and a spoonful of lemon curd between layers. Bright, tangy, and dangerously easy.
- Mocha tiramisu-ish: Dip ladyfingers quickly in coffee, then layer with a cream-cheese filling and cocoa dusting.
- Mint chocolate: Add peppermint extract sparingly and use chocolate wafers. Nobody wants toothpaste cake.
If you want it cleaner and sharper, use a loaf pan and slice it like a dessert terrine. Fancy look, same effort level.
FAQ
How long should an icebox cake chill before serving?
Chill it at least 6 hours, but overnight gives the best sliceable texture. The cookies soften fully and the cream sets so it cuts clean instead of collapsing.
Can I make icebox cake without cream cheese?
Yes. Use whipped cream stabilized with powdered sugar and whip to stiff peaks. Cream cheese just adds structure and a slight tang, but it’s optional.
What cookies work best for icebox cake?
Graham crackers, chocolate wafers, vanilla wafers, ladyfingers, and digestive biscuits all work well. Choose a cookie that starts crisp so it can transform into cake-like layers.
Why is my icebox cake runny?
Usually the cream wasn’t whipped enough, the cake didn’t chill long enough, or the fruit added too much water. Whip to stiff peaks, chill overnight, and pat fruit dry before layering.
Can I freeze icebox cake?
Yes, and it tastes amazing frozen. Wrap it tightly and freeze up to a month, then thaw in the fridge for several hours or slice slightly frozen for extra neat portions.
How do I get clean slices?
Chill thoroughly, use a sharp knife, and wipe the blade between cuts. If you want picture-perfect edges, freeze for 30 to 60 minutes before slicing.
Can I make a dairy-free version?
Yes. Use coconut cream or a plant-based whipping cream alternative and dairy-free cookies. Make sure the filling can set firmly, then chill overnight for best results.
The Bottom Line
Icebox cake is the ultimate “I’m busy but still impressive” dessert. You layer crisp cookies with a whipped filling, chill, and let the fridge turn it into sliceable cake. It’s customizable, make-ahead friendly, and basically impossible to mess up if you respect the chill time. If you want maximum compliments for minimum effort, this is your move.