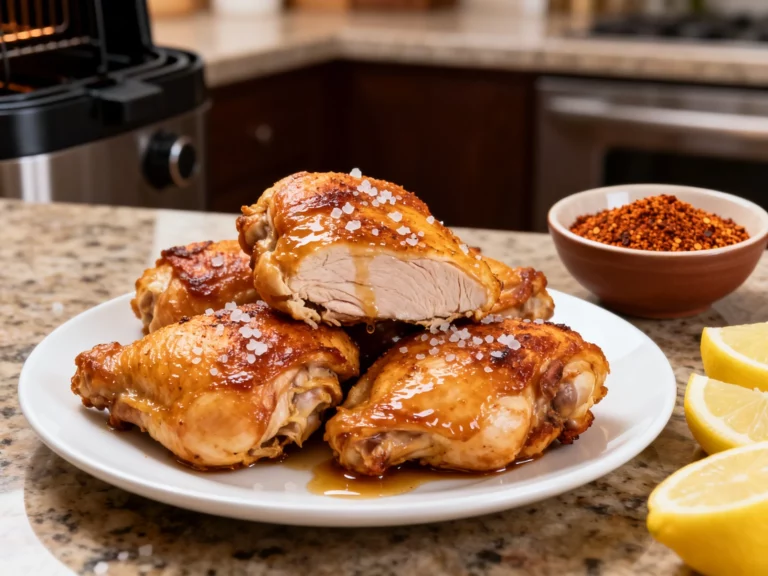
Air Fryer Chicken Thighs Boneless: Crispy, Juicy, Fast
Get weeknight-level speed with dinner-party flavor: tender meat, crackly edges, and a no-mess cleanup that feels like cheating.
You want the kind of chicken that tastes like you tried, without actually trying. You want juicy in the middle, crispy on the outside, and done before your stomach starts negotiating with the snack cabinet. This recipe hits that sweet spot where effort stays low and results stay loud. If your current “plan” is scrolling takeout apps, consider this your intervention.
Boneless thighs bring the flavor, the air fryer brings the crunch, and your kitchen stays weirdly calm. No greasy splatter, no babysitting a pan, no “is it done yet?” paranoia every two minutes. You’re basically outsourcing the hard part to hot circulating air. Modern problems, modern solutions.
What Makes This Special
Boneless chicken thighs don’t dry out like chicken breasts love to do. They have enough fat to stay tender, plus enough flavor to taste great with simple seasoning. The air fryer turns that advantage into a crispy-edged, juicy-centered win.
This method also builds a fast “mini-marinade” right on the surface. Salt and spices mix with a little oil, then the heat locks it in like a flavor seal. You get big taste without waiting hours, because honestly, who’s doing that on a Tuesday?
And cleanup stays laughably easy. One bowl, one basket, and you’re done. The only thing left is deciding whether you want to brag about it or pretend it “just happened.”
Ingredients Breakdown
These ingredients create a bold, savory profile with a little sweetness and heat. You can swap the spice level easily, but don’t skip the salt unless you enjoy bland regrets.
- Boneless, skinless chicken thighs (about 1 1/2 to 2 pounds, 6 to 8 thighs)
- Olive oil (1 tablespoon)
- Smoked paprika (2 teaspoons)
- Garlic powder (1 teaspoon)
- Onion powder (1 teaspoon)
- Kosher salt (1 to 1 1/2 teaspoons, to taste)
- Black pepper (1/2 teaspoon)
- Brown sugar (1 teaspoon, optional for caramelized edges)
- Cayenne pepper (pinch to 1/4 teaspoon, optional)
- Lemon (wedges for serving)
- Fresh parsley (optional garnish)
Instructions
This listicle-style flow keeps it simple and repeatable. Read it once, then cook like you’ve done it a hundred times.
-
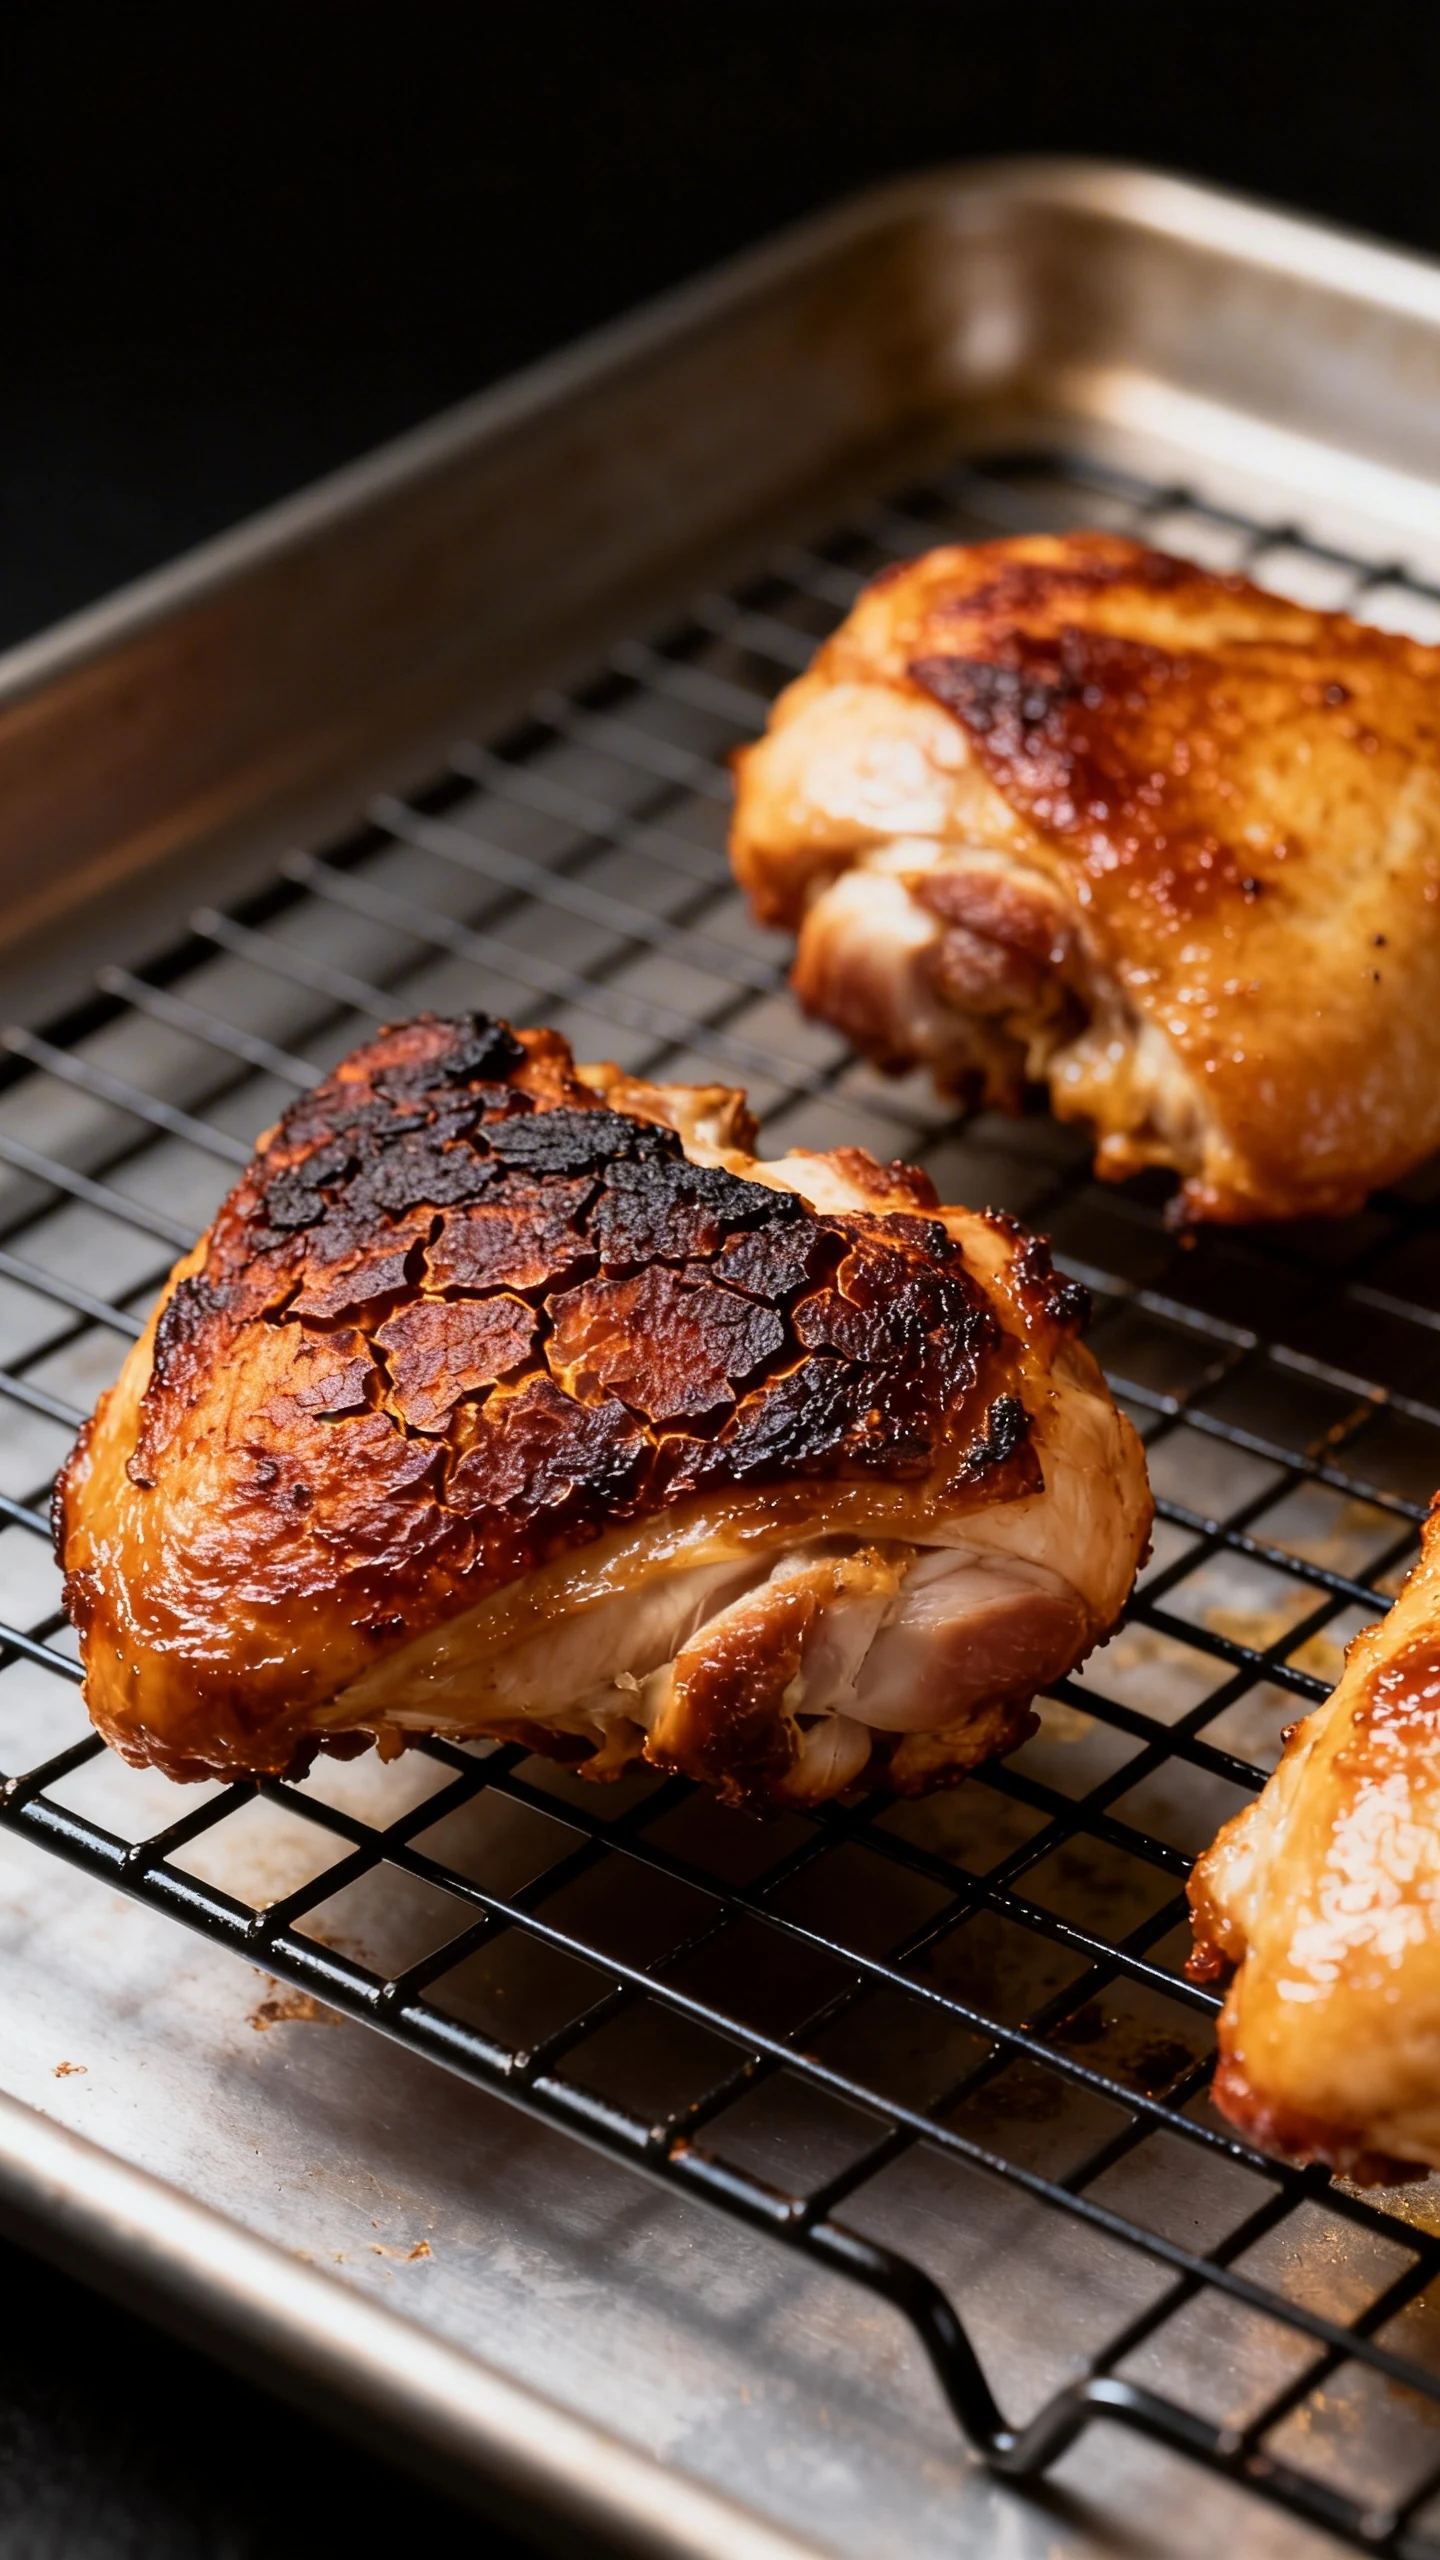
Pat the chicken dry like you mean it. Use paper towels and remove surface moisture. Dry meat browns better, and browning equals flavor. Wet chicken just steams and sulks.
-
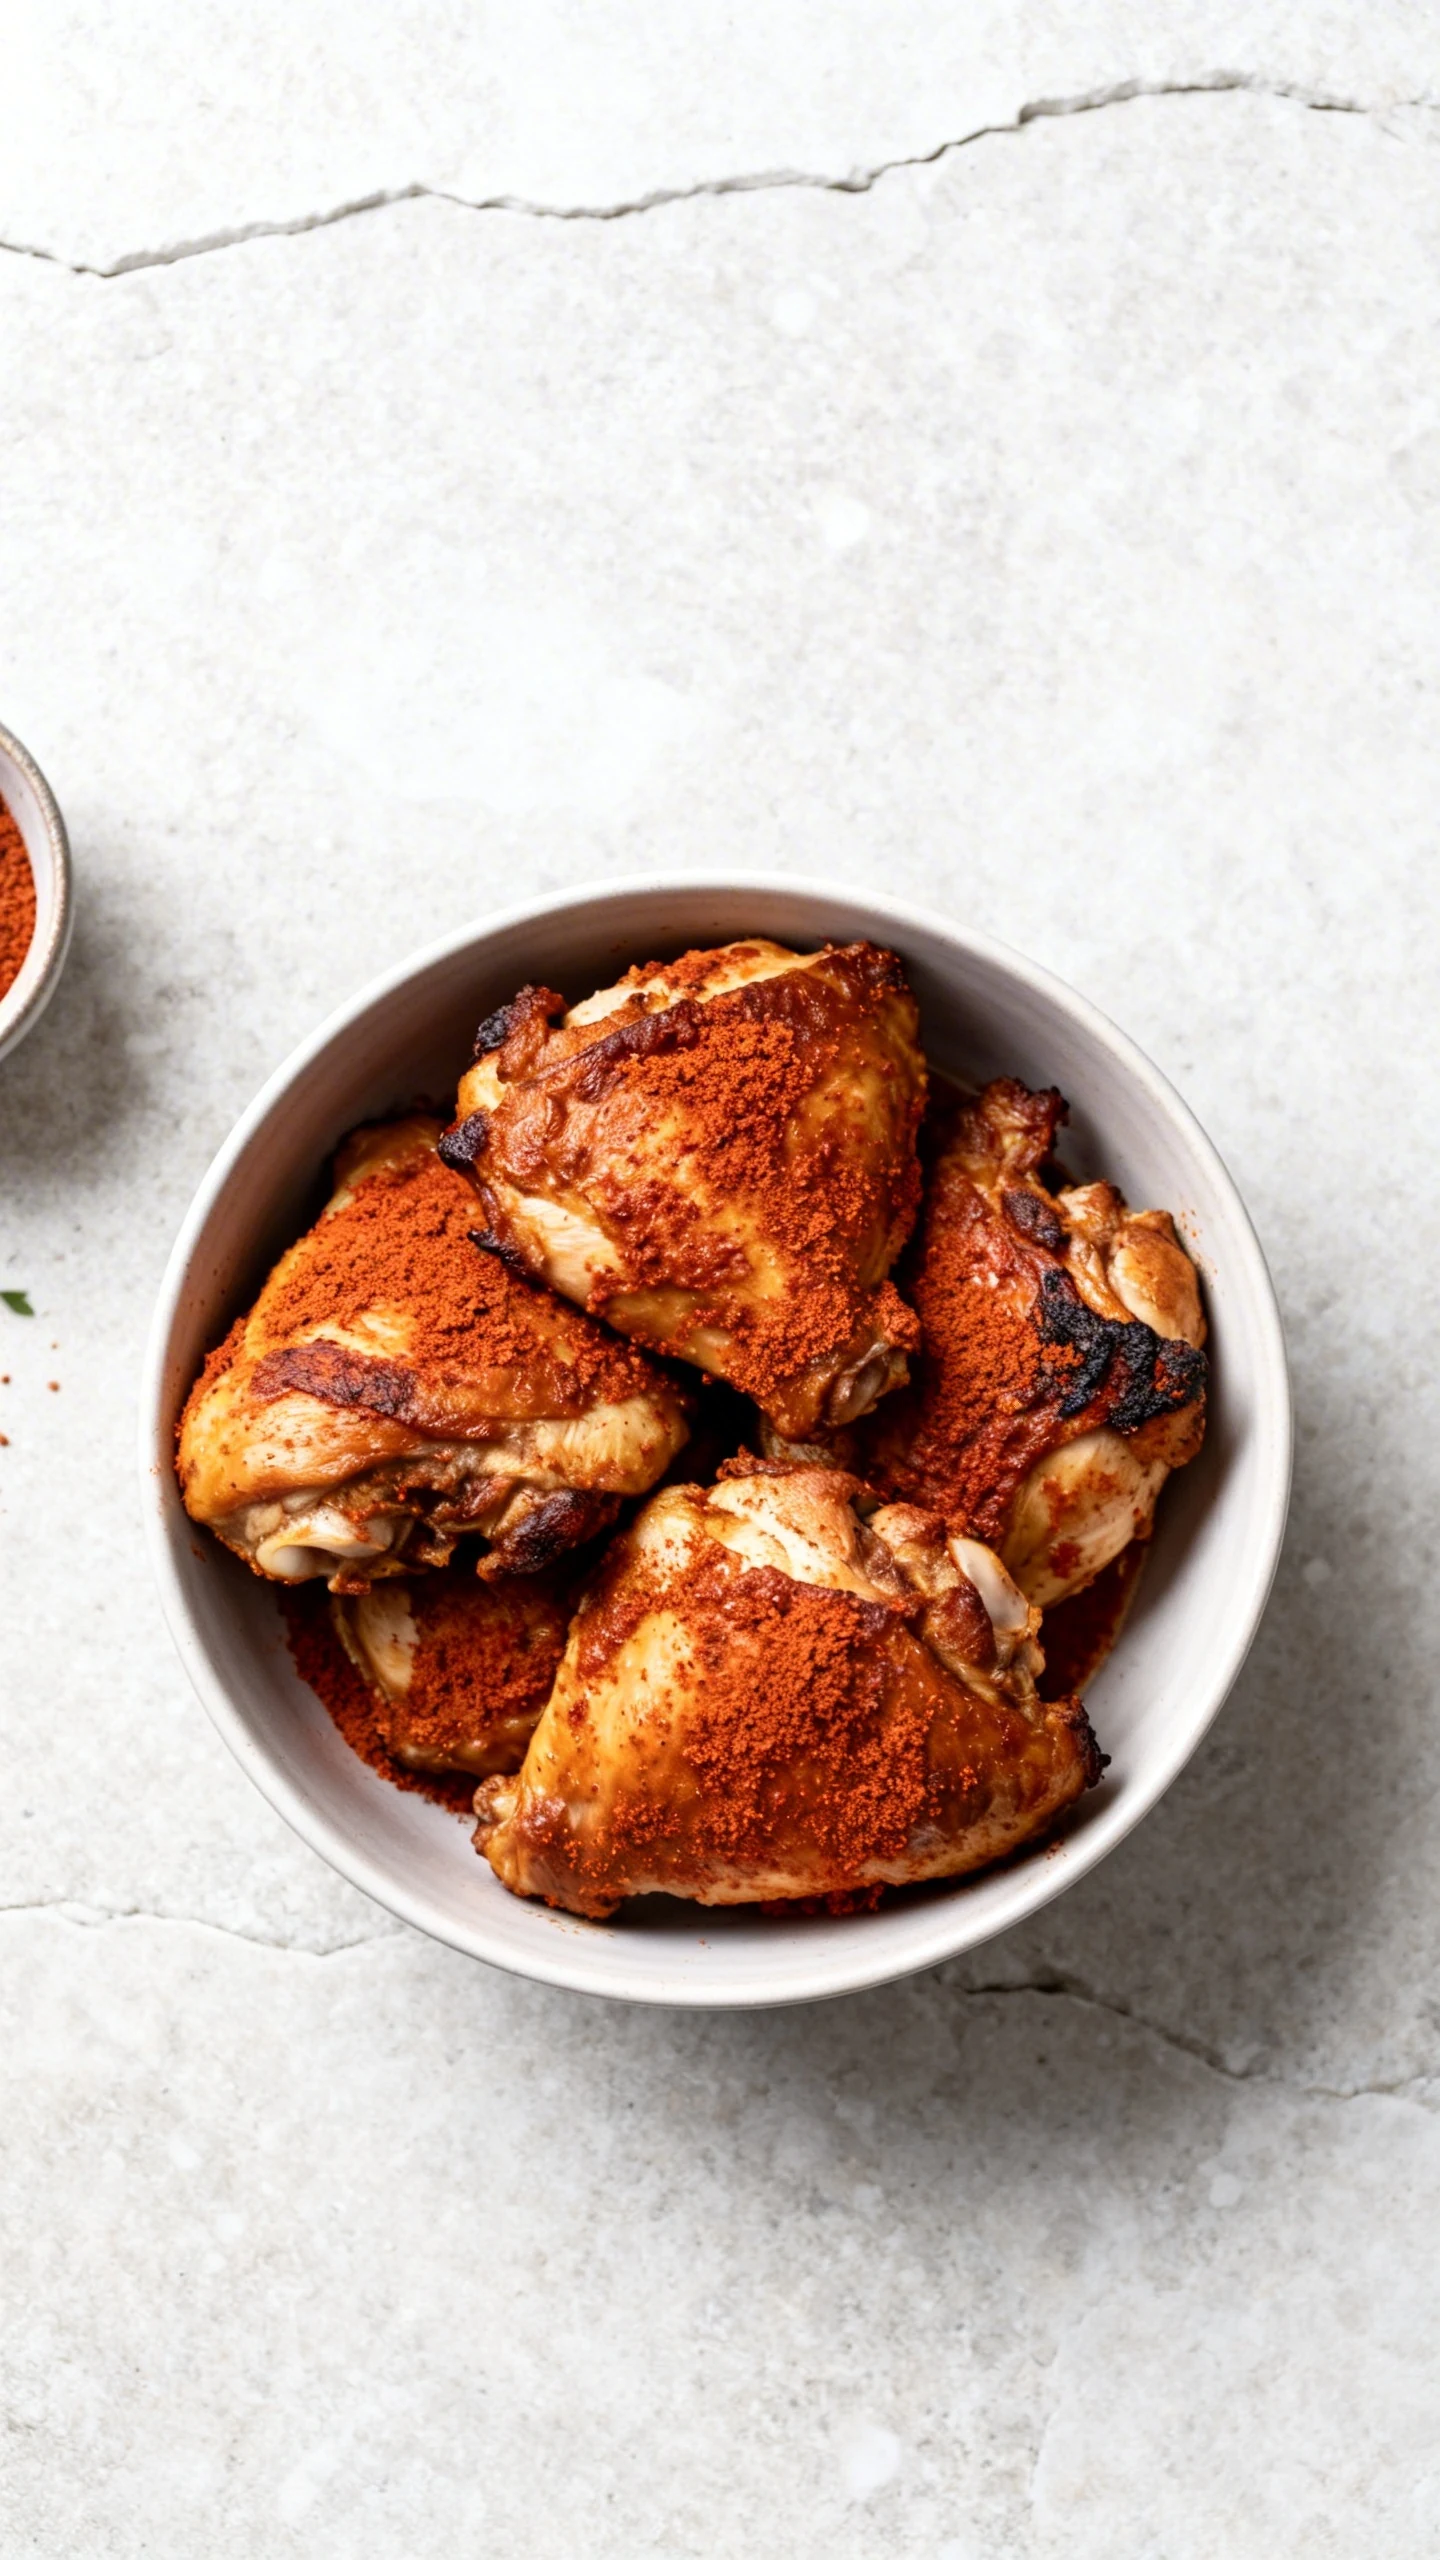
Mix the seasoning paste. In a bowl, stir together olive oil, smoked paprika, garlic powder, onion powder, salt, pepper, and optional brown sugar and cayenne. It should look like a rusty-red paste that smells like confidence.
-
Coat every thigh evenly. Toss the thighs in the bowl until fully covered. Massage it in a little so the spices cling. This is the “marinating” you can do in under a minute.
-
Preheat the air fryer. Set it to 400°F and preheat for about 3 minutes if your model supports it. Preheat helps the outside crisp fast, which protects the juicy inside. Think of it as a head start.
-
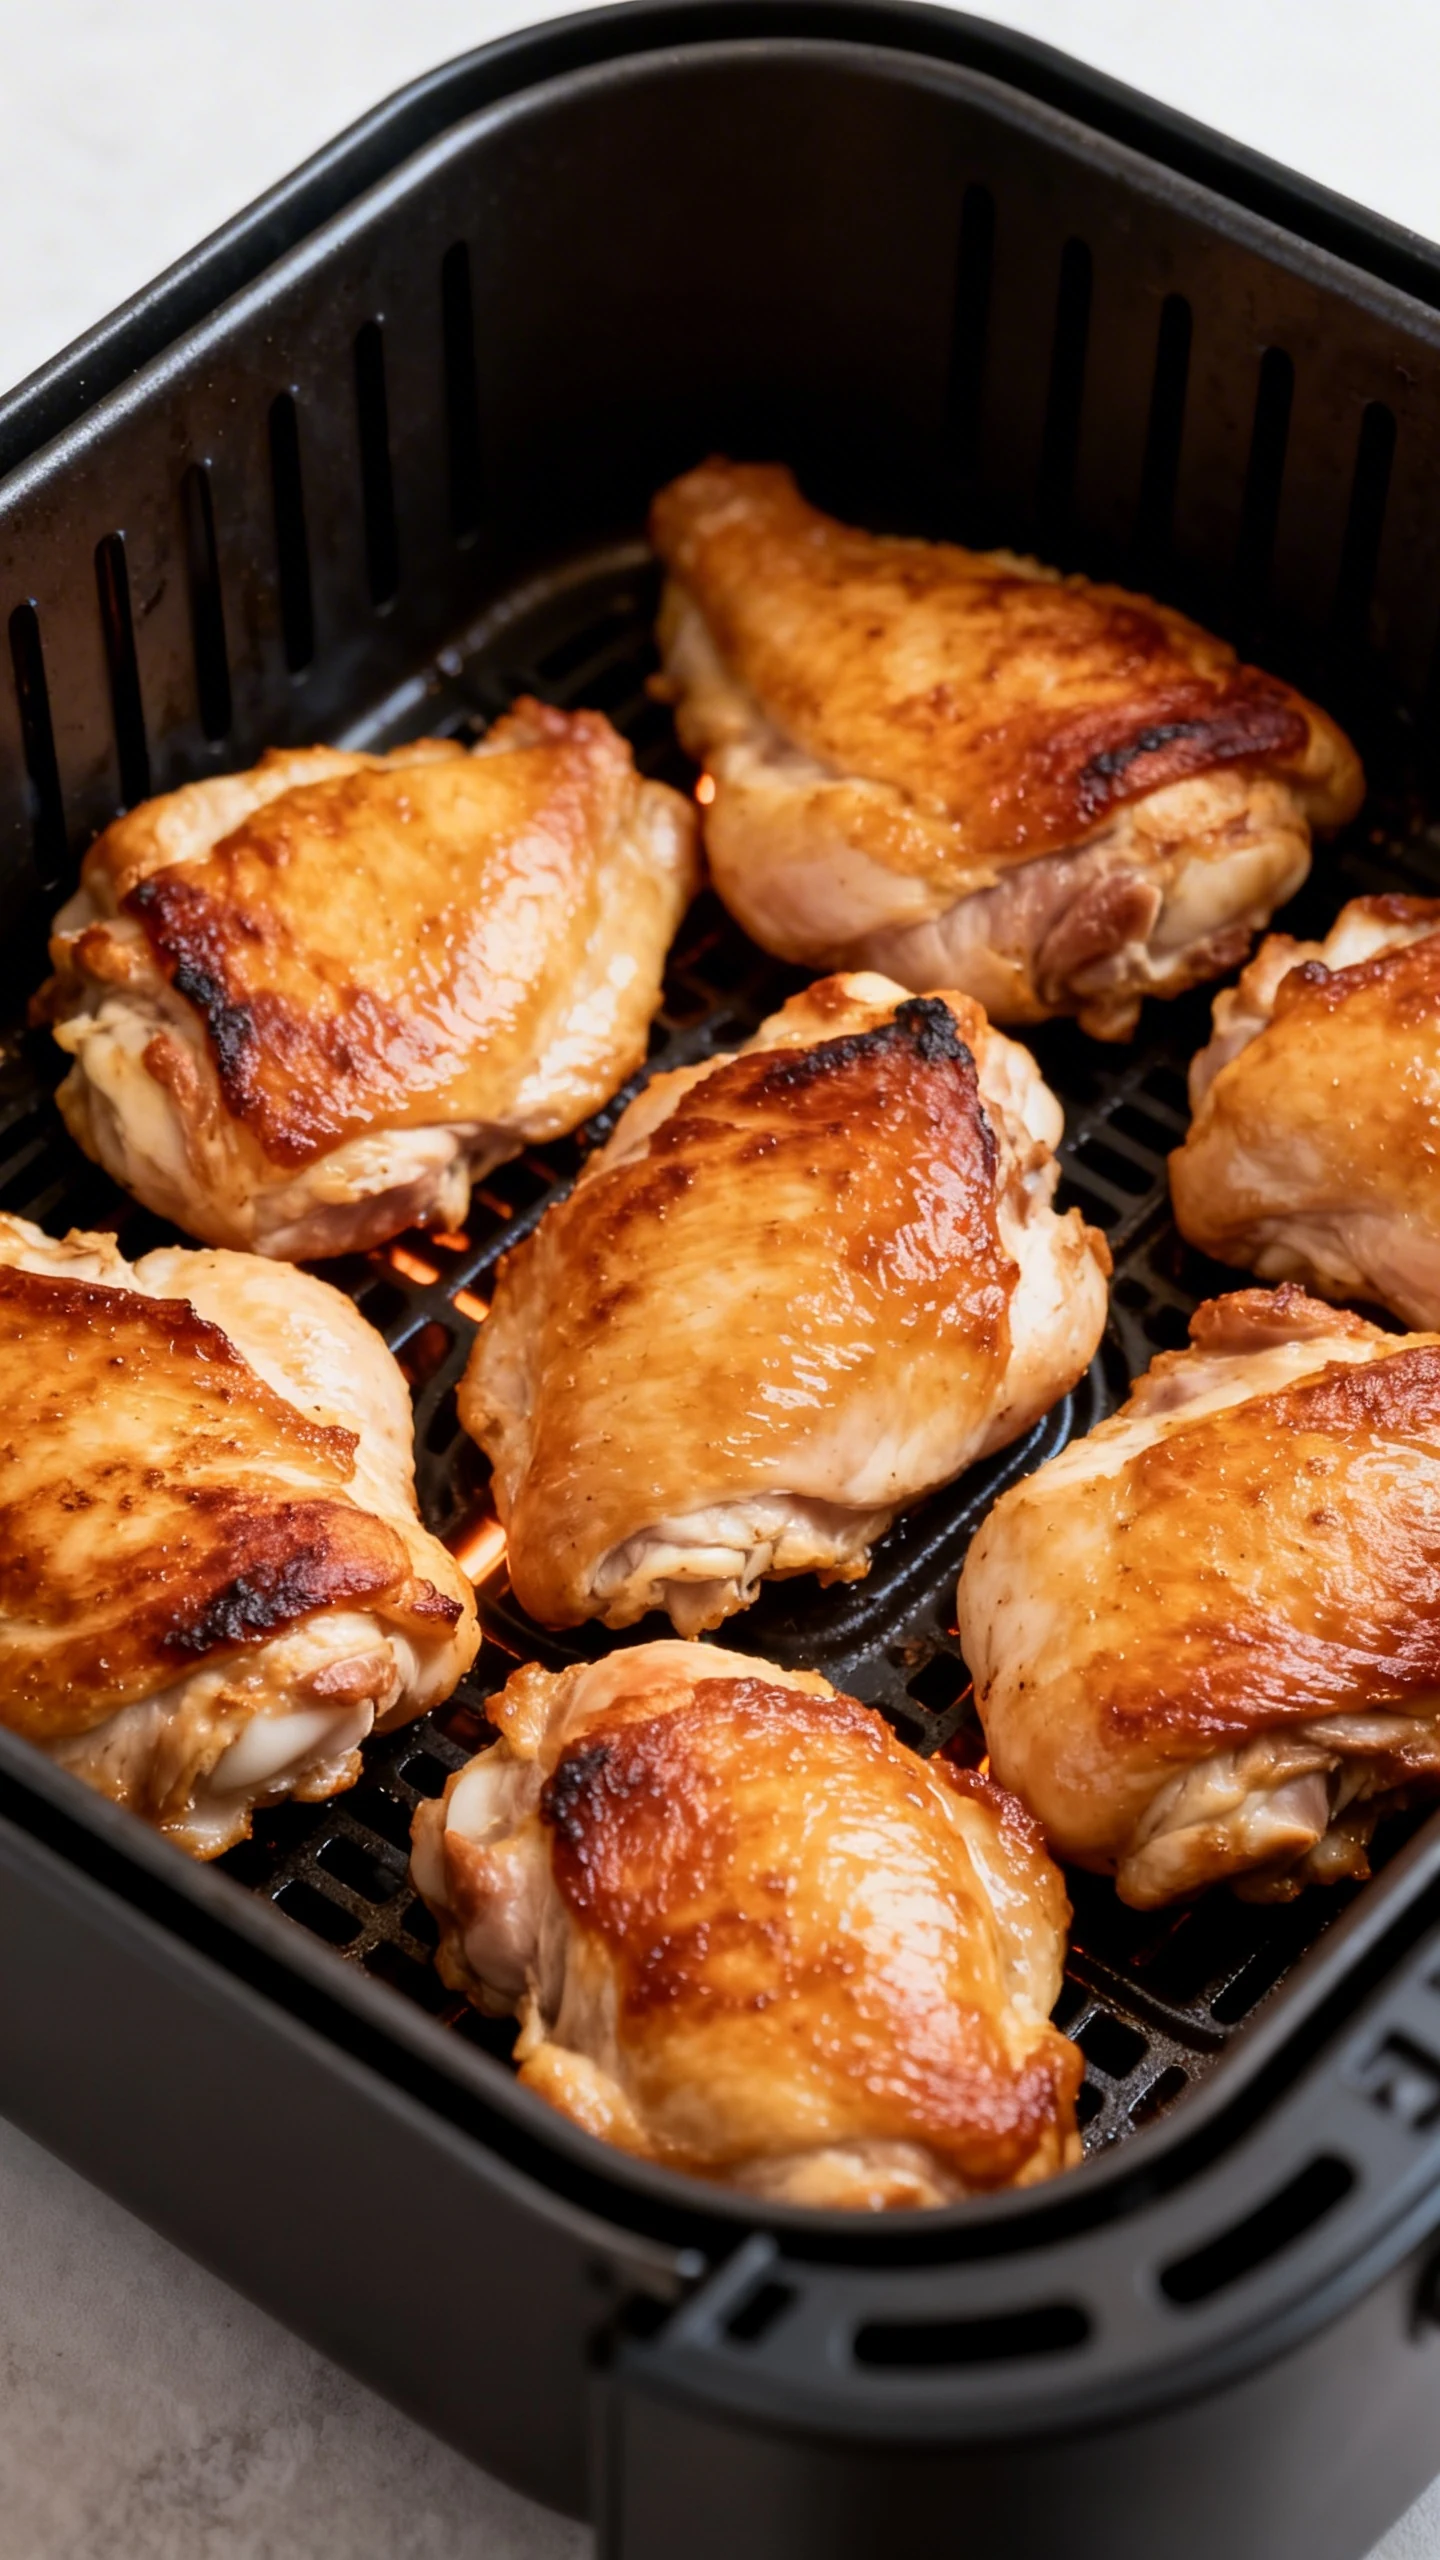
Arrange in a single layer. Place thighs in the basket with a little space between them. Don’t stack or overlap unless you enjoy uneven cooking. If you have a lot, cook in batches and keep the first batch warm.
-
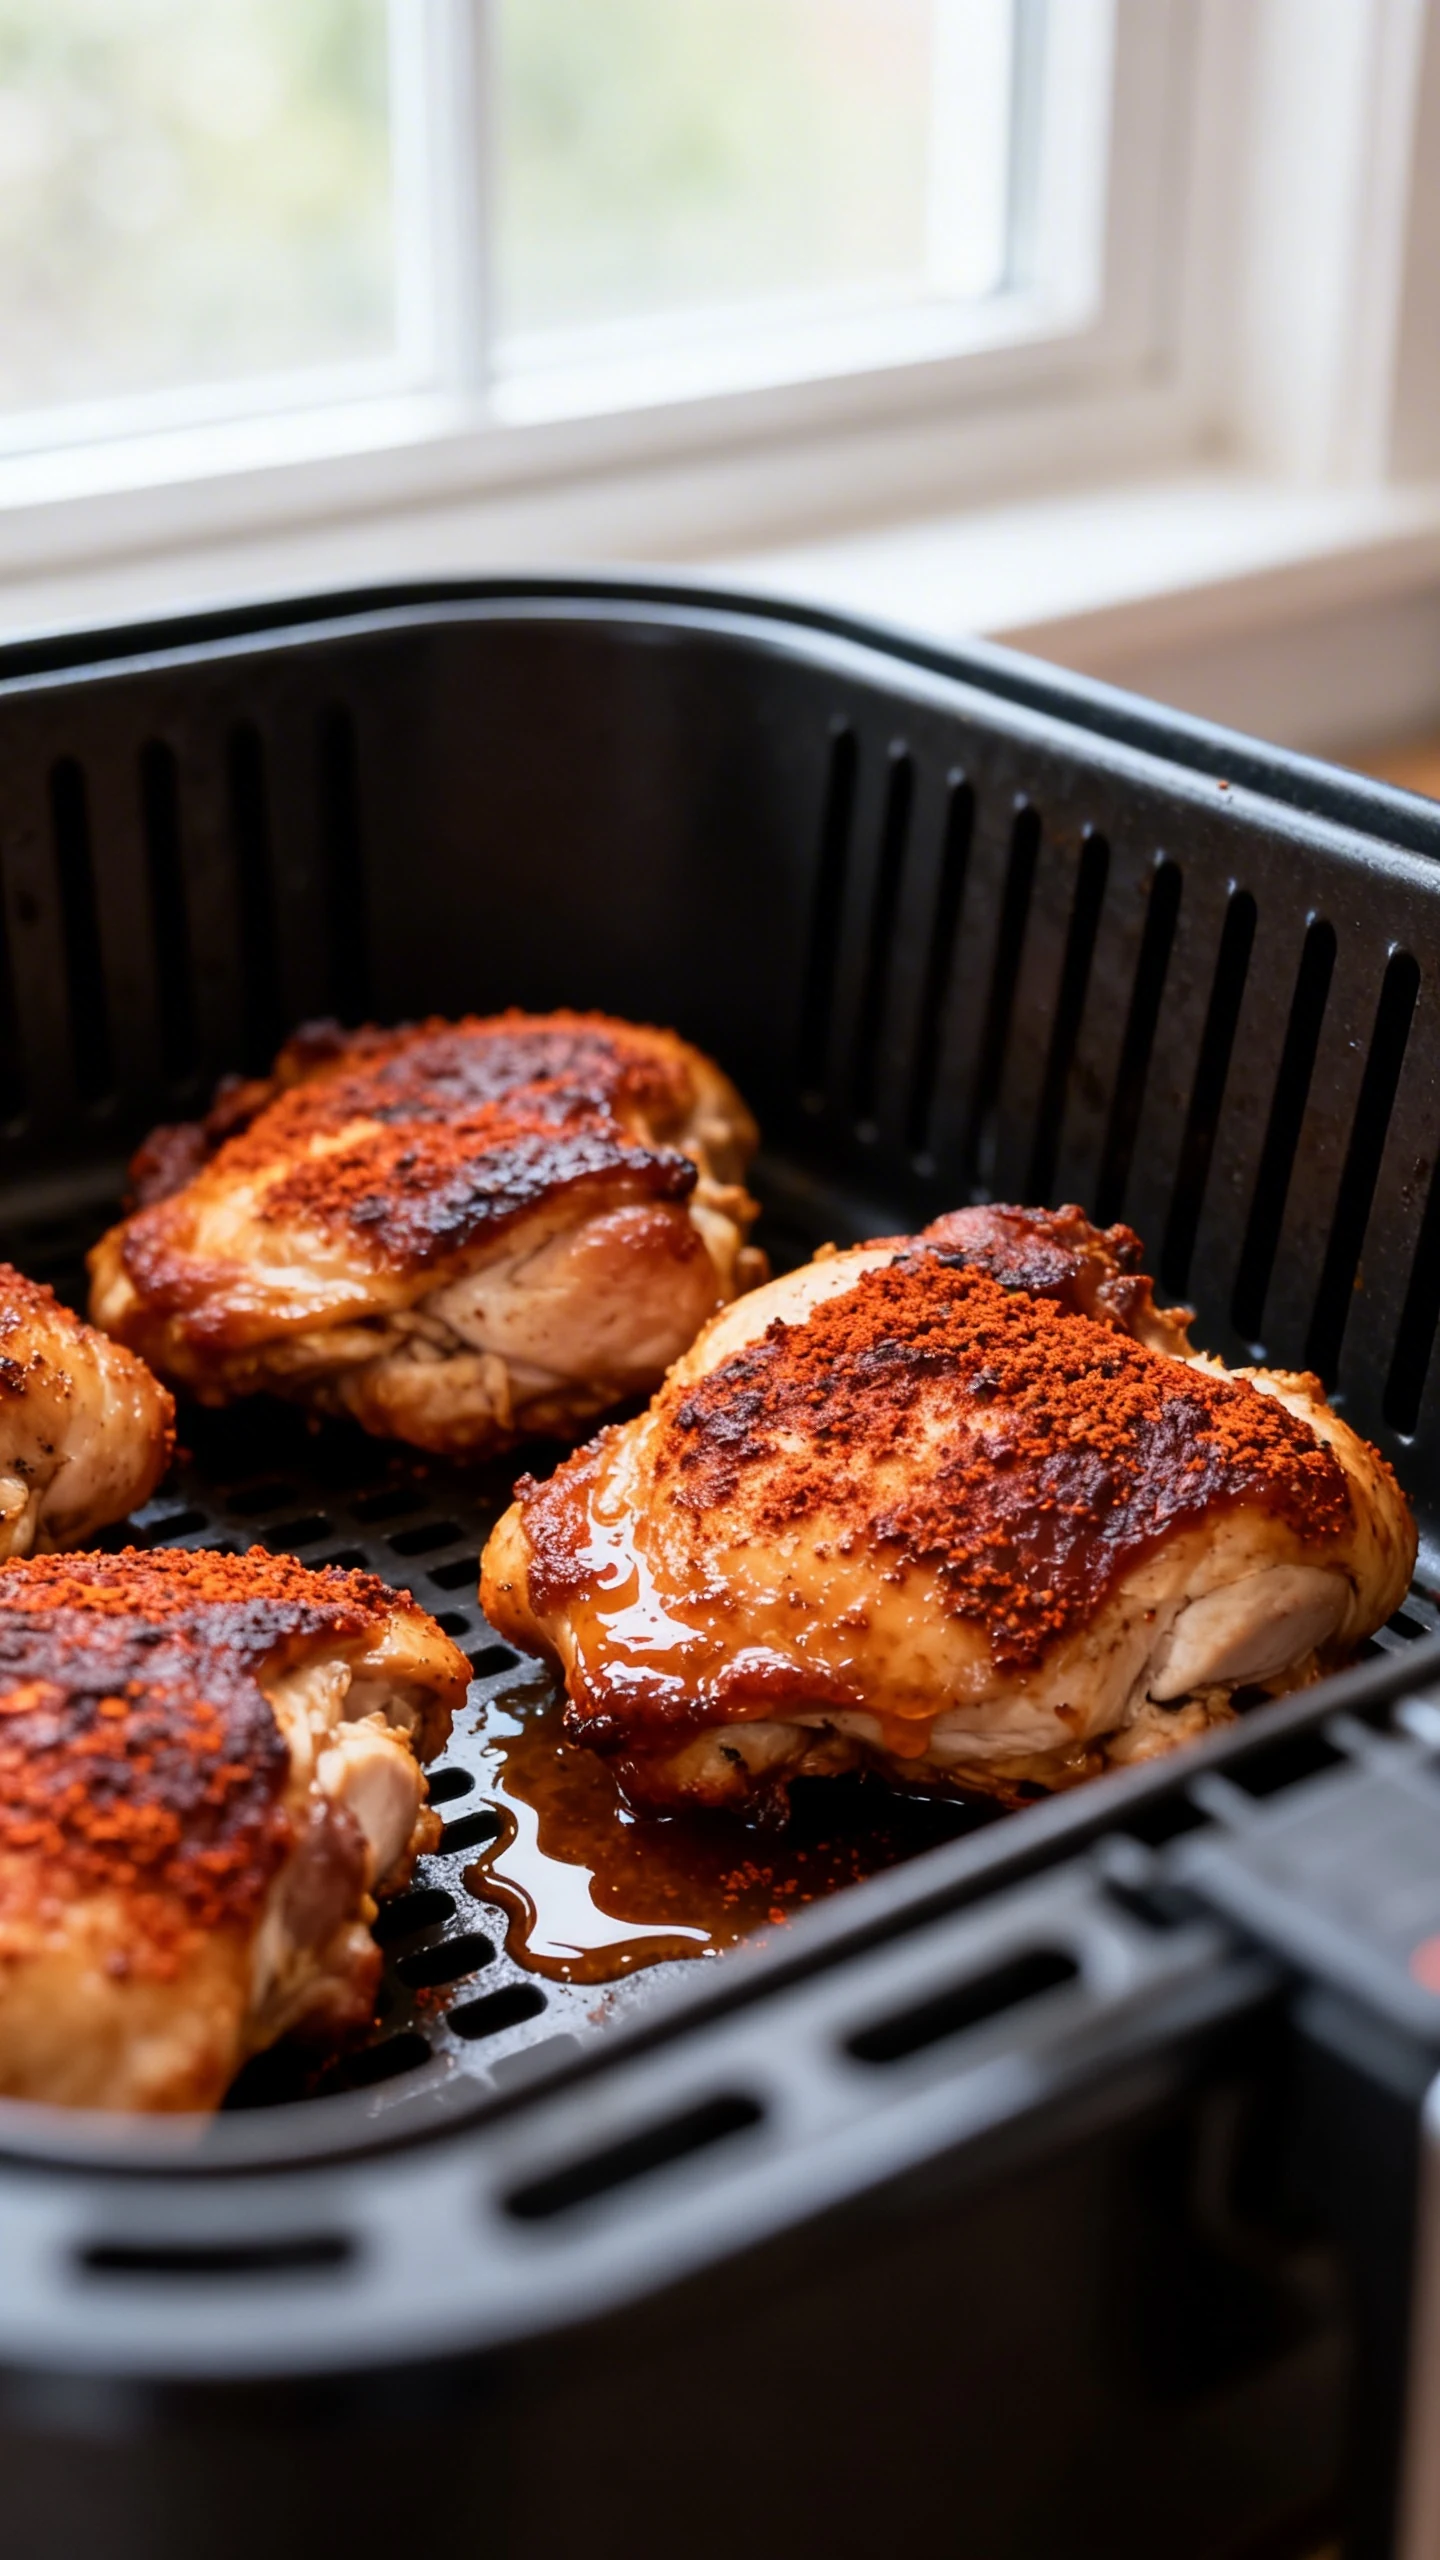
Air fry, then flip. Cook at 400°F for 8 minutes. Flip each thigh and cook another 5 to 7 minutes. Time depends on thickness, so don’t get dramatic if yours need an extra minute.
-
Check doneness the smart way. Use an instant-read thermometer and aim for 175°F to 185°F for thighs. Yes, that’s higher than breast meat, and yes, it stays juicy because thighs are built different.
-
Rest before slicing. Let the chicken rest 3 to 5 minutes. Juices settle, texture improves, and you avoid the “why is my plate a puddle?” situation. This tiny pause pays off.
-
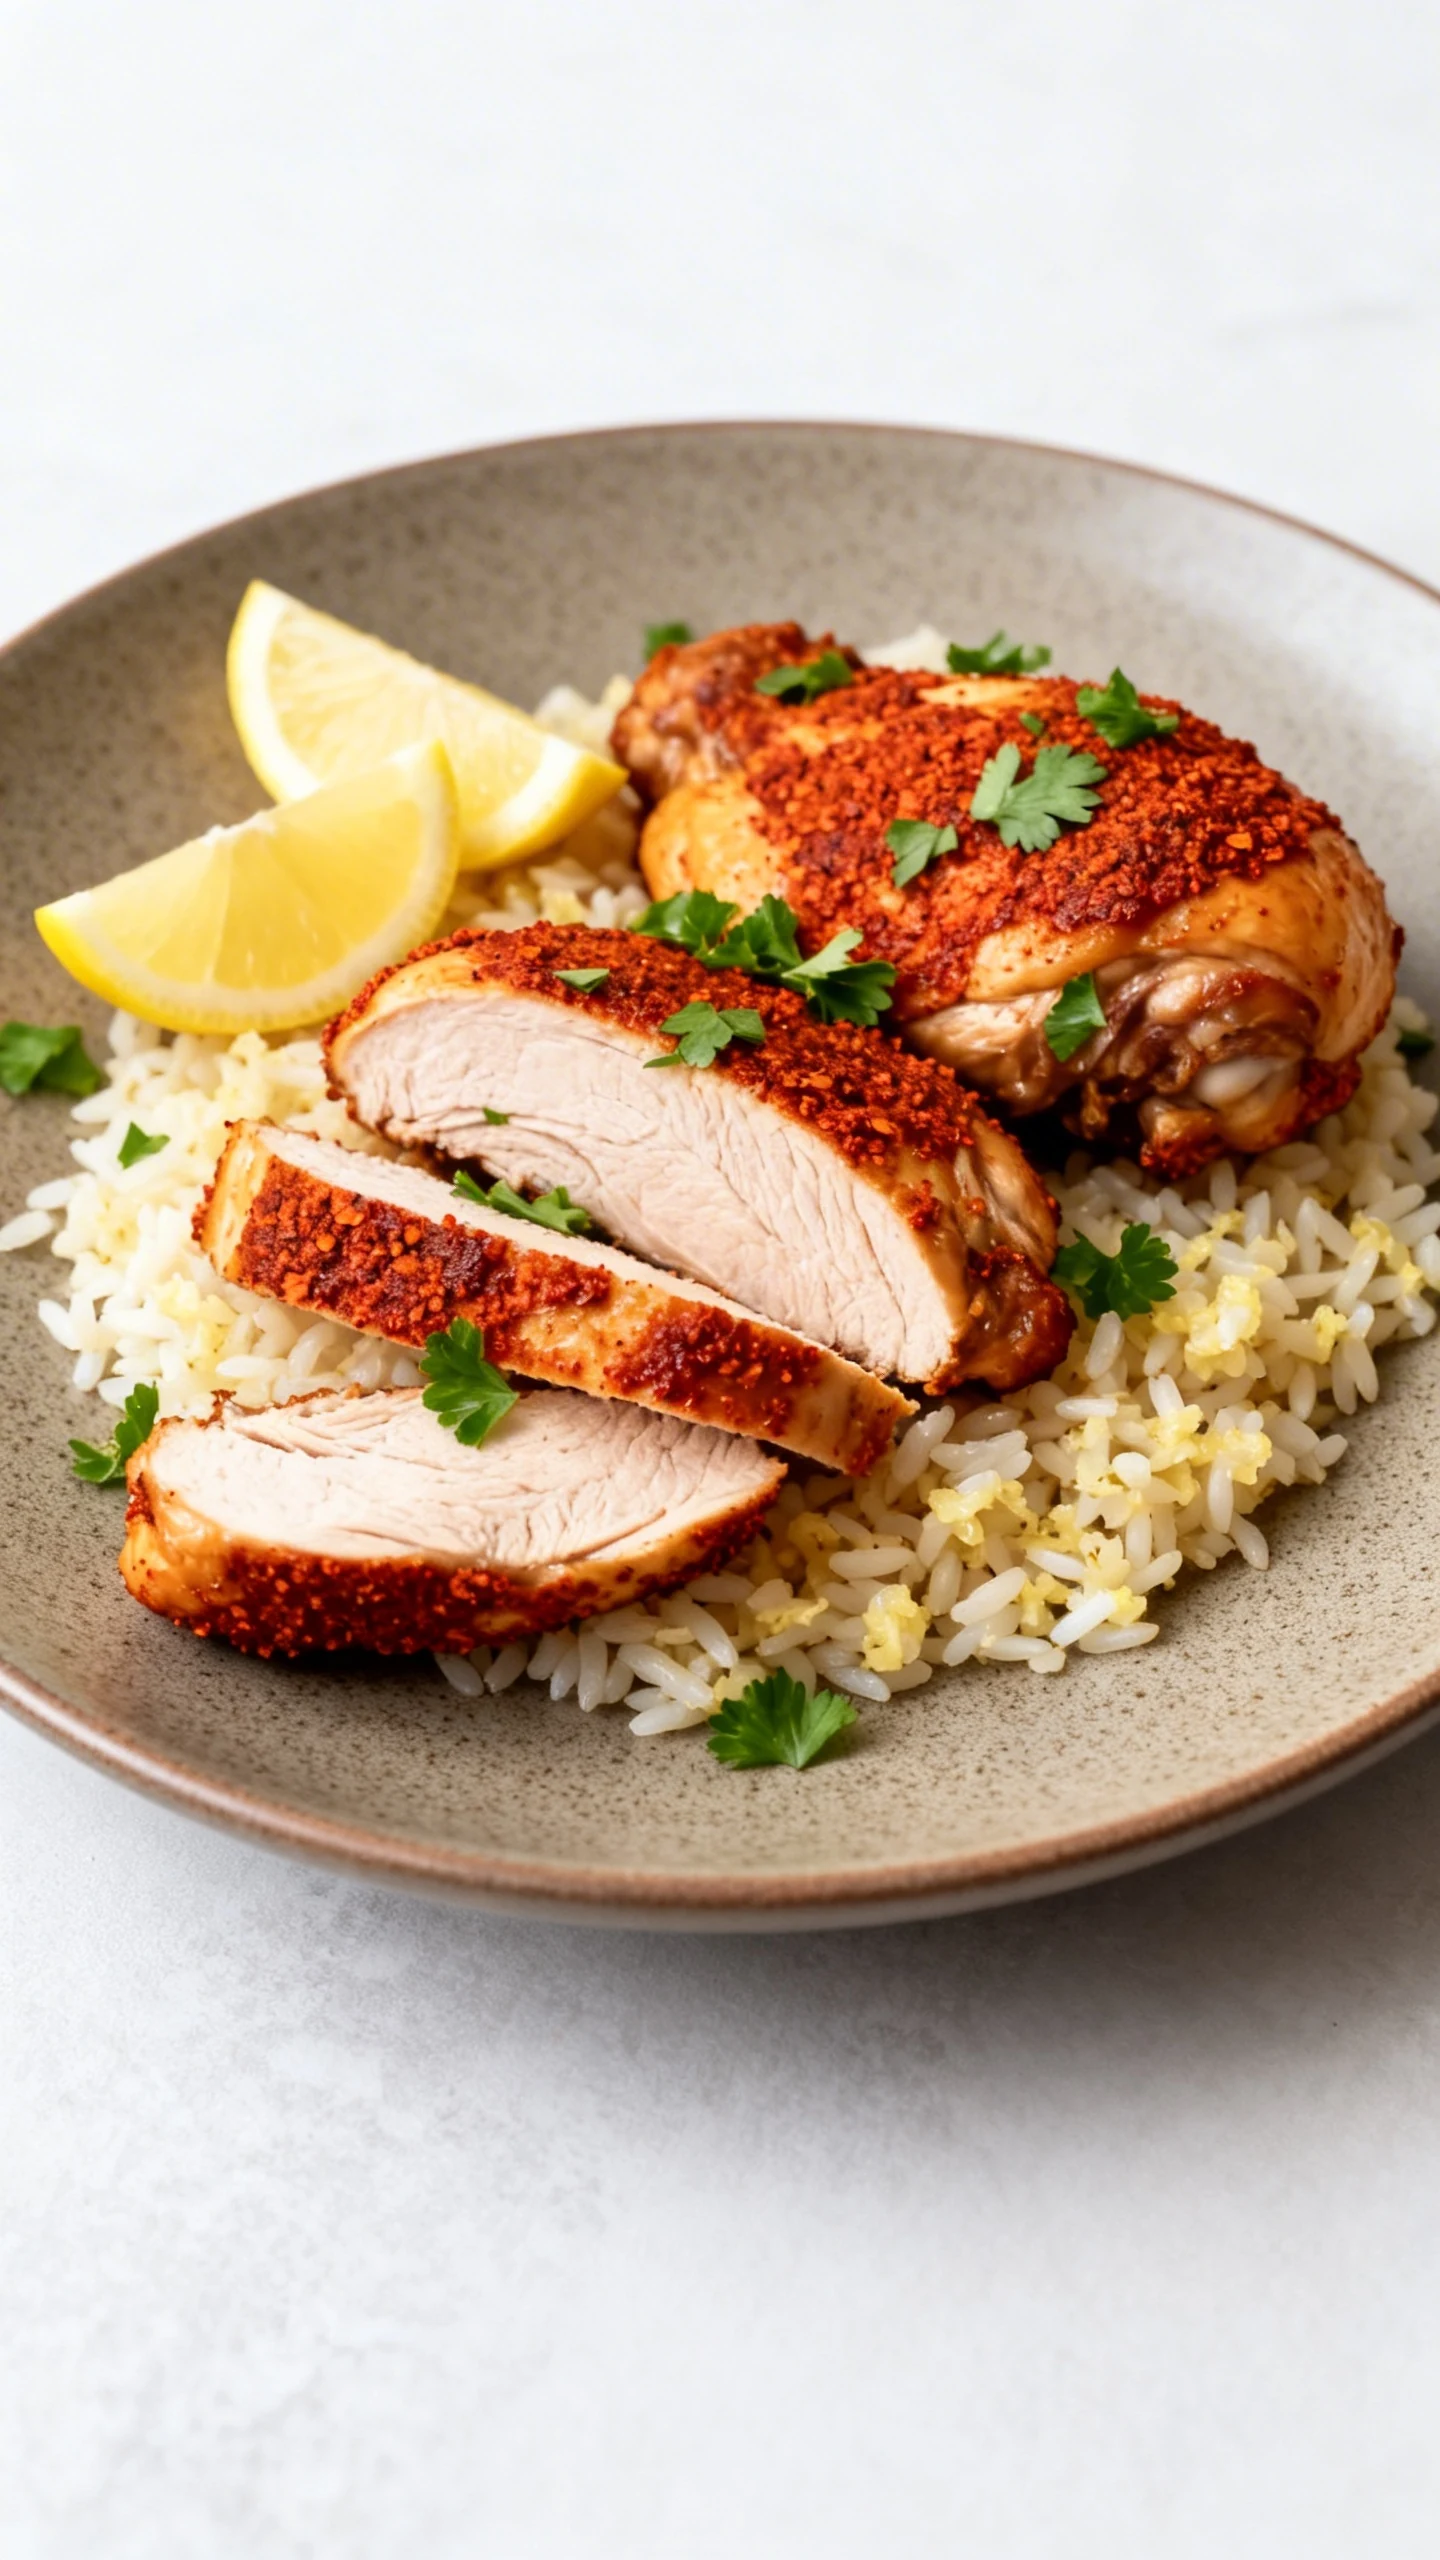
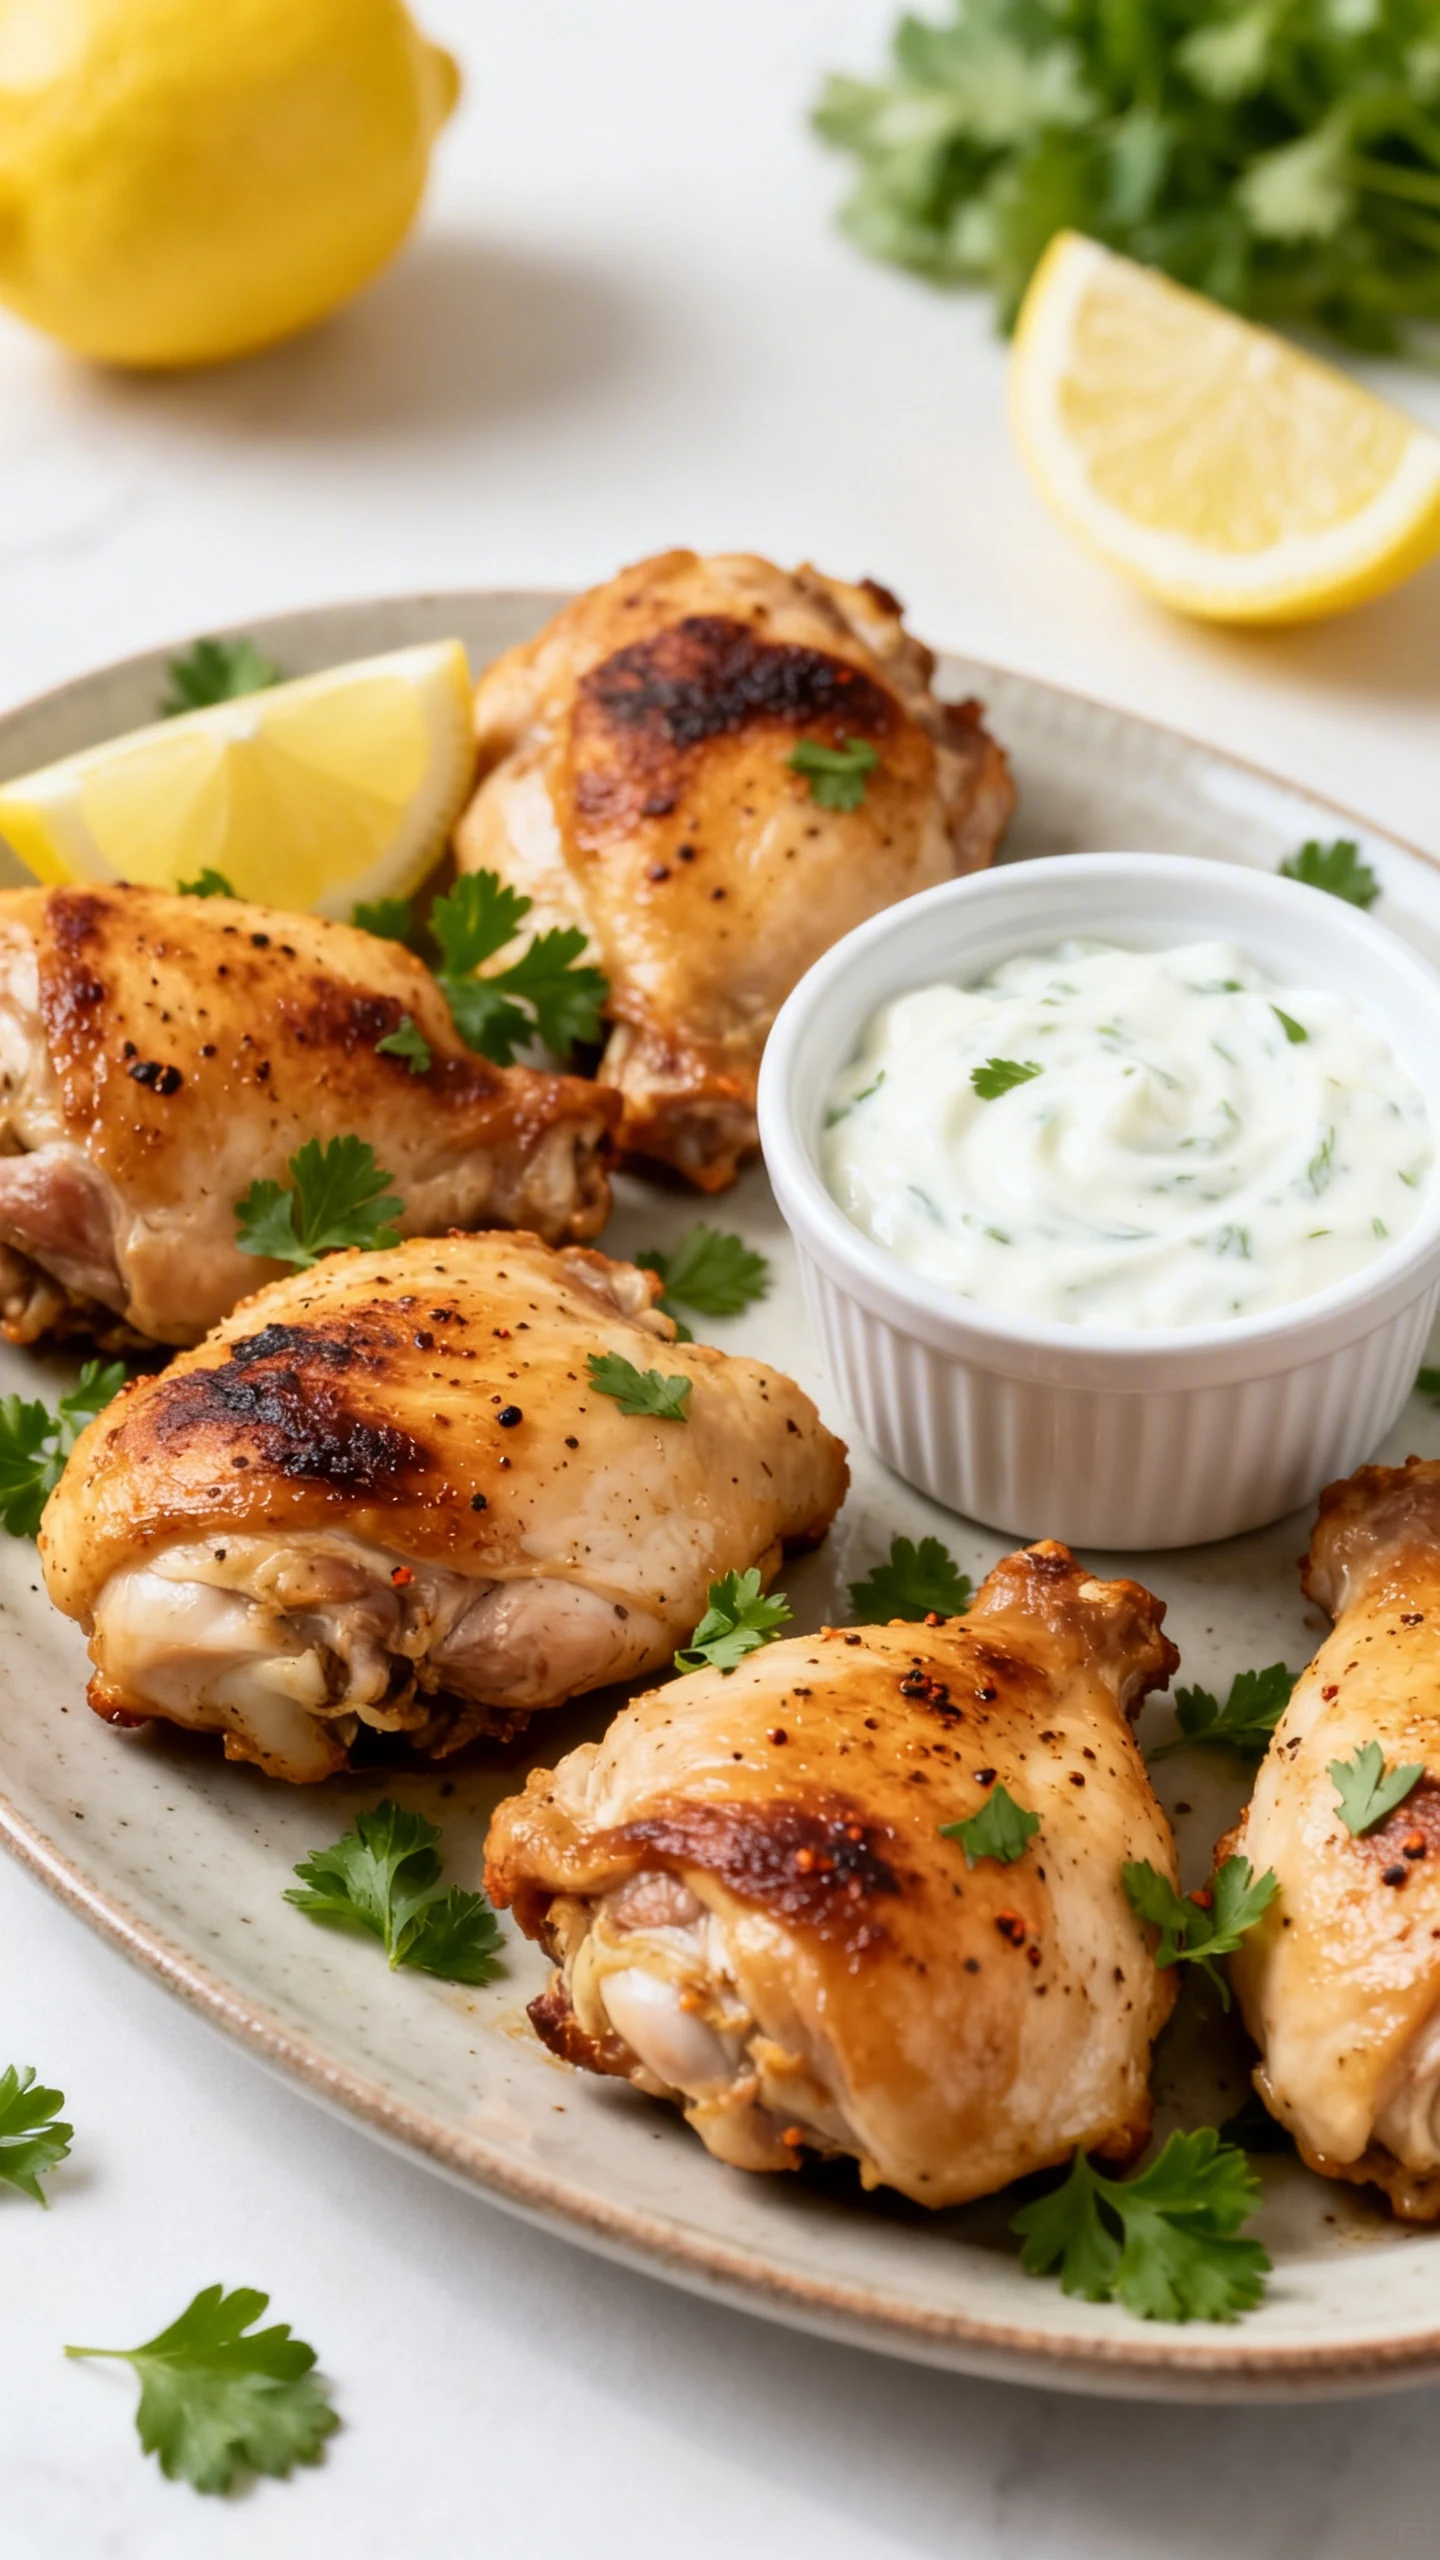
Finish with lemon and serve. Squeeze lemon over the top and add parsley if you want it to look like you have your life together. Serve with rice, salad, roasted veggies, or straight out of the bowl like a kitchen goblin.
Preservation Guide
If you somehow don’t eat all of it immediately, good news: leftovers stay excellent. Store the chicken properly and it becomes meal-prep gold instead of sad fridge meat.
Refrigerator: Cool the thighs, then store in an airtight container for up to 4 days. Keep any juices in the container because they help prevent dryness. FYI, slicing before storing makes reheating faster.
Freezer: Freeze cooled chicken in a freezer-safe bag or container for up to 3 months. Press out extra air to reduce freezer burn. Label it so future-you doesn’t play the “mystery protein” game.
Reheat in air fryer: Reheat at 350°F for 3 to 6 minutes until hot. Add a quick spritz of oil if you want the edges crisp again. Microwaving works, but it won’t give you that crunch.
What’s Great About This
This recipe feels like a cheat code because it solves multiple problems at once. It’s fast, flavorful, and forgiving, which is basically the holy trinity of weeknight cooking.
- High flavor, low effort: Thighs carry seasoning like a champ.
- Crispy edges without deep frying: The air fryer handles the texture.
- Juicy even if you cook a bit longer: Thighs don’t punish you for minor timing mistakes.
- Easy to scale: Cook in batches and keep warm, no stress.
- Meal-prep friendly: Leftovers stay tender and reheat well.
IMO, this is also one of the best “gateway” recipes for anyone who thinks they can’t cook. You can cook this, you can cook a lot of things.
What Not to Do
A few small mistakes can sabotage crispiness and even cooking. Avoid these and you’ll look like a pro with suspiciously little effort.
- Don’t skip drying the chicken: Moisture blocks browning and turns crisp into rubbery.
- Don’t overcrowd the basket: Air needs space to circulate or you get steamed chicken.
- Don’t under-season: Thighs can handle bold flavors, so be decisive.
- Don’t rely on cook time alone: Thickness varies, so use a thermometer.
- Don’t slice immediately: Resting keeps the juices in the meat, not on your cutting board.
Variations You Can Try
Once you nail the base method, you can pivot the flavor in any direction. Keep the cook temp the same and swap the seasoning vibe.
- Honey garlic: Skip brown sugar, then brush with a mix of honey and minced garlic during the last 2 minutes.
- Lemon pepper: Use extra black pepper, lemon zest, and a touch of dried thyme for a bright, punchy finish.
- BBQ rub: Use your favorite BBQ seasoning blend and add a light brush of sauce after cooking to avoid burning sugars.
- Spicy chili-lime: Add chili powder and lime zest, then finish with lime juice and a pinch of flaky salt.
- Greek-style: Add oregano, a little ground coriander, and serve with yogurt sauce and cucumber.
If you want a sauce, keep it simple: yogurt + lemon + garlic + salt. It’s cool, tangy, and makes the chicken taste like it came from a place with better patio seating.
FAQ
How long do boneless chicken thighs take in an air fryer?
At 400°F, most boneless thighs take about 13 to 15 minutes total, flipping halfway through. Thicker pieces can take closer to 16 or 17 minutes. Use a thermometer and aim for 175°F to 185°F for the best texture.
What temperature should I cook them at?
400°F gives you the best balance of crisp edges and juicy centers. If your thighs are very thick, you can drop to 380°F and cook slightly longer to avoid over-browning. The key is steady heat and enough airflow.
Do I need to preheat the air fryer?
Preheating isn’t mandatory, but it helps the chicken start crisping immediately. That quick burst of heat improves browning and shortens total cook time. If your model doesn’t preheat, just add 1 to 2 minutes.
Why are my thighs not getting crispy?
Usually it’s one of three things: the chicken wasn’t dried, the basket was overcrowded, or there wasn’t enough oil to help browning. Pat dry, cook in a single layer, and use a tablespoon of oil for a full batch. Also, smoked paprika and a little sugar boost browning.
Can I use frozen boneless thighs?
You can, but you’ll get better texture if you thaw first. If you must cook from frozen, expect uneven seasoning and extra moisture. Cook at 380°F, flip a few times, and use a thermometer to confirm doneness before serving.
Is it okay if the chicken reaches 185°F?
Yes, and it often tastes better there. Thighs stay tender at higher temperatures because their connective tissue breaks down and becomes silky. Just don’t push it so far that the outside turns overly dark.
What should I serve with these?
They pair well with rice, roasted potatoes, salad, steamed broccoli, or a quick slaw. If you want a fast “restaurant” plate, serve over garlic rice with a squeeze of lemon and a simple yogurt sauce. Suddenly it’s fancy, somehow.
Final Thoughts
This is the kind of recipe that earns a permanent spot in your rotation because it’s reliable. It tastes like comfort food, cooks like a shortcut, and doesn’t wreck your kitchen in the process. You get crisp edges, juicy meat, and that “I nailed dinner” feeling with minimal drama.
Make it once, then start playing with the variations and sides. Keep a thermometer nearby, don’t crowd the basket, and let the chicken rest like it just ran a marathon. After that, dinner basically handles itself, which is exactly the point.