Air Fryer Hasselback Potatoes That Crackle Like Chips
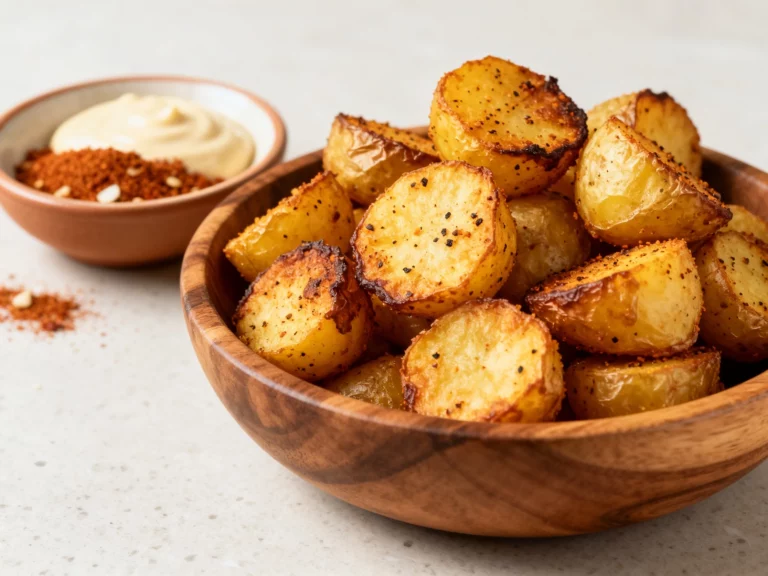
Crispy edges, buttery middles, and fancy looks in under 30 minutes, using pantry staples and one air fryer basket.
These potatoes look like you spent an hour babysitting an oven. You didn’t. You made one strategic set of slices, hit the air fryer, and let physics do the flexing.
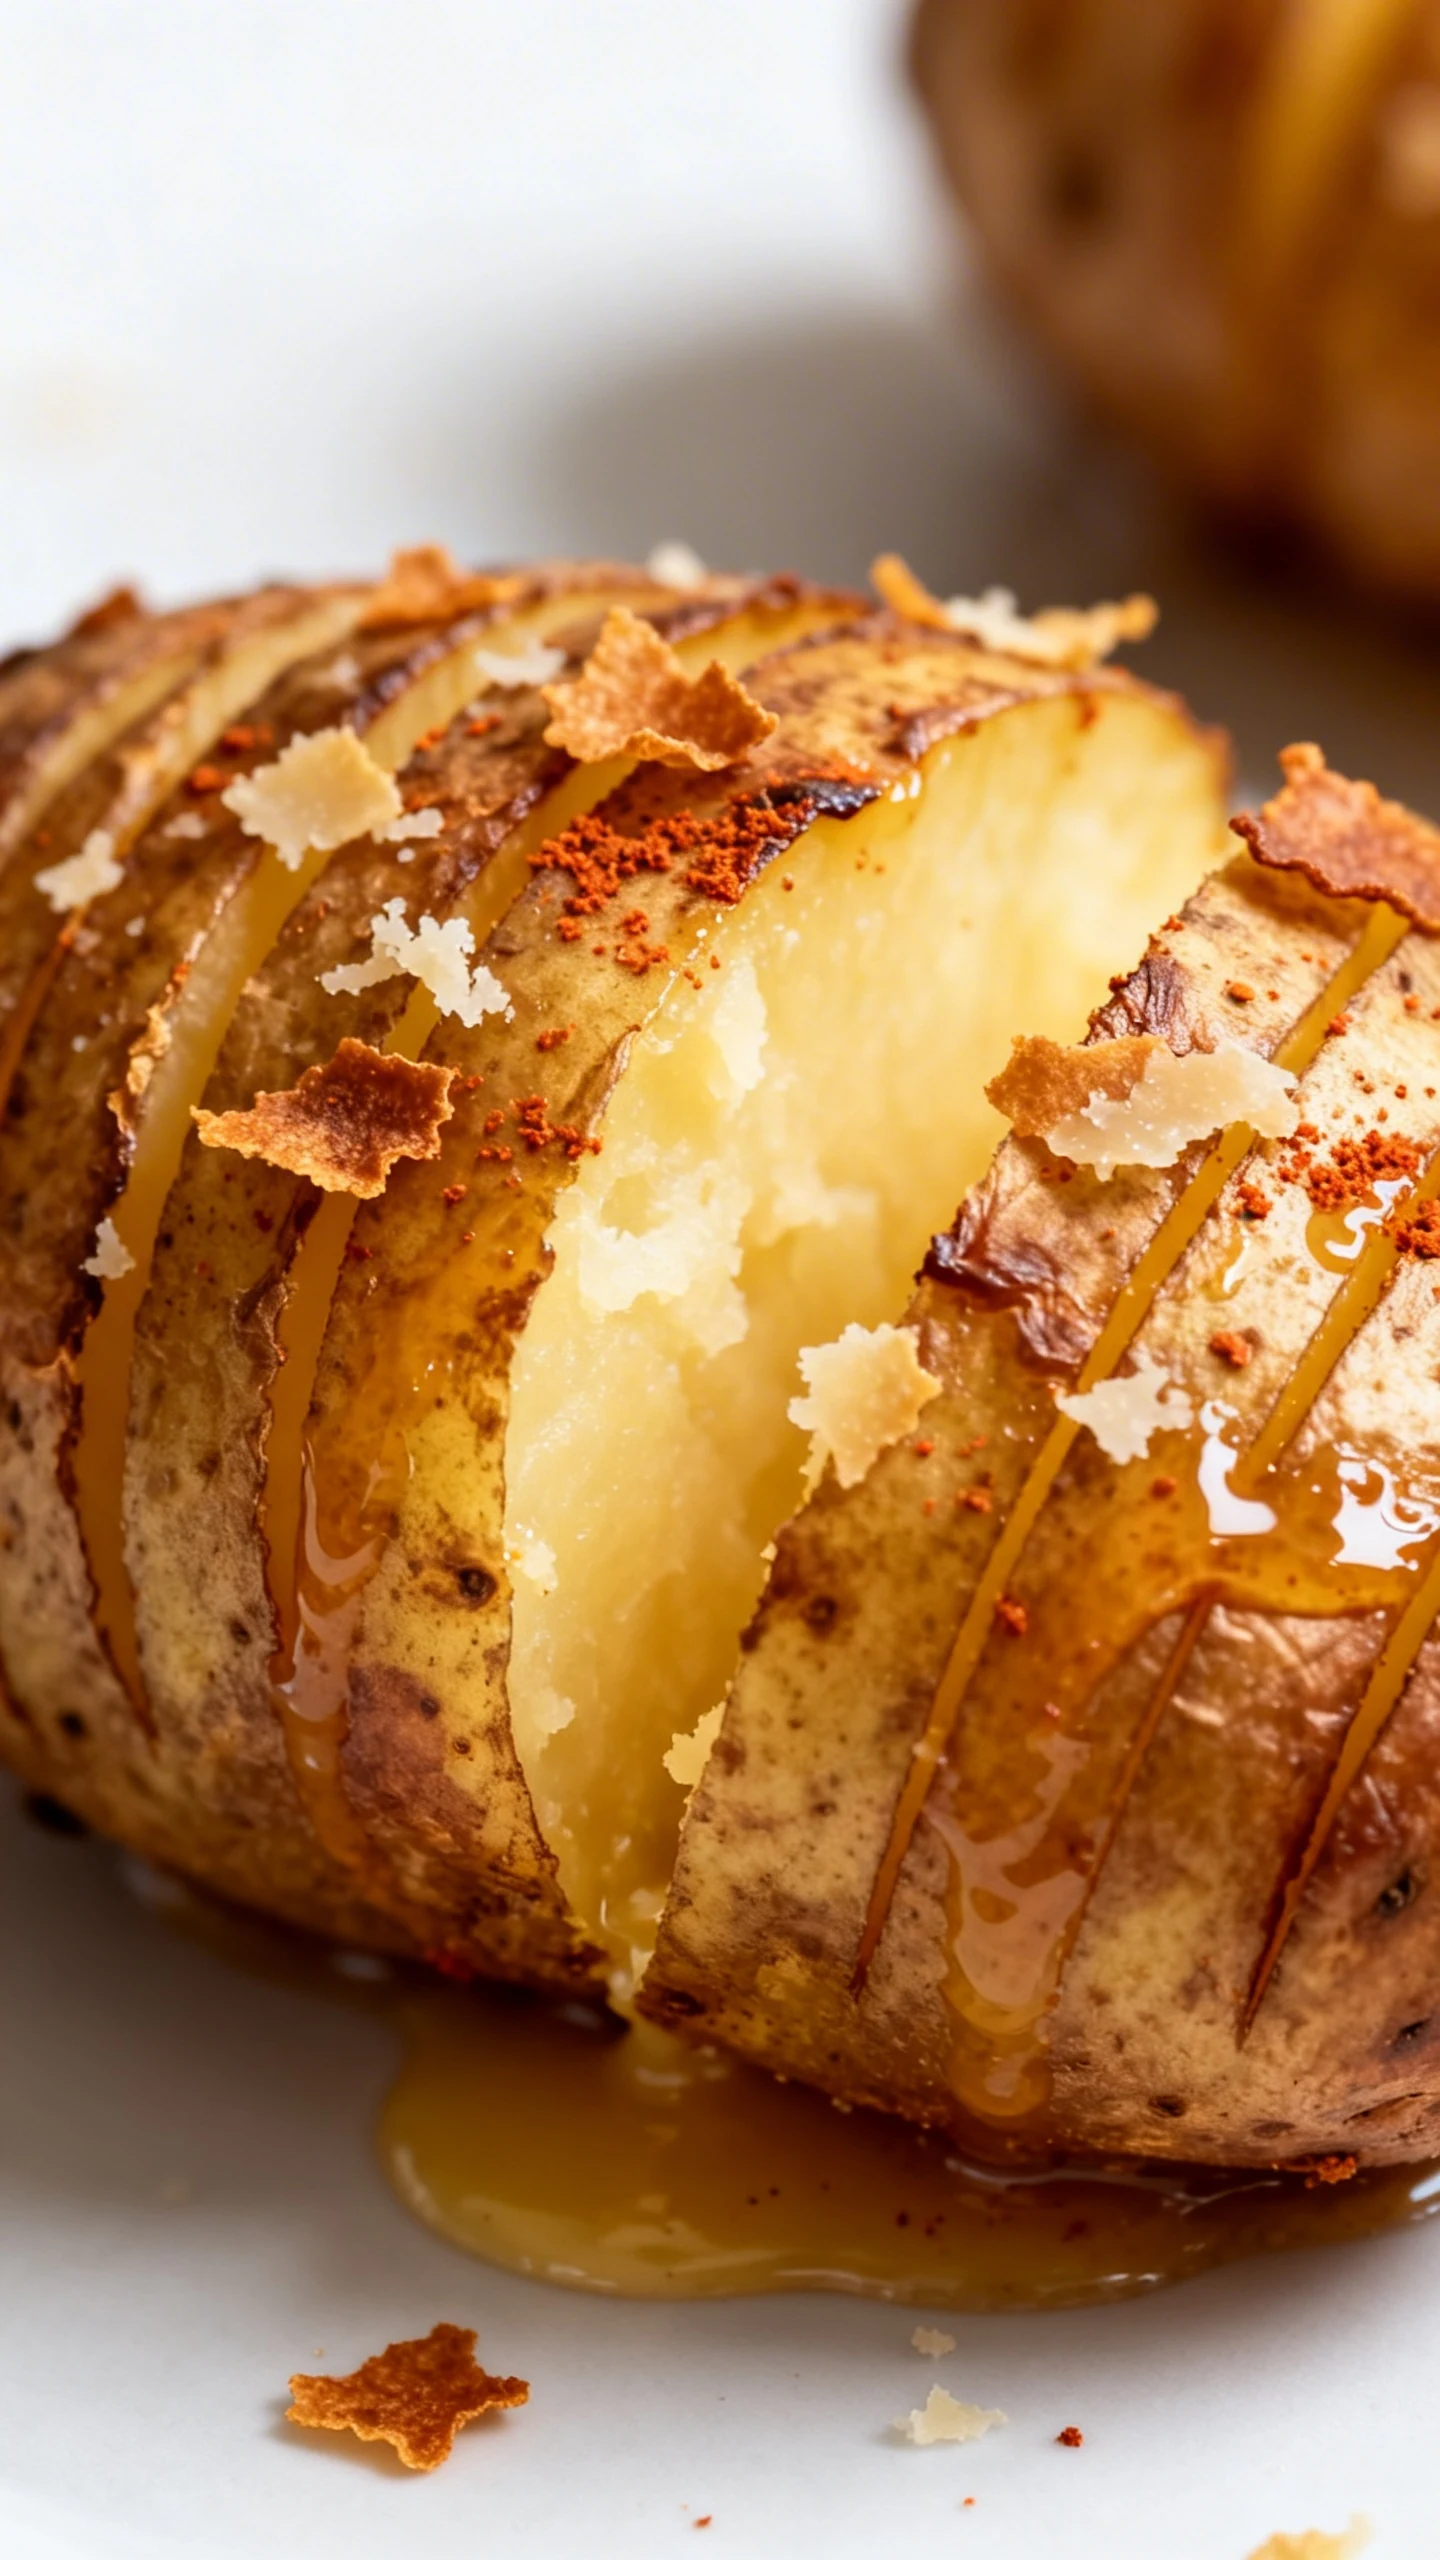
Here’s the trick: those little slits turn into crispy fans that catch every drop of butter, garlic, and seasoning. The outside goes loud-crunch, the inside stays soft like a baked potato that actually tried.
If your side dish game has been “steamed something” lately, this is the glow-up. And yes, people will ask for the recipe like you invented potatoes.
What Makes This Recipe So Good
Hasselback slicing creates maximum surface area, which means maximum crisp. More edges equals more crunch, and crunch equals compliments. That’s just math.
The air fryer gives you oven-style browning without the full preheat drama. It also dries the surface faster, so you get that shattery, chip-like finish without deep frying.
Finally, the seasoning doesn’t just sit on top. It slides into the cuts, so every bite tastes like you meant it.
Ingredients Breakdown
- Baby potatoes (Yukon Gold or small russets), about 1 1/2 pounds (10 to 14 small potatoes)
- Olive oil, 1 1/2 tablespoons
- Unsalted butter, 2 tablespoons, melted
- Garlic, 2 to 3 cloves, finely minced or grated
- Kosher salt, 1 to 1 1/2 teaspoons (to taste)
- Black pepper, 1/2 teaspoon
- Smoked paprika, 1/2 teaspoon (optional but highly recommended)
- Dried thyme or rosemary, 1/2 teaspoon (or 1 teaspoon fresh, chopped)
- Parmesan, 2 to 3 tablespoons, finely grated (optional)
- Fresh parsley or chives, 2 tablespoons, chopped (optional for finishing)
- Sour cream or Greek yogurt, for serving (optional)
- Lemon zest, 1/2 teaspoon (optional for a bright finish)
Let’s Get Cooking – Instructions
-
Pick the right potatoes. Aim for similar size so they finish together. If you mix tiny and medium, the tiny ones will crisp into potato fossils while the bigger ones are still stretching.
-
Wash and dry like you mean it. Rinse, then pat them very dry. Water is the sworn enemy of crisp, FYI.
-
Make the hasselback cuts. Place a potato between two chopsticks or the handles of two wooden spoons. Slice thin slits across the potato, stopping before you cut all the way through.
-
Quick pre-soften (optional but powerful). Microwave the potatoes for 3 to 5 minutes, just until slightly tender. This speeds up the air fryer time and keeps the centers fluffy.
-
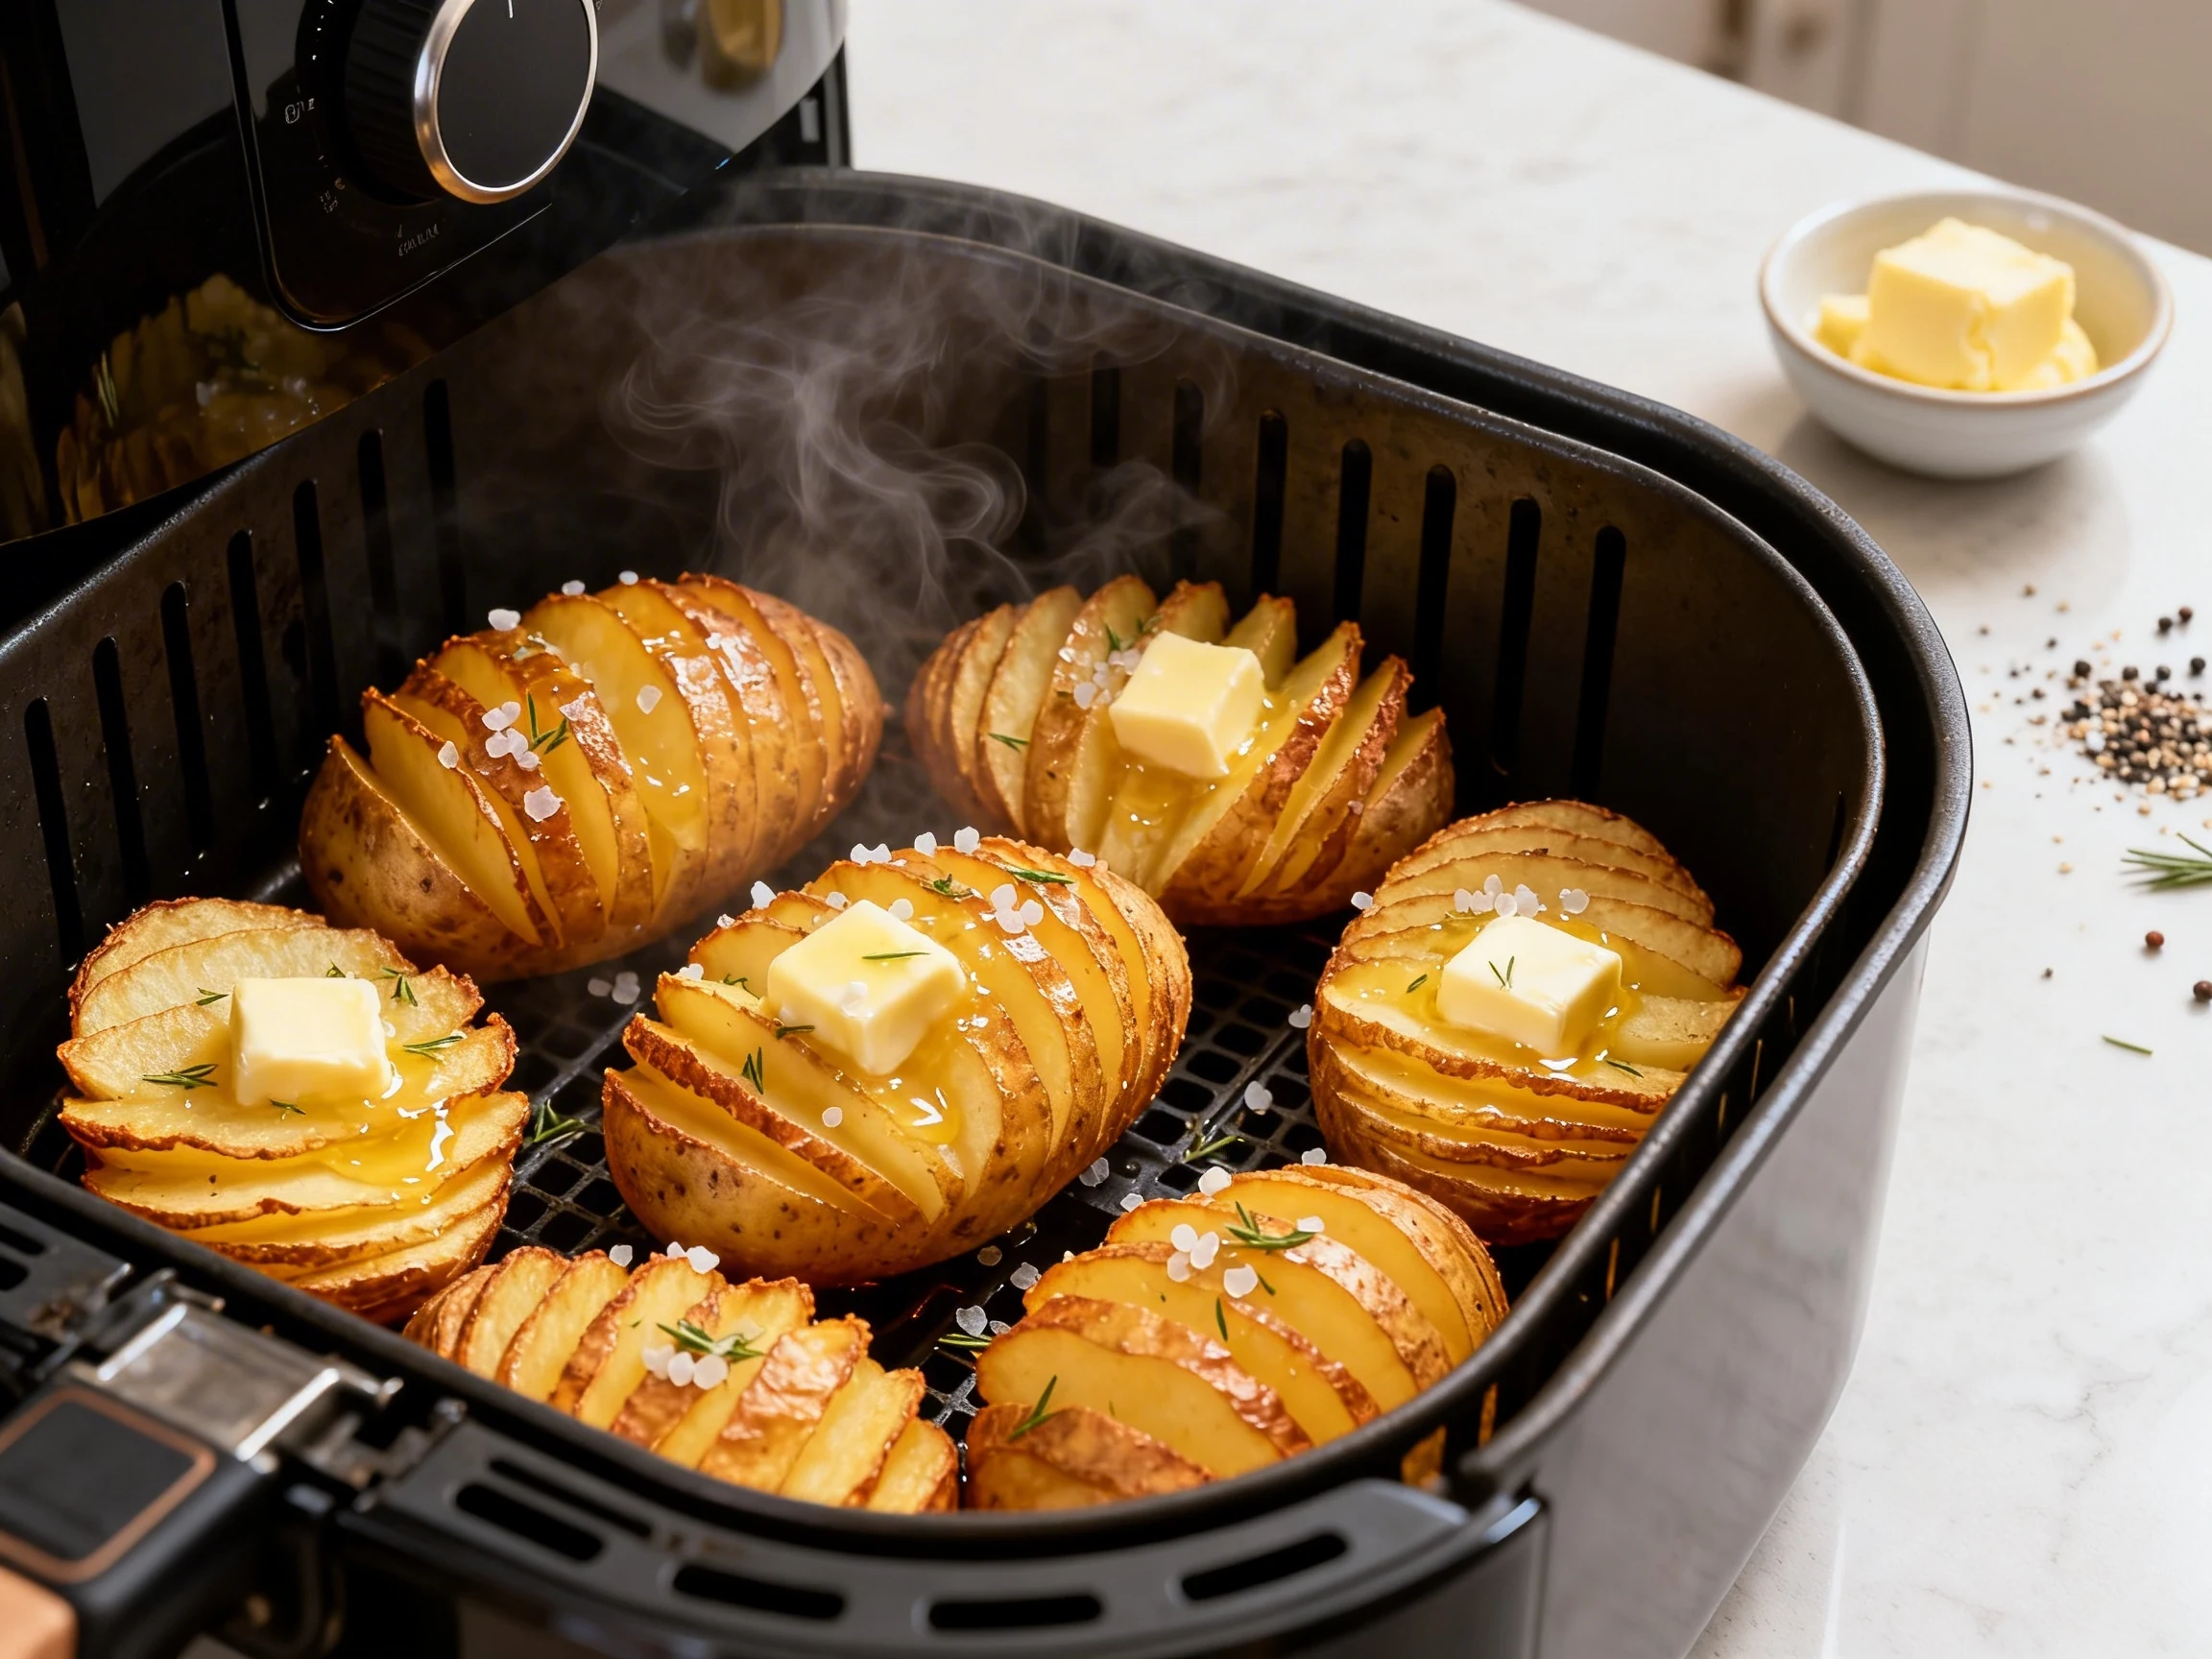
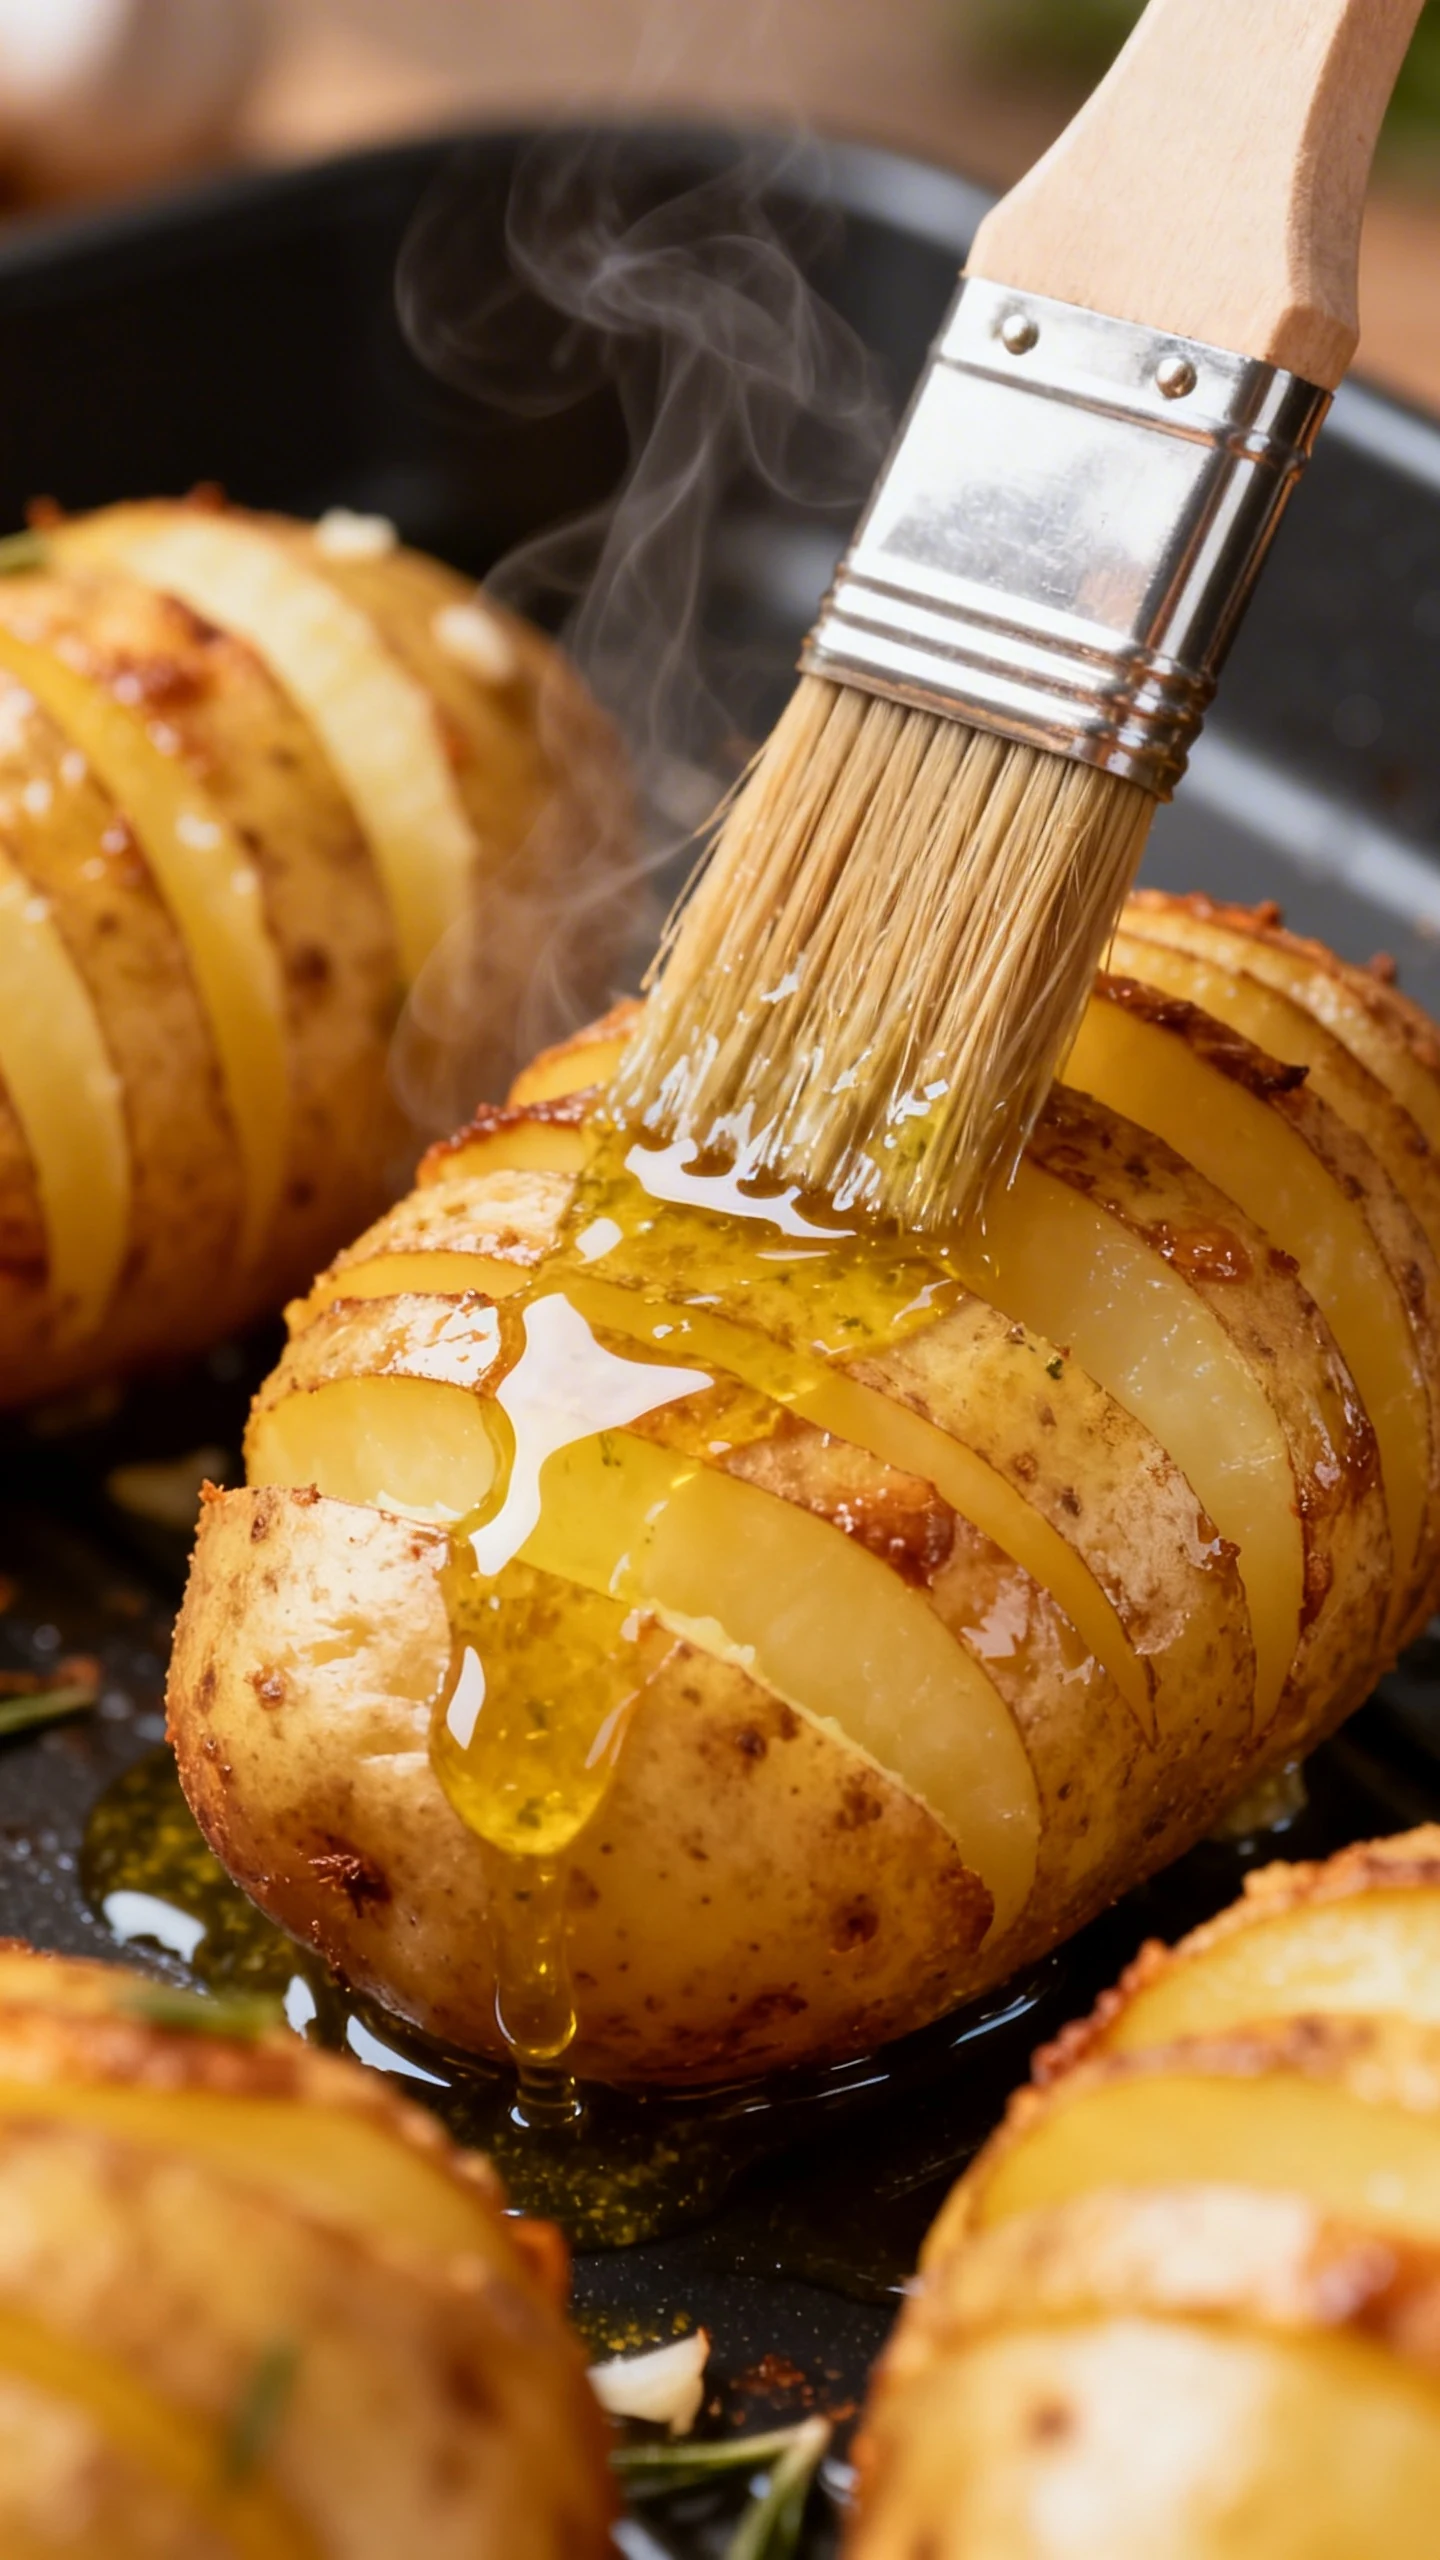
Mix your flavor paint. Stir together olive oil, melted butter, garlic, salt, pepper, paprika, and thyme. You’re making the “why are these so good” sauce.
-
Brush and pry open the slices. Use a brush or spoon to get the mixture into the cuts. Gently squeeze the potato from the ends to fan it open, then drizzle more in.
-
Preheat the air fryer (worth it). Set to 375°F for about 3 minutes. This helps the exterior start crisping immediately instead of slowly sweating.
-
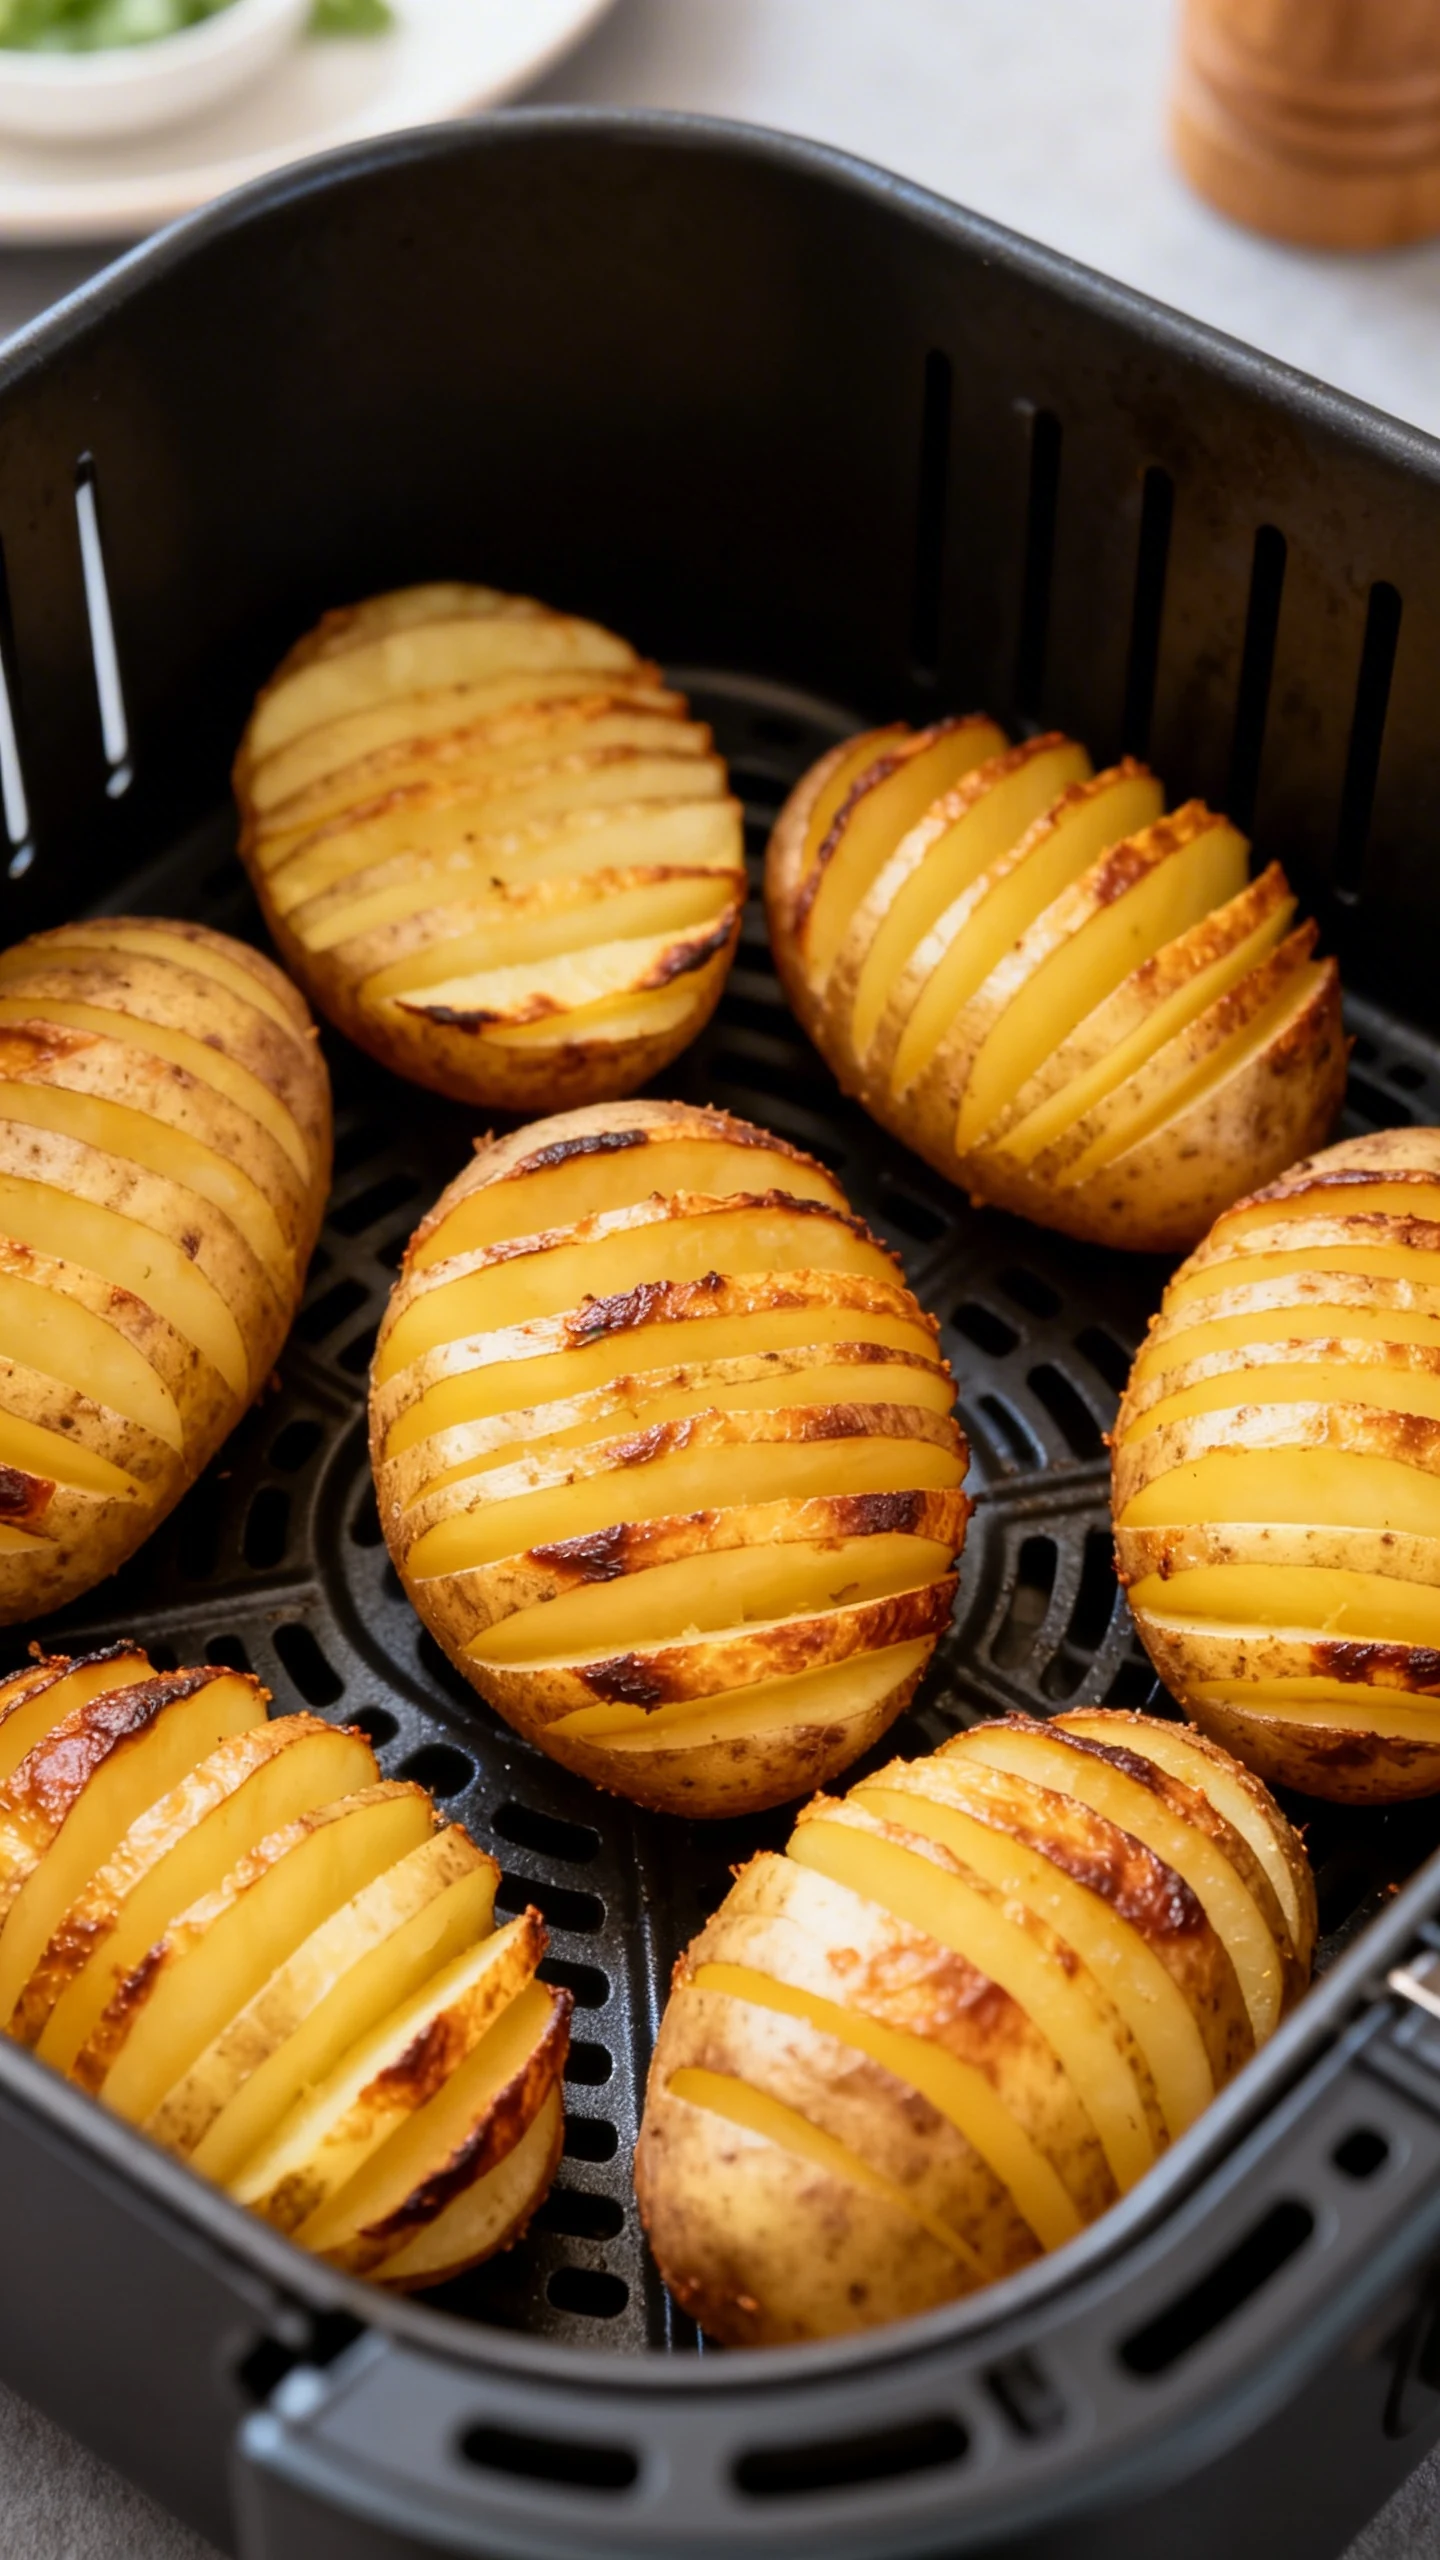
Air fry round one. Arrange in a single layer with a little space. Cook at 375°F for 10 minutes.
-
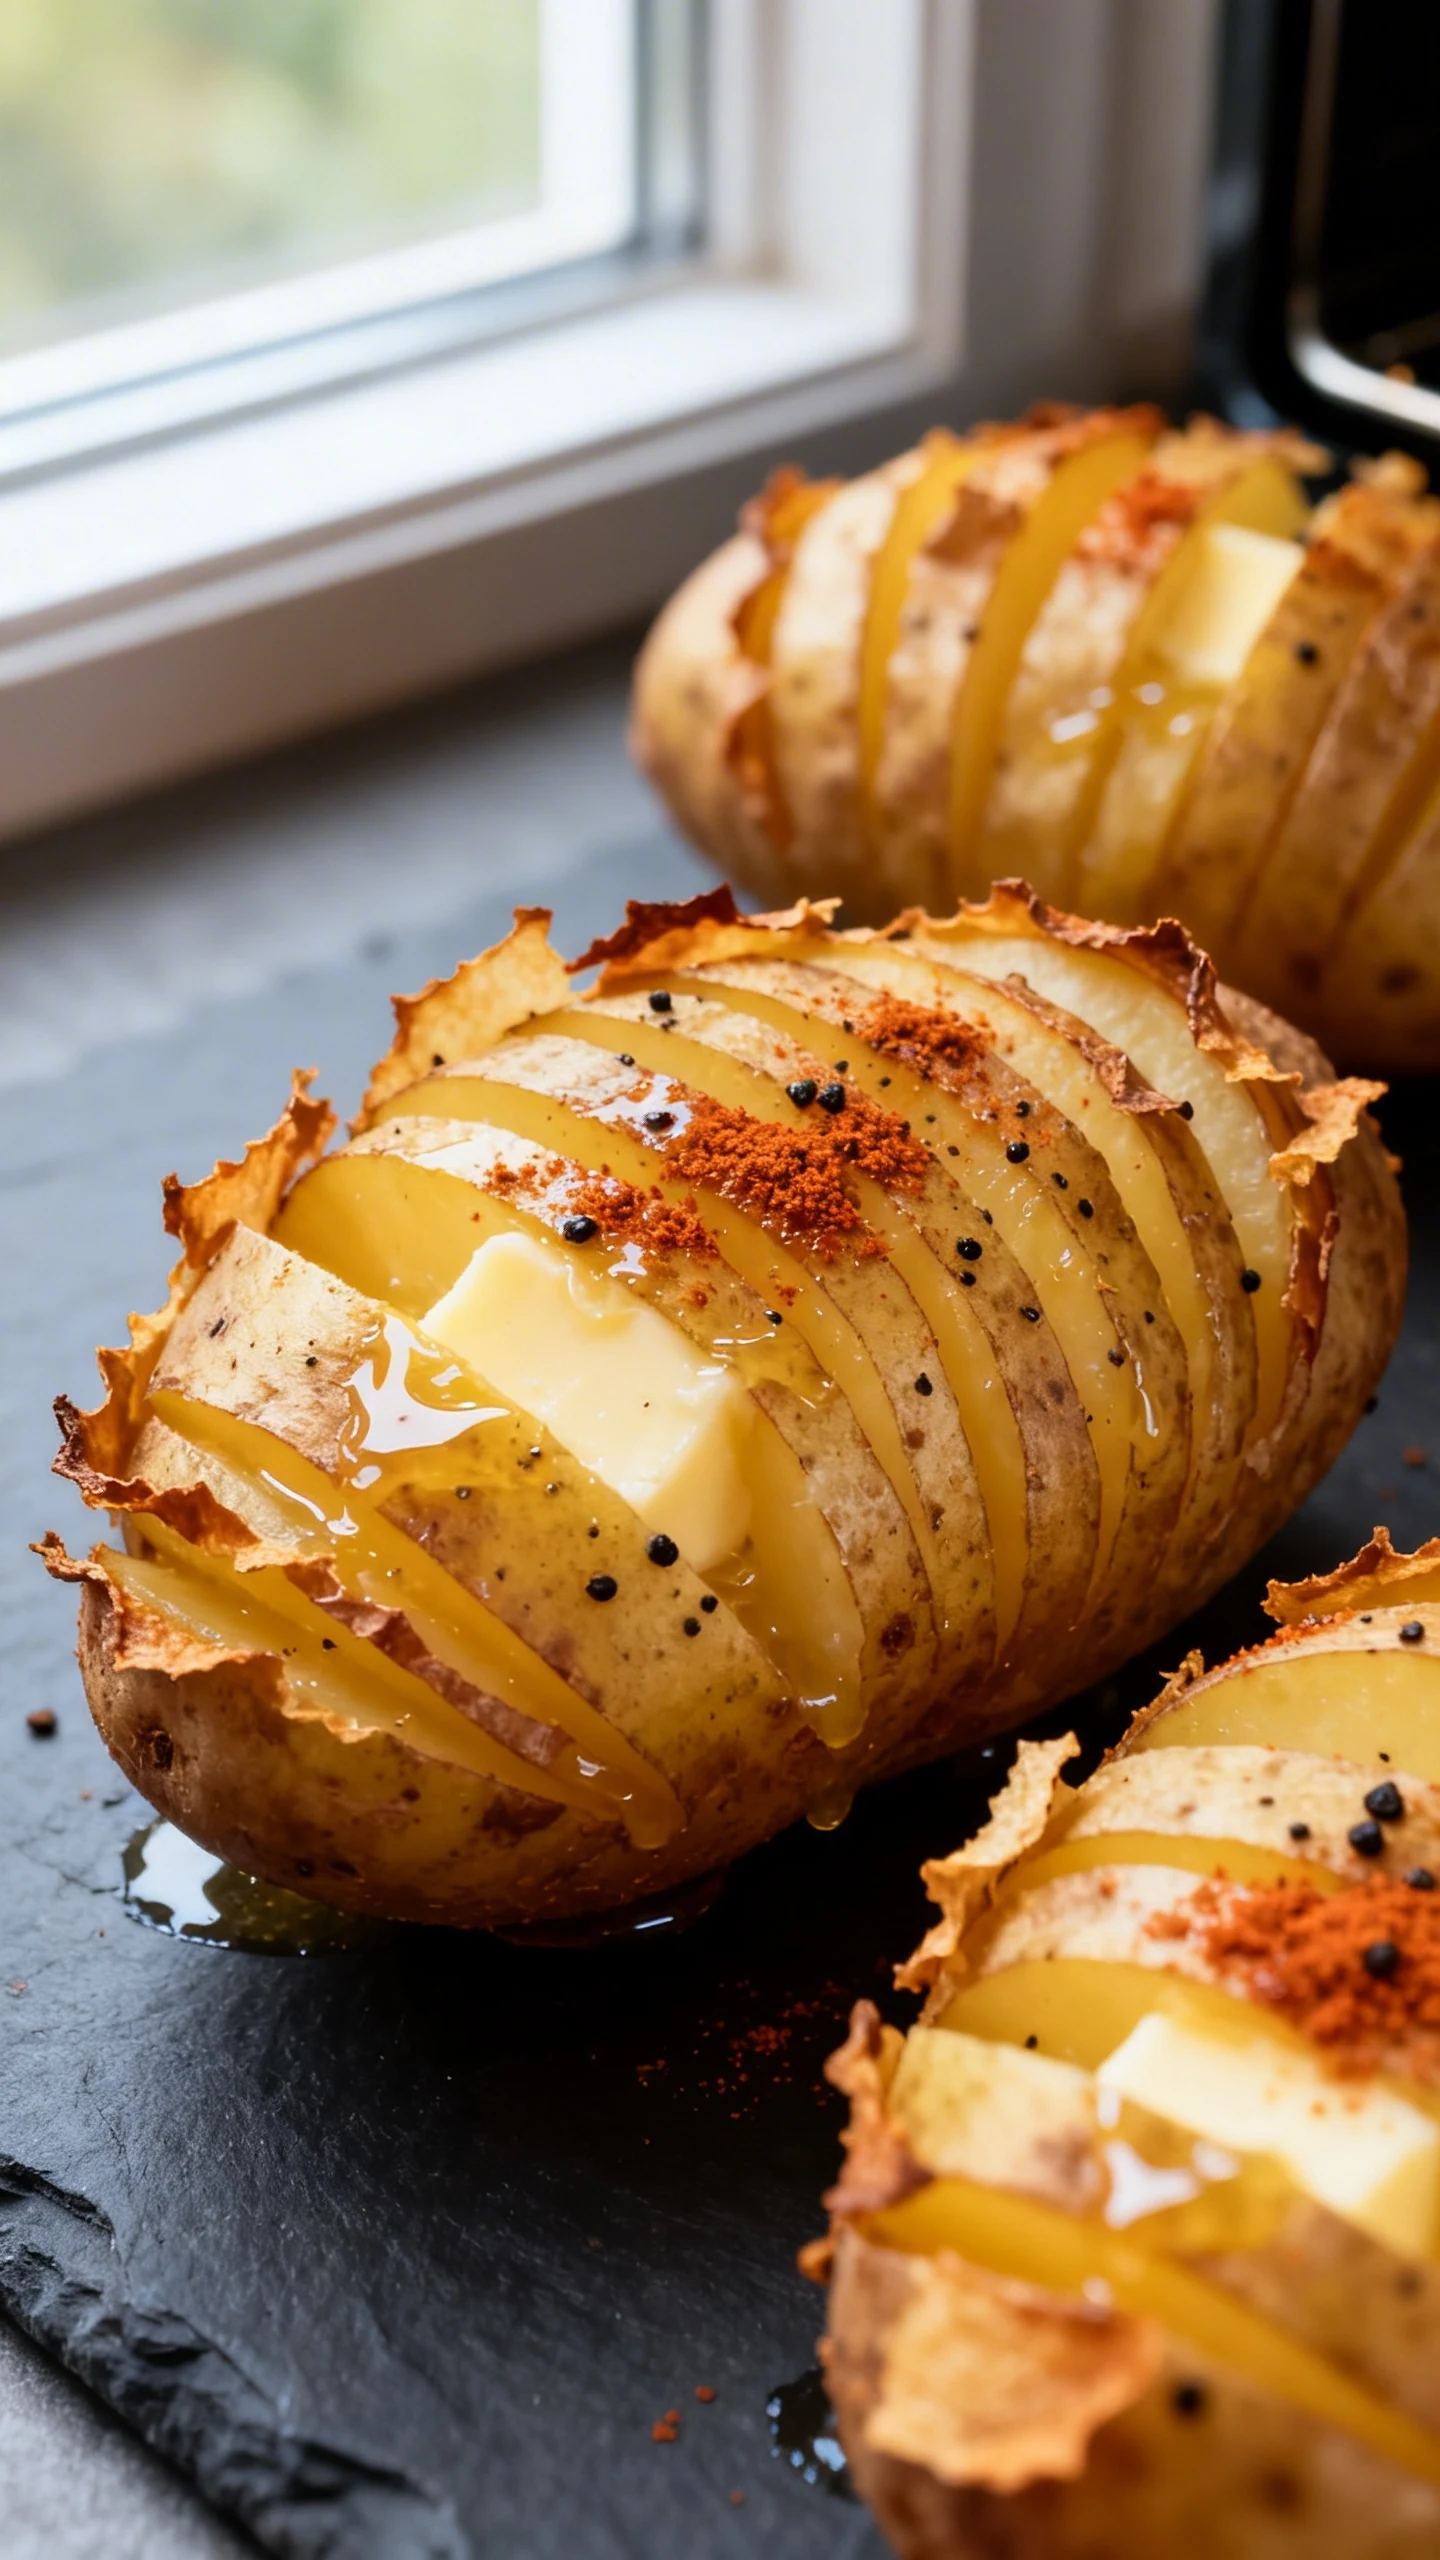
Baste again, because we’re not here to be subtle. Pull the basket, brush on more butter mixture, and nudge the slices open if they’re being shy.
-
Air fry round two. Cook another 8 to 12 minutes at 375°F until the edges look deeply golden and the tips crisp. If your air fryer runs hot, start checking at 8 minutes.
-
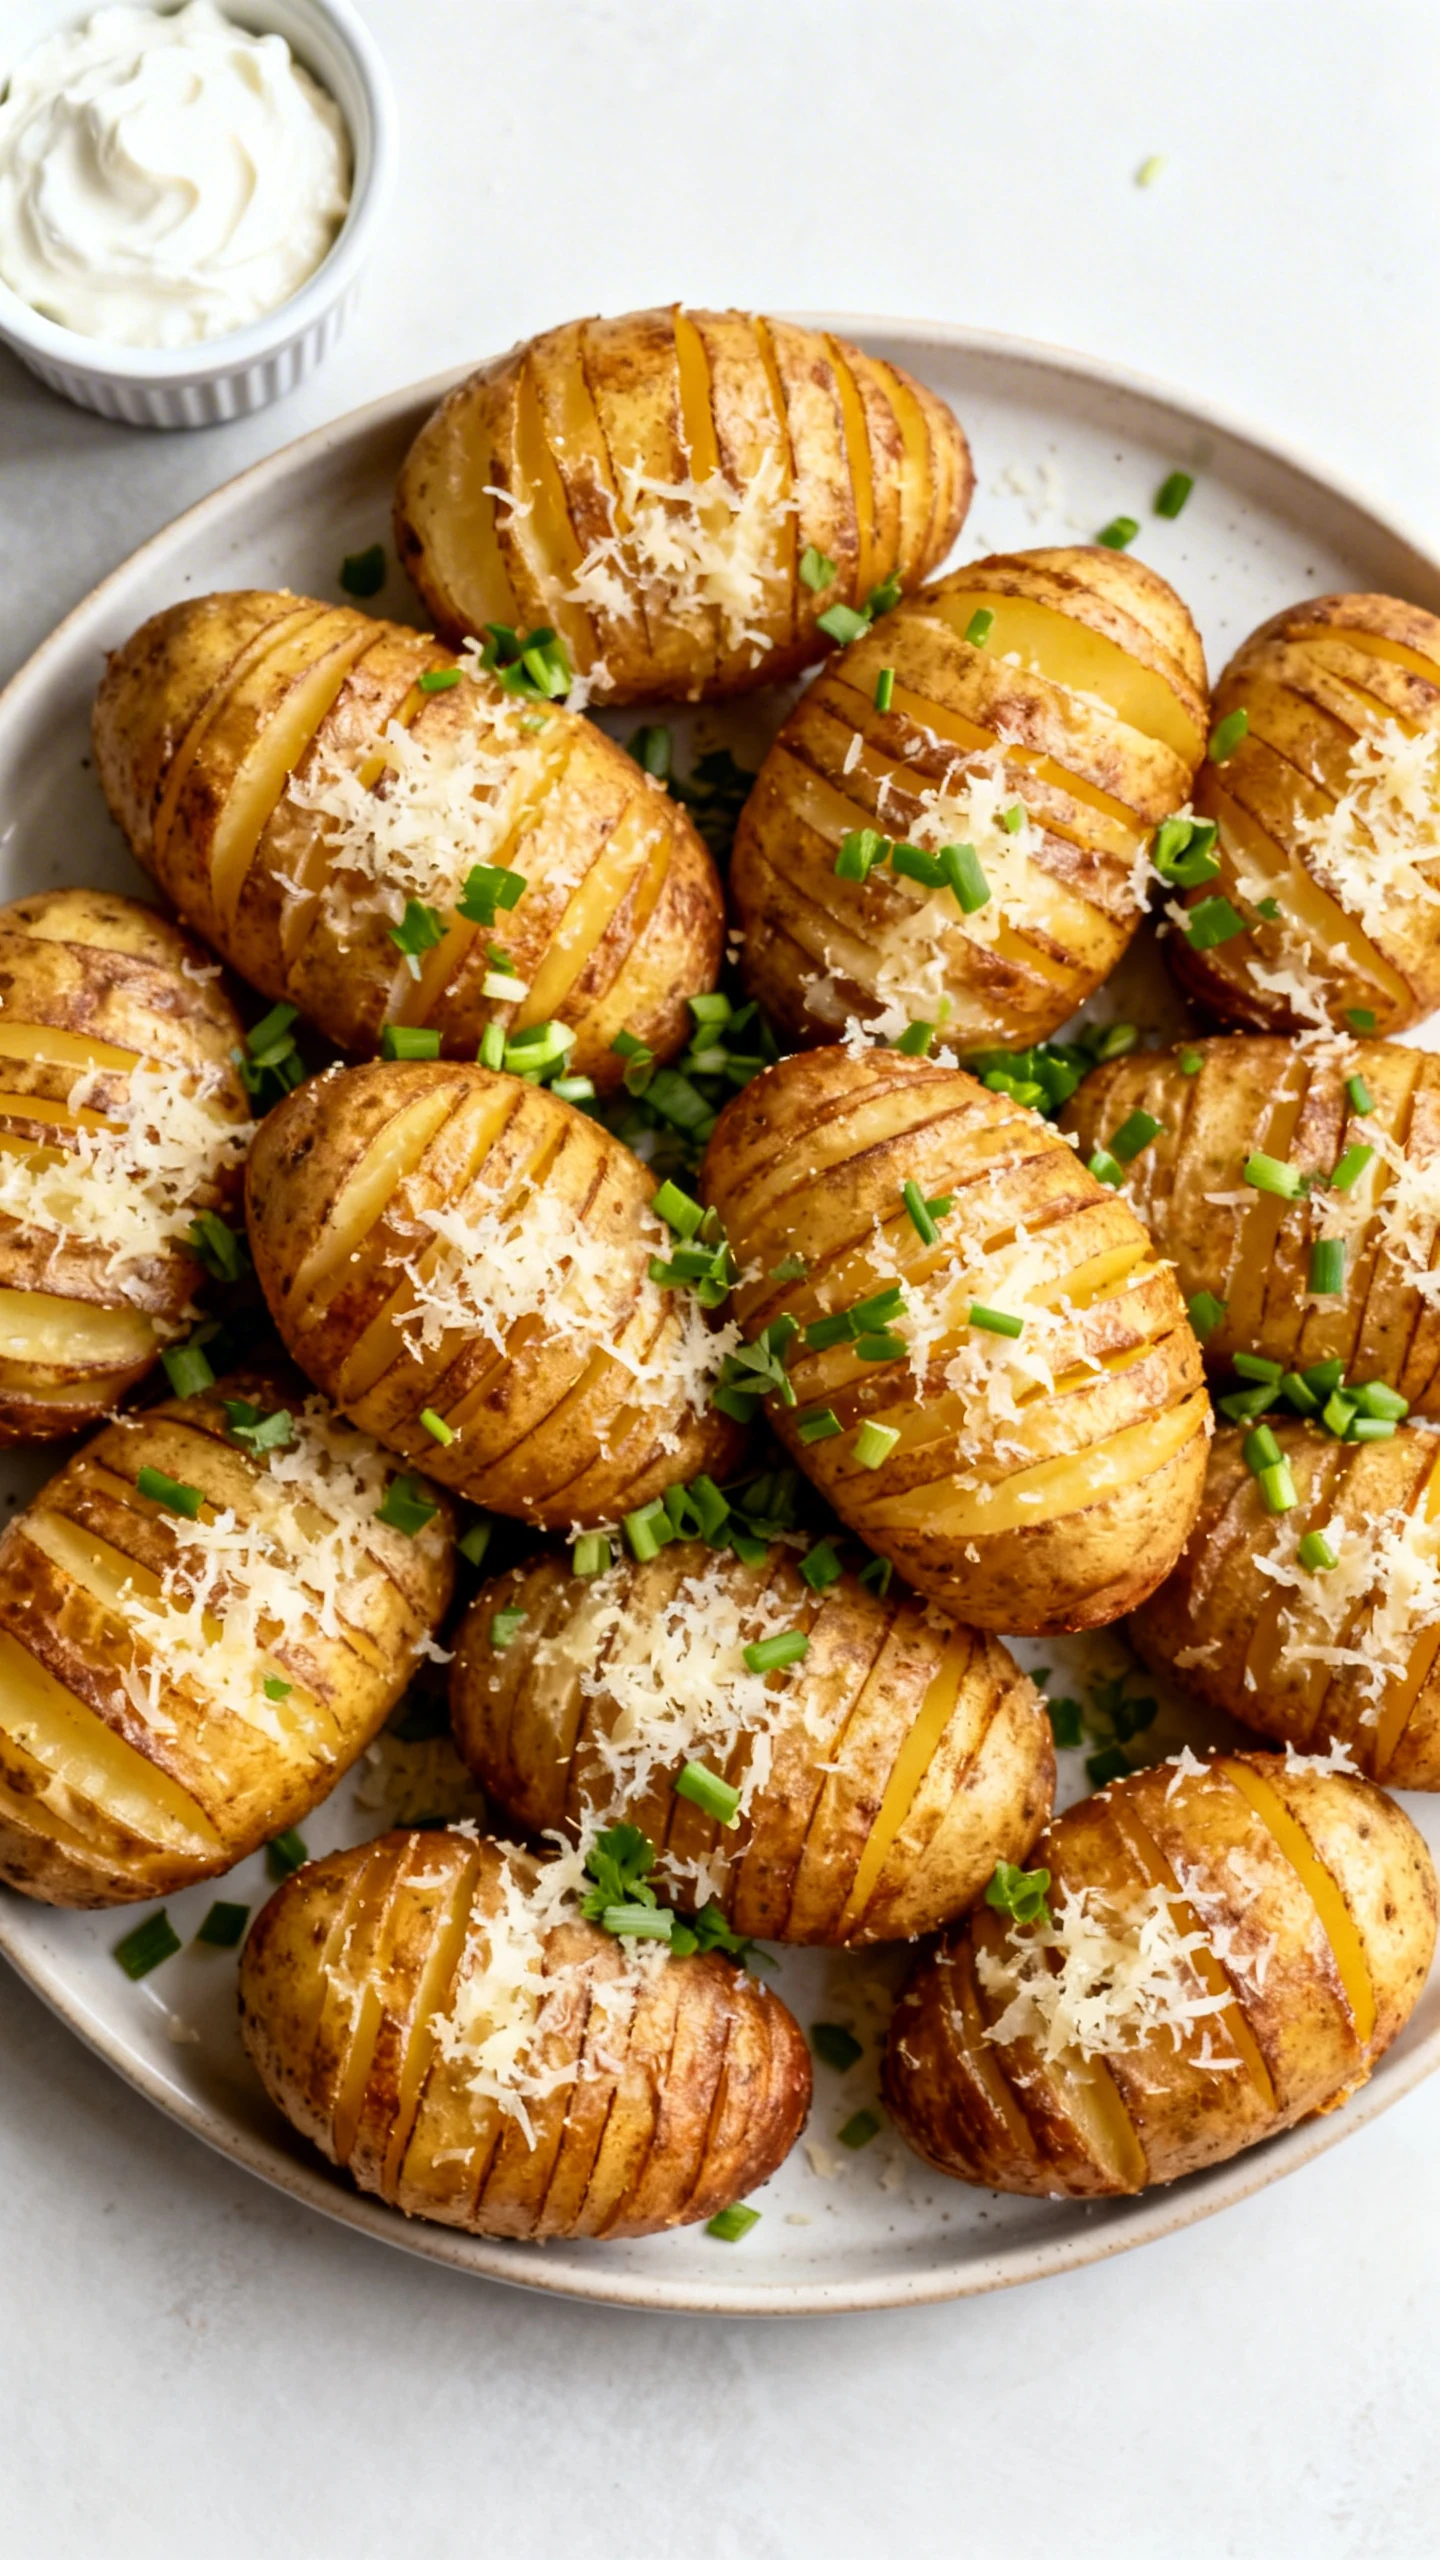
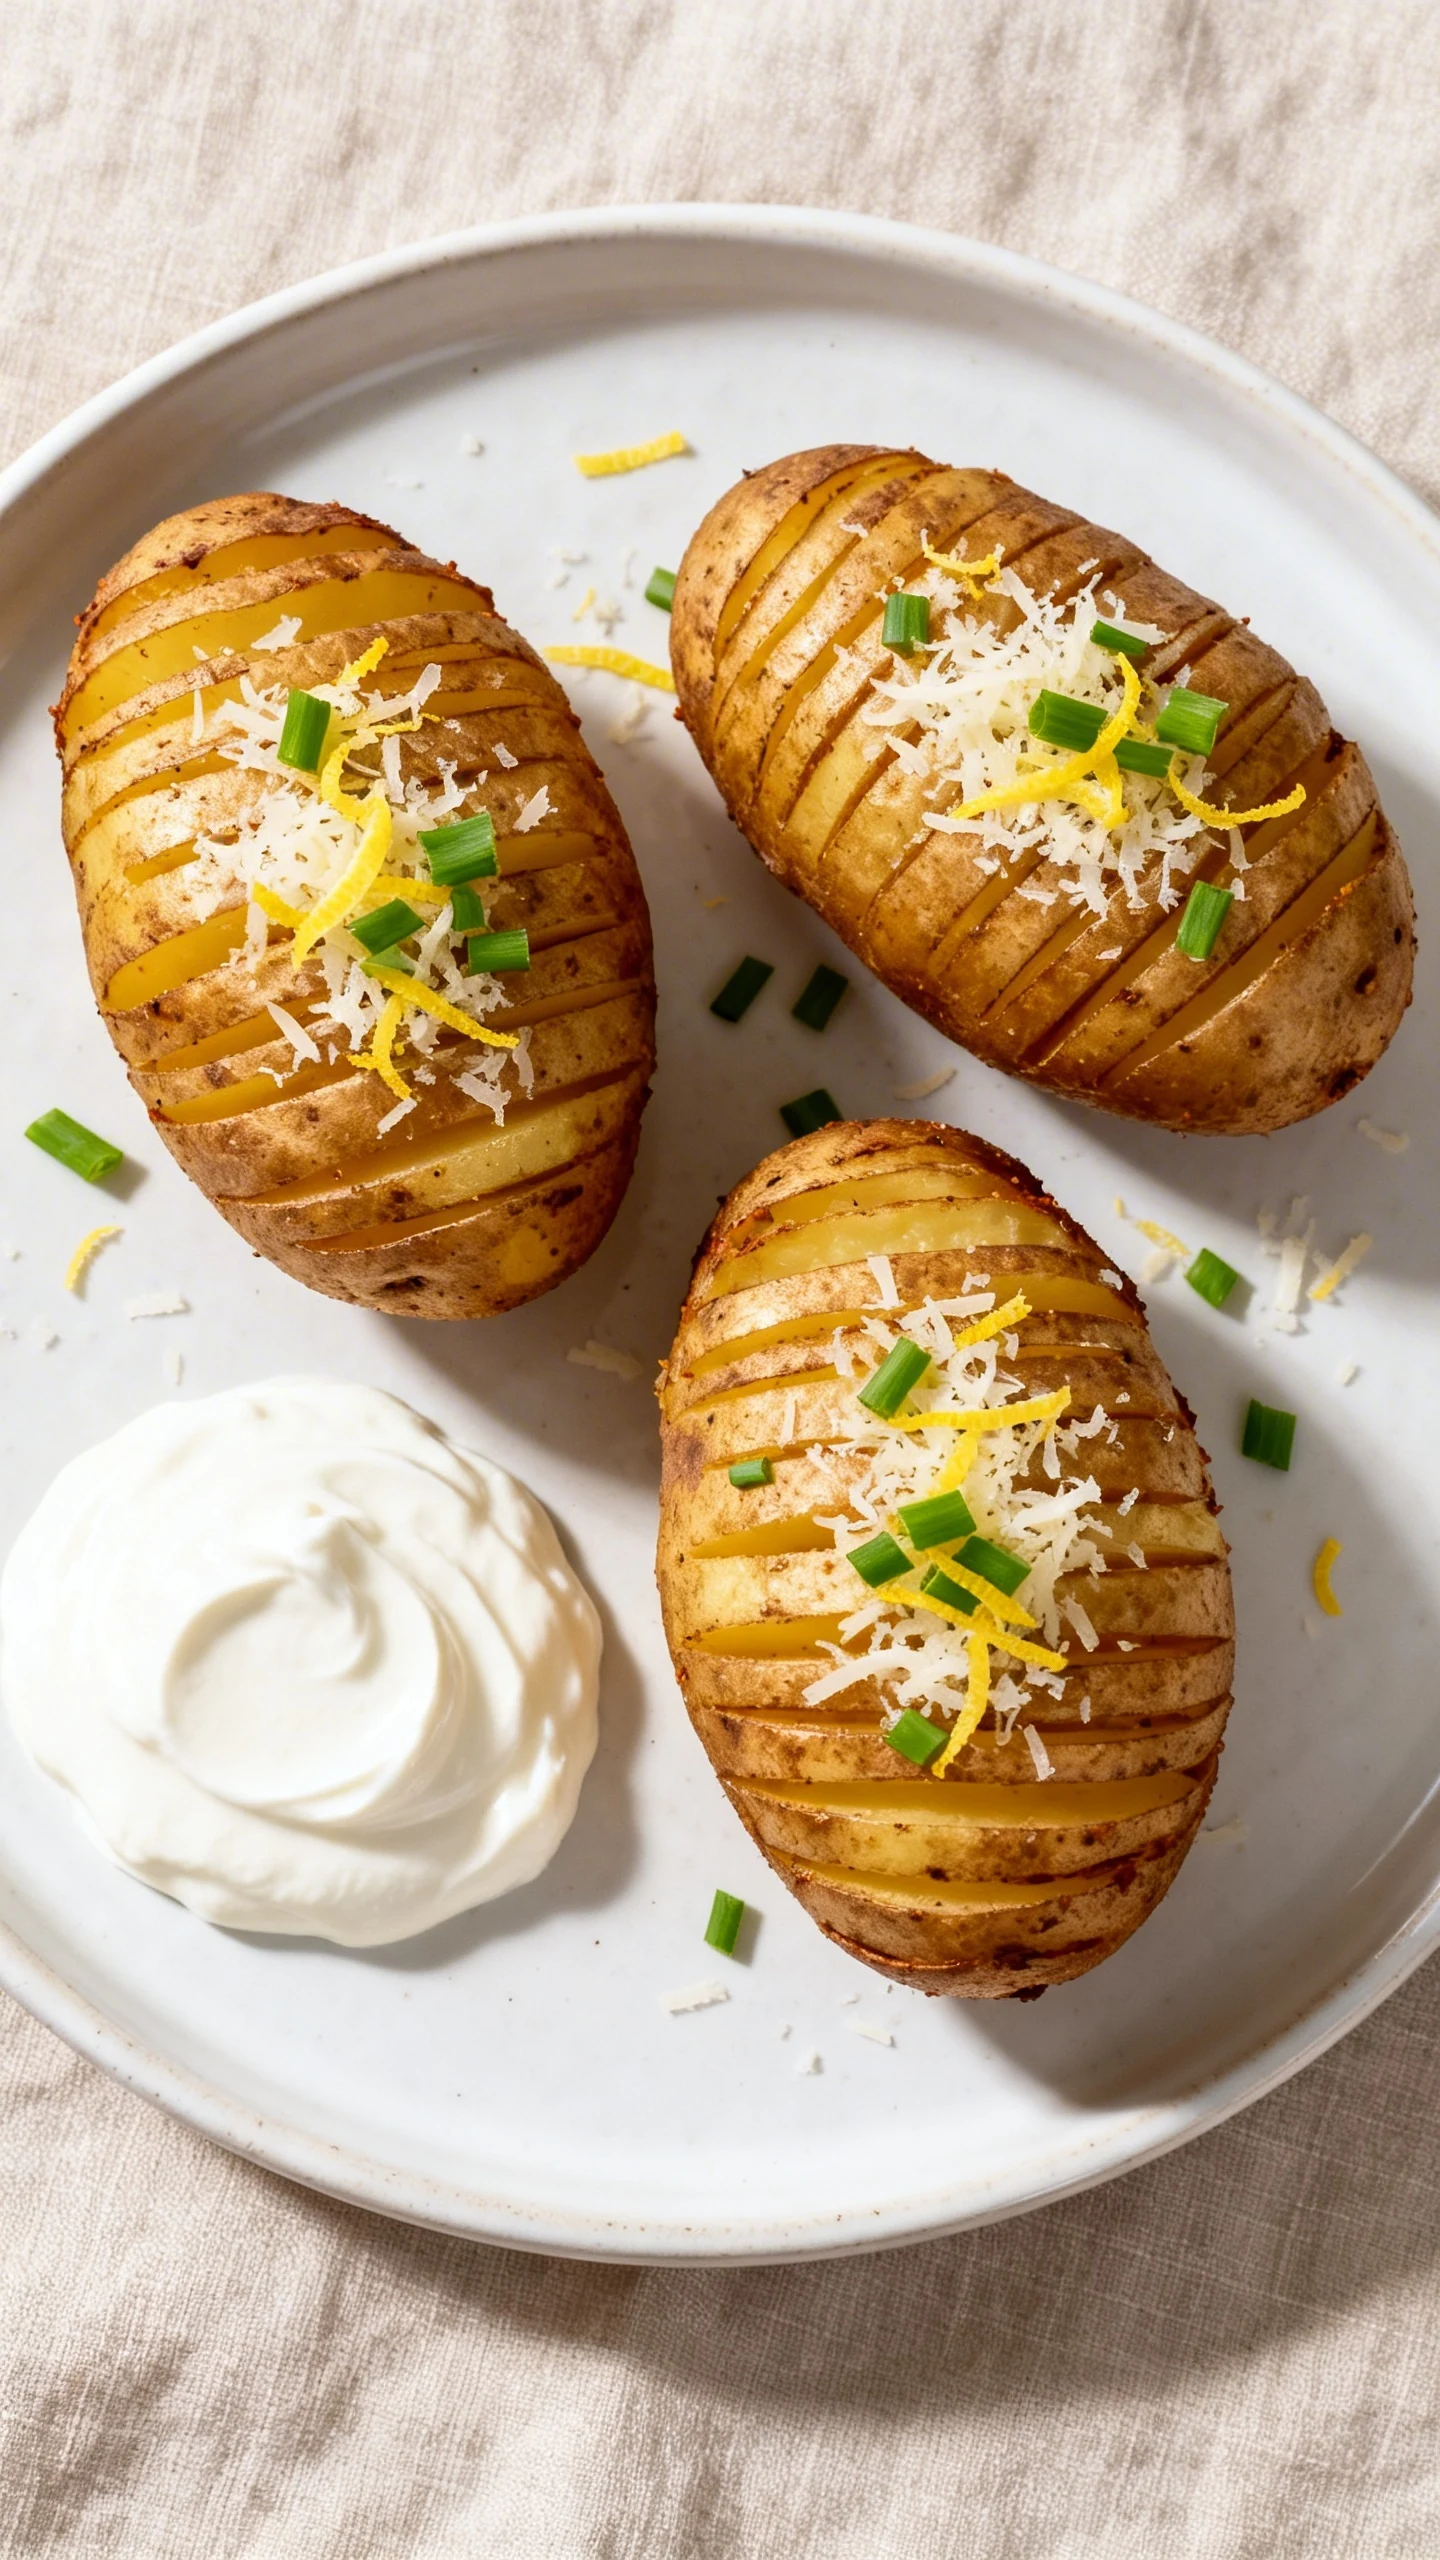
Add Parmesan at the end. Sprinkle it on for the last 2 minutes so it melts and clings without burning. Cheese can be dramatic like that.
-
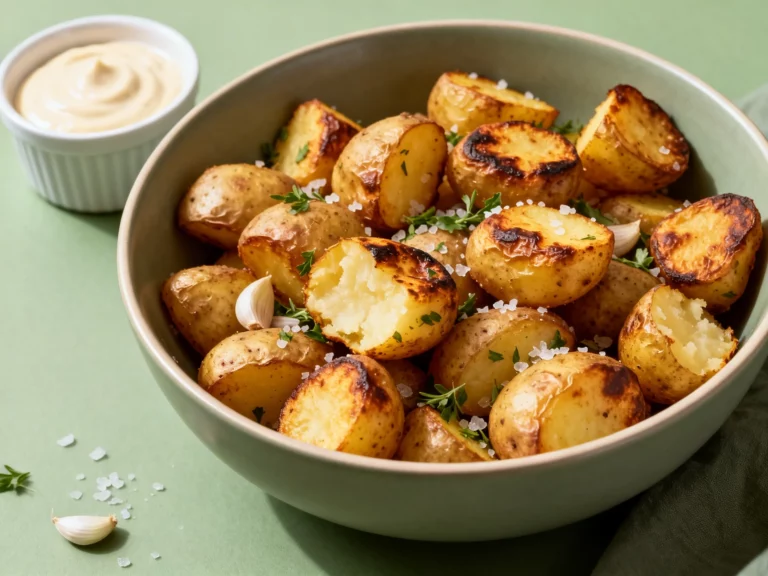
Finish like a pro. Toss on parsley or chives, and add lemon zest if you want that “wow, what is that?” brightness. Serve immediately with sour cream or Greek yogurt.
Storage Tips
Store leftovers in an airtight container in the fridge for up to 4 days. The potatoes will soften a bit because crispness has commitment issues.
To reheat, use the air fryer at 350°F for 4 to 7 minutes until hot and re-crisped. Avoid the microwave unless you enjoy “warm and vaguely potato-shaped.”
If you want to prep ahead, slice the potatoes and keep them submerged in cold water for up to 12 hours. Dry thoroughly before seasoning so they crisp instead of steaming.
Benefits of This Recipe
You get restaurant-level presentation without restaurant-level effort. Those fanned slices look fancy enough for guests, but it’s still just potatoes and seasoning.
It cooks faster than oven hasselbacks and doesn’t heat up your kitchen. IMO, that alone deserves an award during summer.
It’s budget-friendly and scalable. Make a small batch for a weeknight or fill the basket in batches for a crowd, and it still feels special.
What Not to Do
-
Don’t cut all the way through. If you do, you’ve made thick potato coins, not hasselbacks. Still tasty, but not the vibe.
-
Don’t skip drying. Wet potatoes steam first, crisp later, and sometimes never. Dry equals crunch.
-
Don’t overcrowd the basket. If they touch, they trap steam and turn soft. Airflow is the whole point.
-
Don’t use cold butter straight. Melt it so it runs into the cuts and actually does its job.
-
Don’t crank the temp too high too soon. High heat can brown the tips before the centers cook, which feels rude.
Alternatives
Want to switch it up without breaking the method? Here are easy variations that still deliver the crispy-fan magic.
-
Spicy ranch. Swap paprika for cayenne, add ranch seasoning, and serve with a cool yogurt dip.
-
Everything bagel. Brush with butter and sprinkle everything seasoning in the last 5 minutes so it doesn’t scorch.
-
Herb and lemon. Skip paprika, double the herbs, finish with lemon zest and a tiny squeeze of juice.
-
Cheddar and bacon. Add shredded cheddar for the last 2 minutes, then top with crispy bacon bits and chives.
-
Vegan version. Use olive oil or vegan butter, and finish with nutritional yeast for savory depth.
FAQ
What potatoes work best for hasselback style?
Small Yukon Golds give you buttery centers and reliable crisping. Small russets also work and get extra crunchy, but they can dry out if overcooked, so watch the time.
How do I slice them without cutting through?
Use chopsticks or wooden spoon handles as guards on both sides of the potato. Your knife hits the guards and stops, which saves you from accidental potato confetti.
Do I have to microwave them first?
No, but it helps if your potatoes are on the larger side. The microwave jump-starts the centers so the air fryer can focus on crisping instead of playing catch-up.
Why aren’t my slices fanning out?
Your cuts may be too thick or not deep enough. Try slicing closer together next time, and after the first cook phase, gently press the ends to open the layers before basting again.
Can I make these ahead for a party?
You can cook them fully, refrigerate, then re-crisp in the air fryer at 350°F for 6 to 10 minutes. They won’t be exactly like fresh, but they’ll still disappear fast.
What dipping sauces go best?
Sour cream with chives is classic, but garlic aioli, spicy mayo, or a quick yogurt-lemon dip all work. Basically, if it tastes good on fries, it’ll be great here.
How do I keep the garlic from burning?
Mix garlic into melted butter and oil so it’s diluted, and avoid blasting at very high temperatures. If your air fryer runs hot, add a little of the garlic mixture midway instead of all at the start.
Final Thoughts
These potatoes hit the sweet spot: crispy, fluffy, and a little bit show-offy. They turn a basic dinner into something that feels planned, even if you decided on a side dish at the last second.
Once you nail the slicing and basting rhythm, you’ll start making them on autopilot. And when people ask how you got them so crisp, you can say “science,” then change the subject.