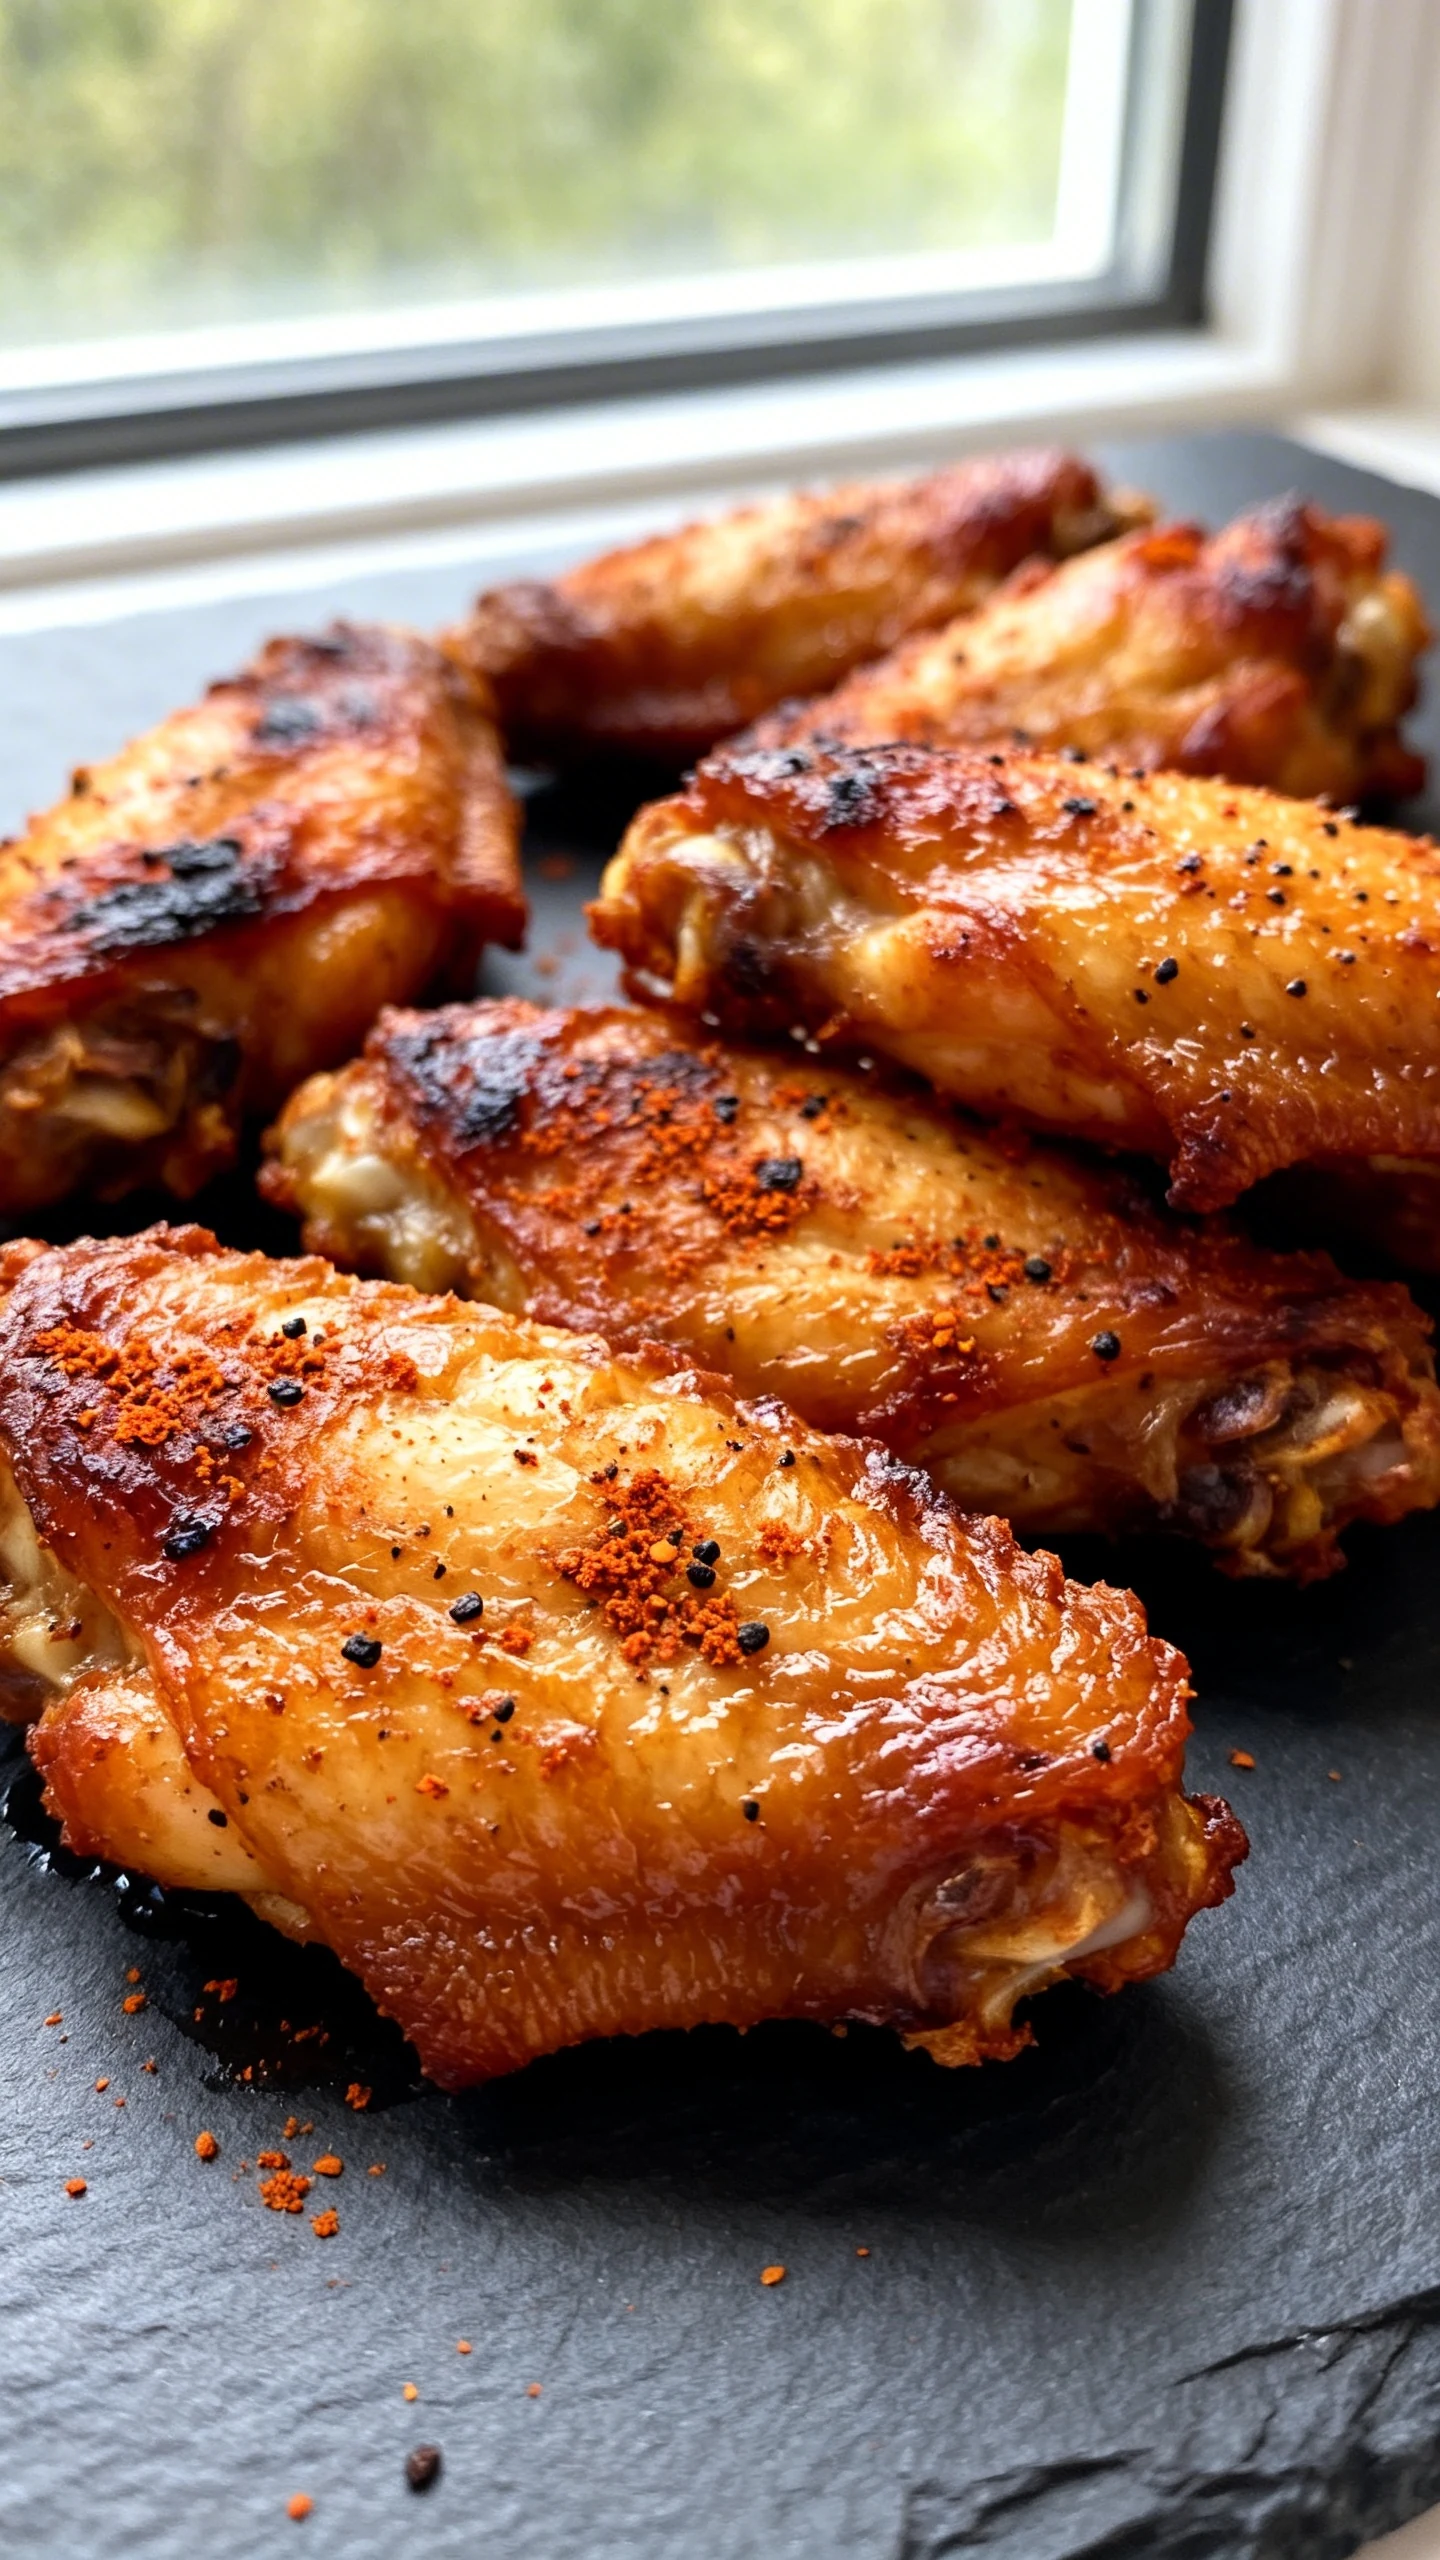
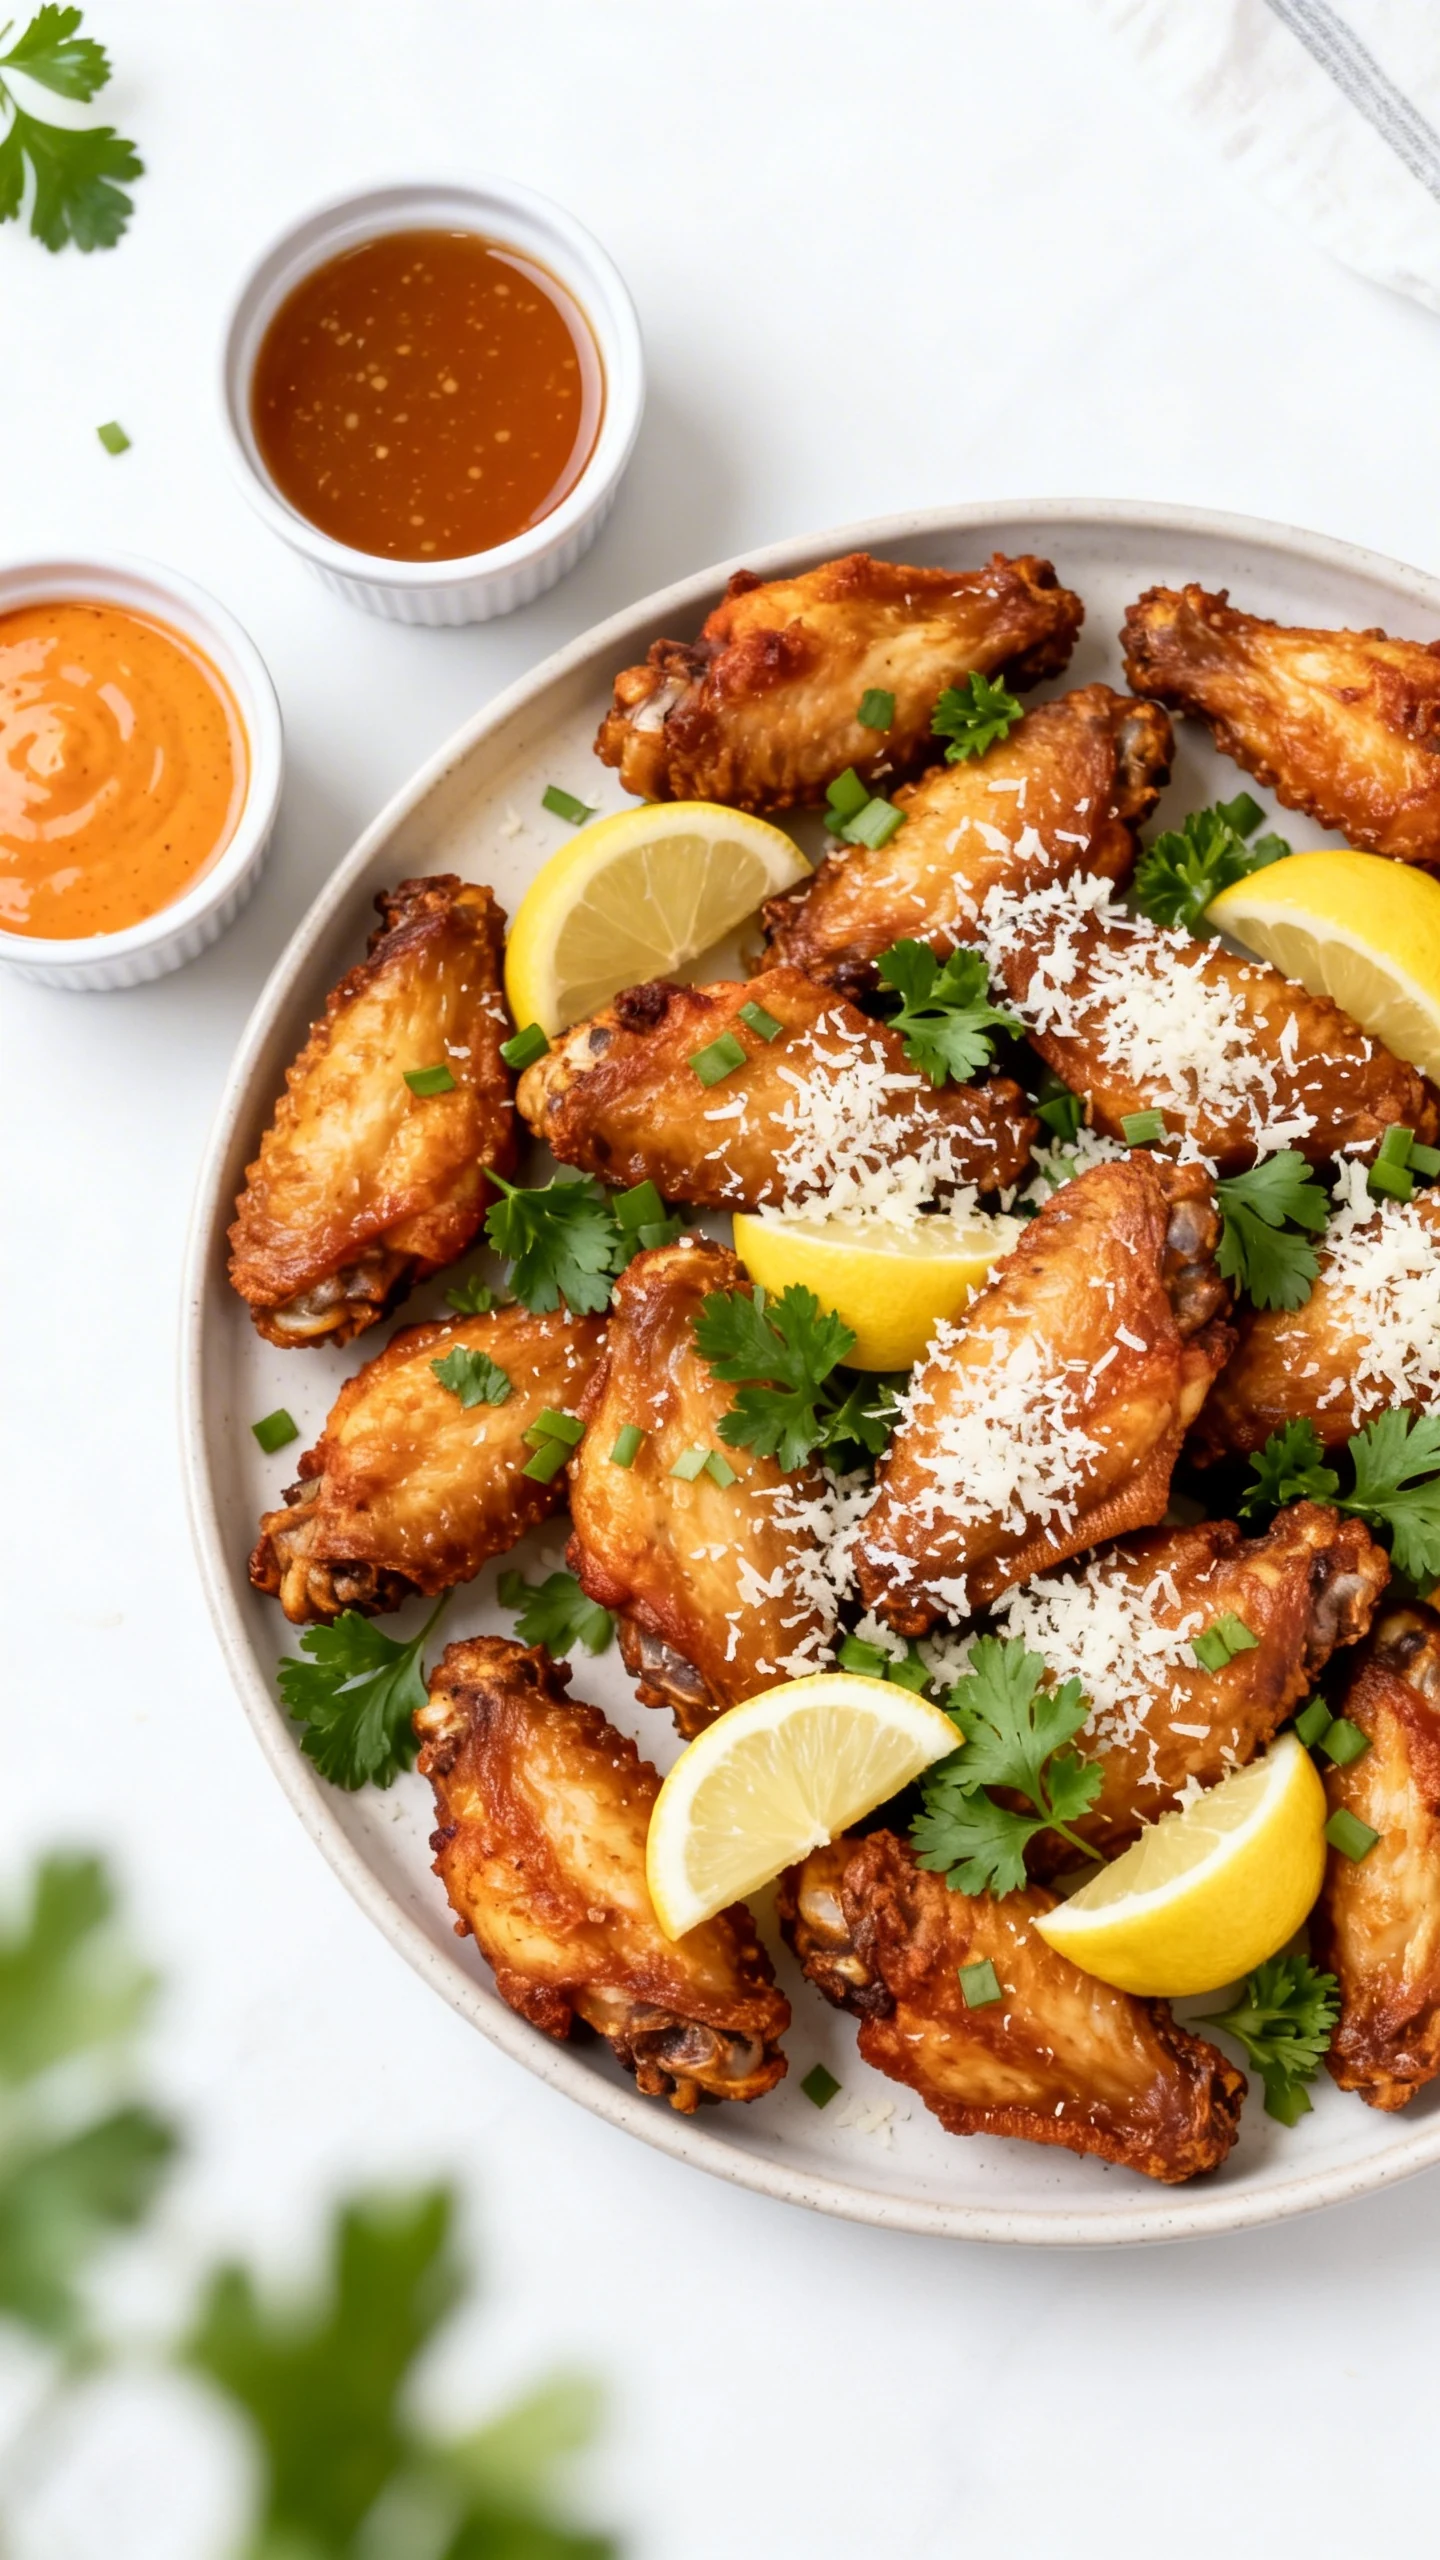
Crispy Air Fryer Chicken Wings That Crackle Fast
Get shatteringly crunchy wings in under 30 minutes, no deep fryer drama, with a bold dry rub and a foolproof air fryer method.
You want wings that sound like potato chips when you bite them. Not “kinda crispy,” not “good for air fryer,” but the real deal. Here’s the cheat code: dry them like you mean it, season hard, and cook in two stages. Your kitchen stays clean, your smoke alarm stays quiet, and your friends suddenly “just happen” to stop by at dinner time. Coincidence? Sure.
What Makes This Special
This recipe focuses on one thing: surface dryness. The air fryer can’t crisp what’s still wet, so we fix that first with a quick pat-down and a simple seasoning strategy. Then we use a two-temperature cook that renders fat before it finishes with a loud, crunchy exterior.
You also get flexibility. Keep them classic with salt and pepper, go spicy, or lean into garlic-parmesan vibes. The method stays the same, which means you can riff without risking sad, rubbery skin. IMO, that’s the best kind of recipe: reliable, then customizable.
Ingredients
- 2 pounds chicken wings (split flats and drumettes, tips removed)
- 1 tablespoon baking powder (aluminum-free if possible)
- 1 teaspoon kosher salt
- 1 teaspoon garlic powder
- 1 teaspoon smoked paprika
- 1/2 teaspoon black pepper
- 1/4 to 1/2 teaspoon cayenne pepper (optional, for heat)
- 1 teaspoon cornstarch (optional, extra crunch insurance)
- Neutral oil spray (avocado, canola, or grapeseed)
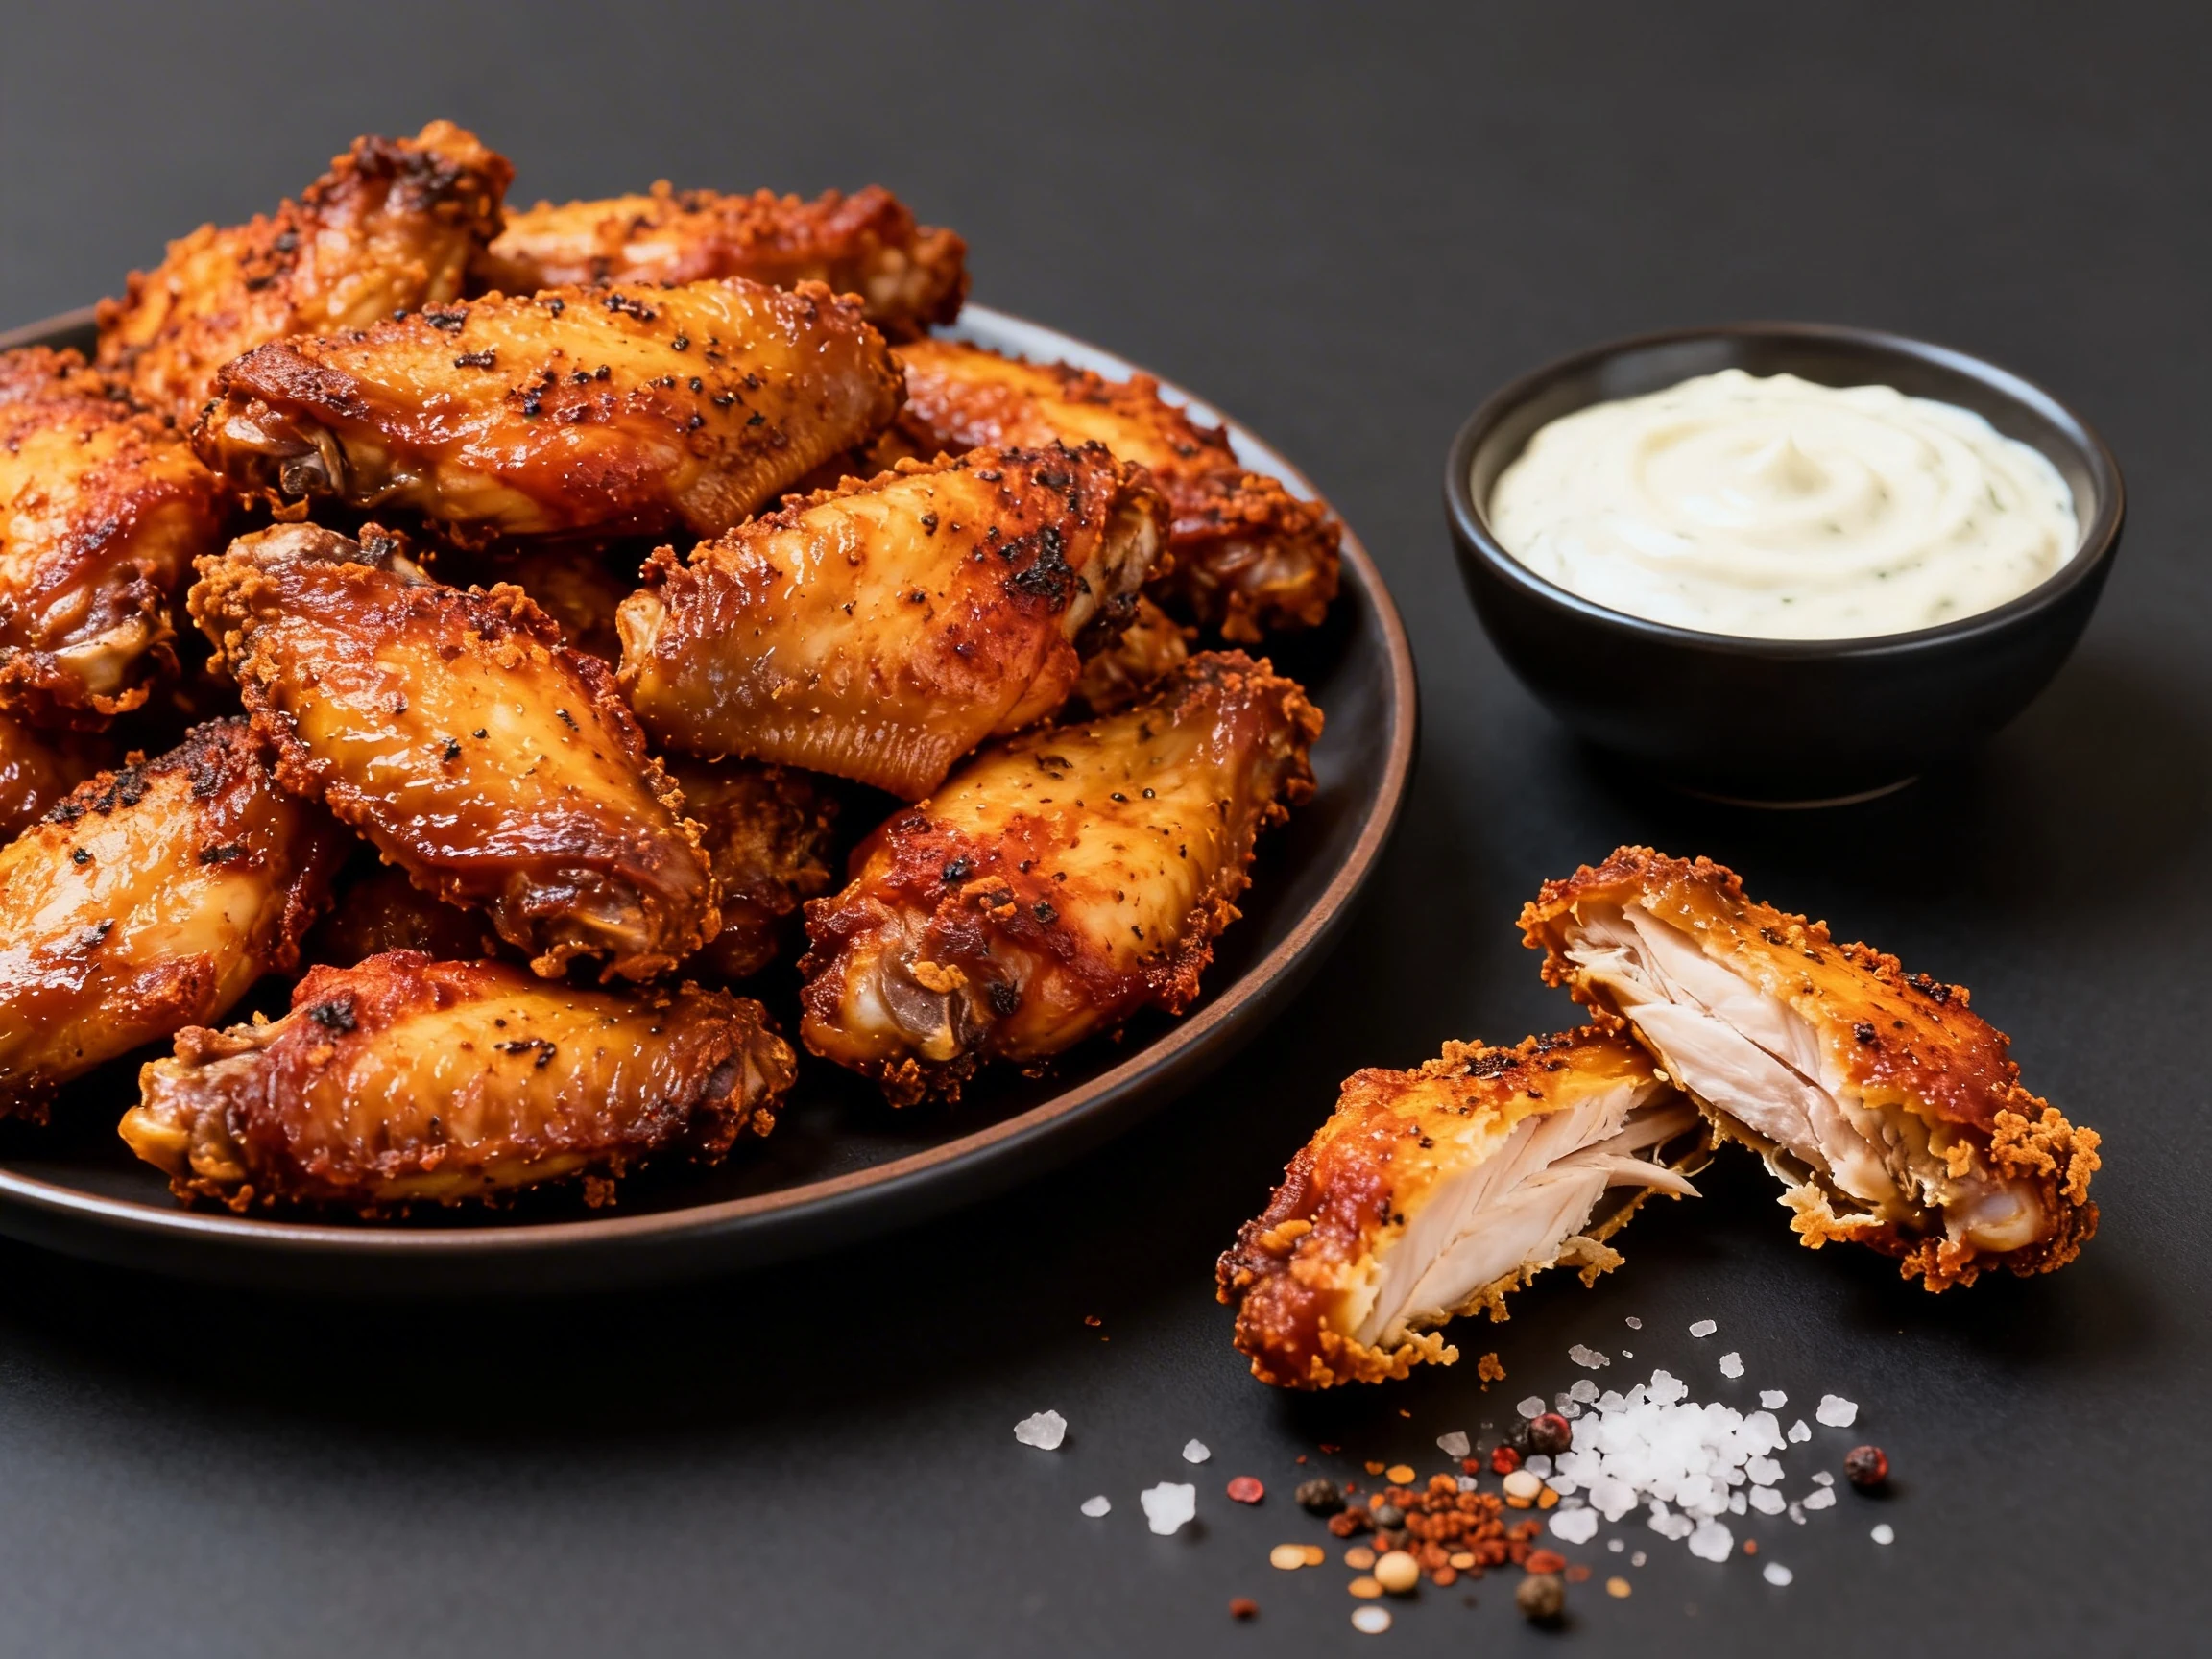
- Optional sauce for tossing: buffalo, honey garlic, teriyaki, or your favorite
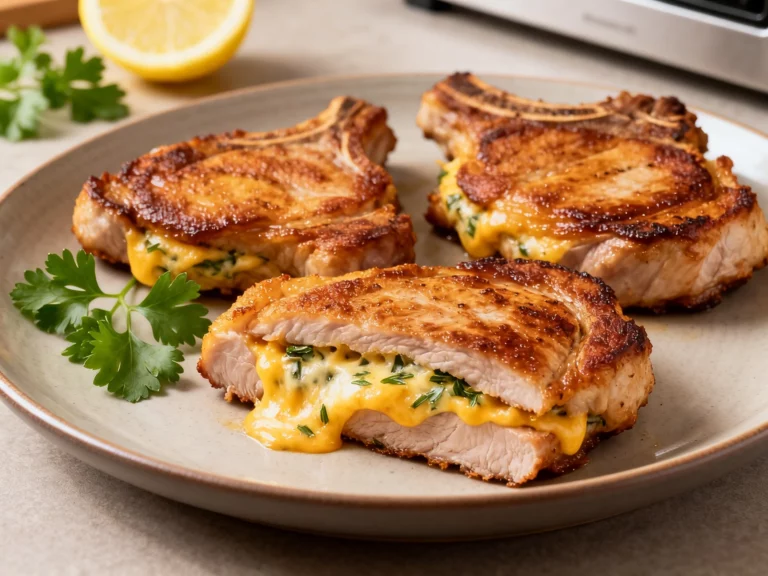
- Optional finishing extras: lemon wedges, chopped parsley, grated Parmesan
Cooking Instructions
-
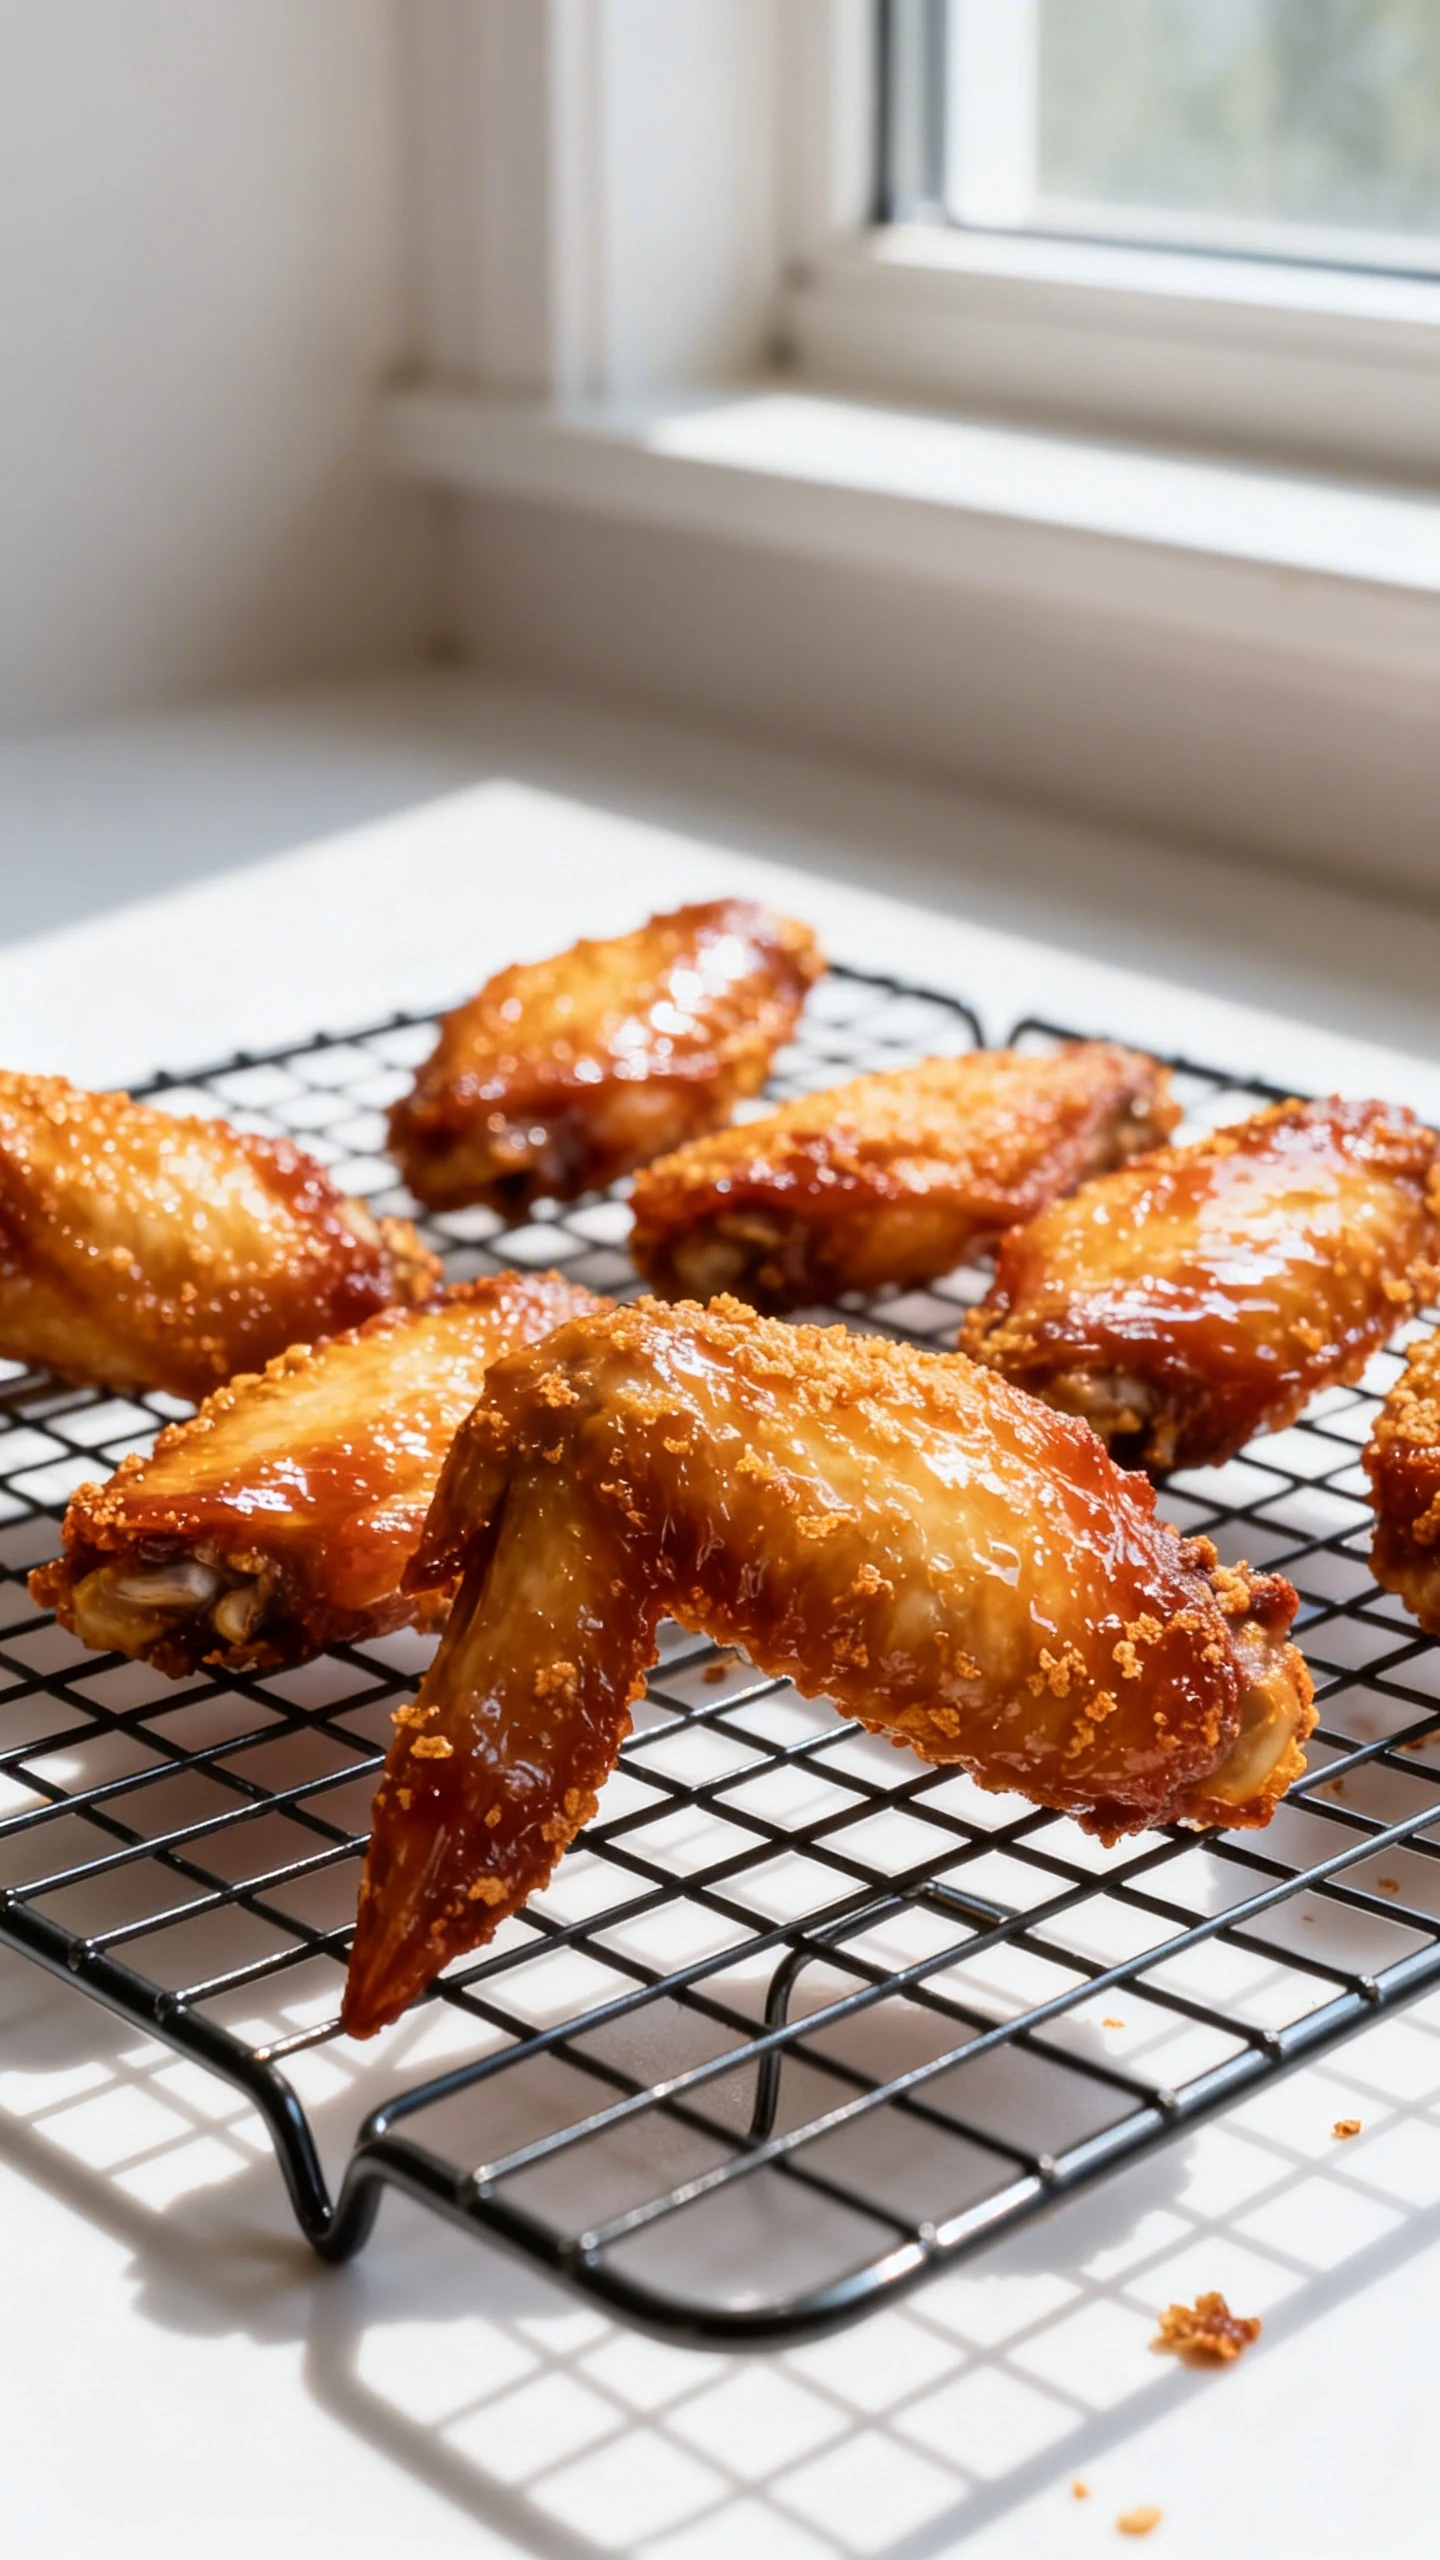
Dry the wings like you’re getting paid for it. Pat wings thoroughly with paper towels. If you have time, place them on a rack in the fridge for 30–60 minutes to air-dry. If you don’t, the paper towels still help a lot.
-
Mix the crisping rub. In a bowl, combine baking powder, salt, garlic powder, smoked paprika, black pepper, cayenne (if using), and cornstarch (if using). This blend boosts browning and helps the skin blister.
-
Coat evenly, not heavily. Toss wings with the seasoning until every piece looks lightly dusted. You want an even, thin layer, not clumps. Clumps turn into weird chalky spots, and nobody asked for that.
-
Preheat the air fryer. Set it to 360°F (182°C) and preheat for 3–5 minutes. Preheating helps the wings start rendering immediately instead of steaming in a lukewarm basket.
-
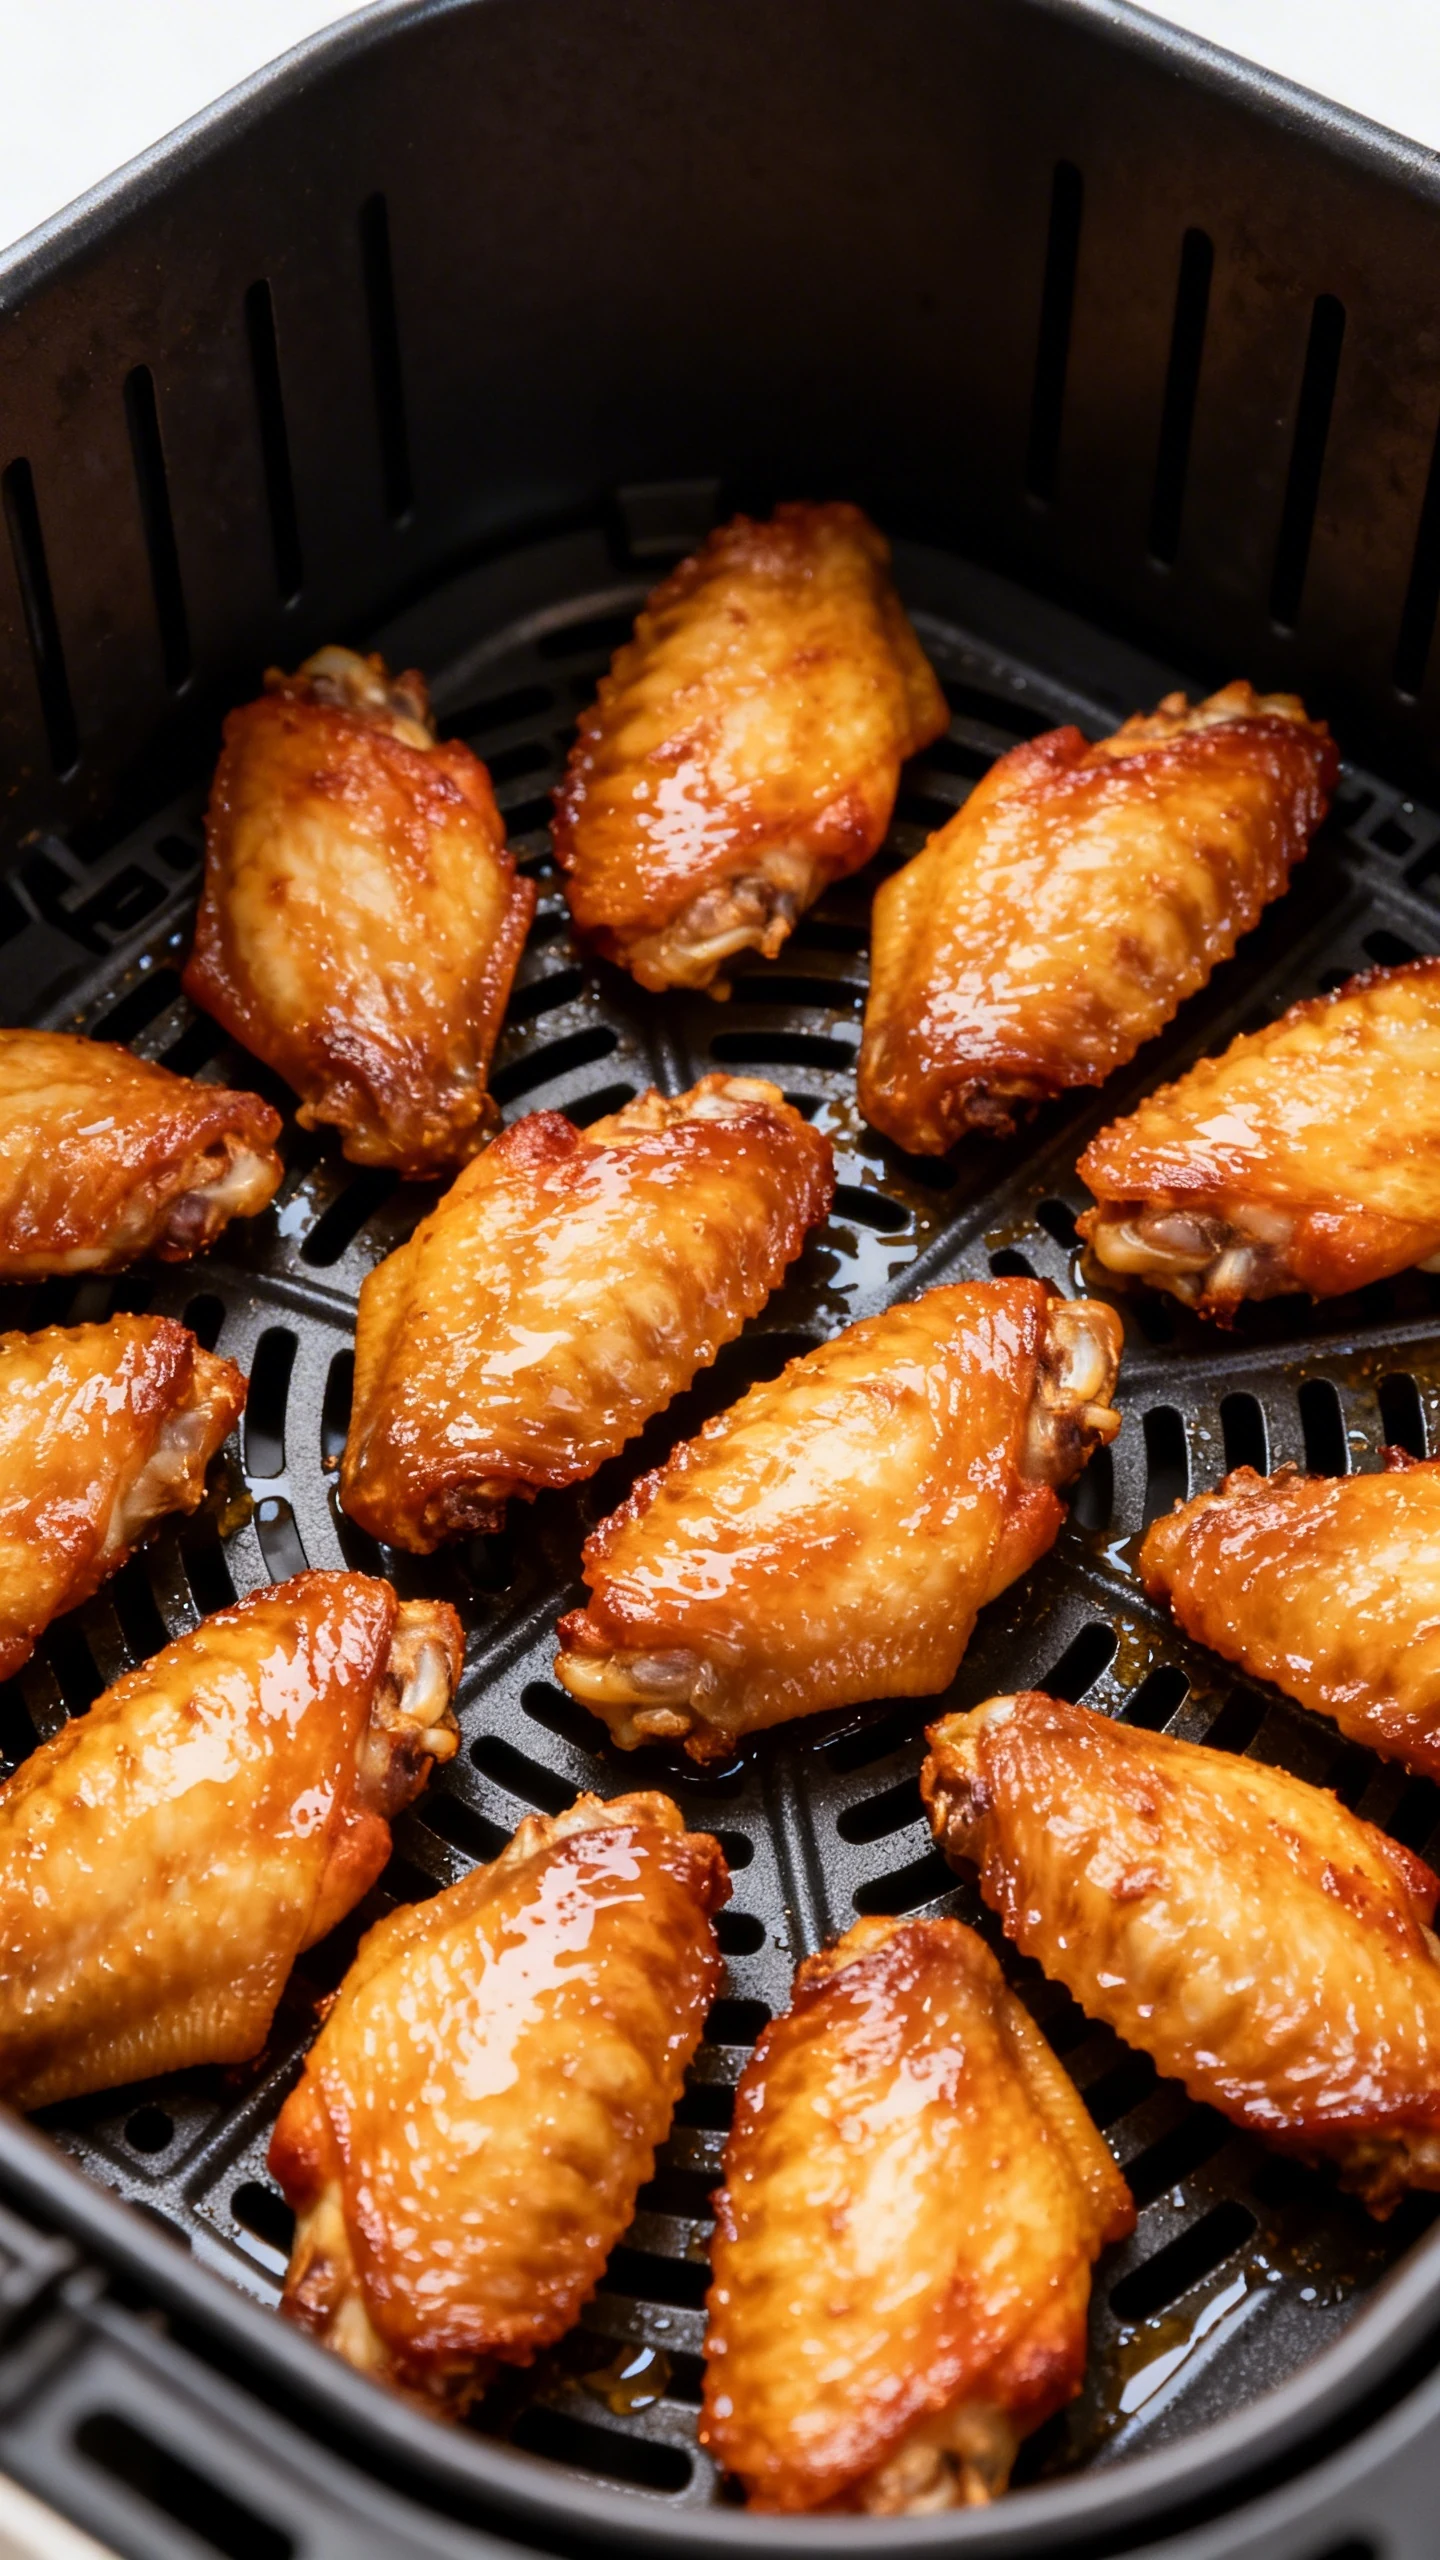
Arrange with breathing room. Place wings in a single layer in the basket, skin side up when possible. Leave space between them. If you crowd the basket, you’ll get “moist wings with ambition.” Cook in batches if needed.
-
Stage one: render. Air fry at 360°F for 12 minutes. This phase melts fat under the skin so the finish can actually crisp instead of fighting grease.
-
Flip and crank the heat. Flip wings, then increase temperature to 400°F (205°C). Cook 8–12 minutes more, flipping once halfway through, until the skin looks deeply golden and feels crisp to the touch.
-
Check doneness the smart way. Wings should hit 175–190°F in the thickest part for the best texture. Yes, 165°F is safe, but higher temps make wings more tender and less “stringy.”
-
Sauce, but don’t sabotage. If you want maximum crunch, serve sauce on the side for dipping. If you want saucy wings, toss them lightly right before serving. Letting them sit in sauce is how crispiness quietly leaves the room.
-
Rest for 2–3 minutes. A short rest helps the skin set. Then eat immediately, because self-control is a myth and wings are a sprint, not a marathon.
Storage Tips

Store leftover wings in an airtight container in the fridge for up to 4 days. Keep them as dry as possible: don’t store them tossed in sauce if you plan to re-crisp later. If you already sauced them, accept that they’ll reheat more like “delicious” than “crackly.”
For reheating, use the air fryer at 380°F for 5–7 minutes, flipping once. If they’re thick or very cold, add 1–2 minutes. Avoid the microwave unless you enjoy rubbery skin and regret. FYI, a quick spritz of oil can help revive crisp edges.
You can freeze cooked wings too. Freeze on a tray until solid, then transfer to a bag for up to 2 months. Reheat from frozen at 360°F for 8–10 minutes, then 400°F for 3–5 minutes to crisp.
What’s Great About This
- Real crunch without deep frying thanks to dry skin and high-heat finishing.
- Fast turnaround with weeknight-friendly timing and no messy oil.
- Consistent results from a two-stage cook that renders fat first.
- Easy flavor swaps because the method stays stable.
- Great for parties since you can batch-cook and keep them hot.
Pitfalls to Watch Out For
- Skipping the drying step. Wet wings steam, and steamed skin doesn’t crisp. It just gets… optimistic.
- Crowding the basket. Air needs space to circulate. If wings touch, they trap moisture and you lose crunch.
- Using too much baking powder. A little helps; a lot tastes metallic and can look dusty.
- Not flipping. One side will crisp beautifully while the other side sulks.
- Saucing too early. Sauce is basically a crispness eraser if it sits too long.
Different Ways to Make This
Once you nail the base method, you can change the vibe without changing the success rate. Keep the crisping blend (especially the baking powder), then layer flavors afterward. That way you get both crunch and personality, not one or the other.
- Classic Buffalo: Toss hot wings with melted butter and hot sauce, then finish with a pinch of salt.
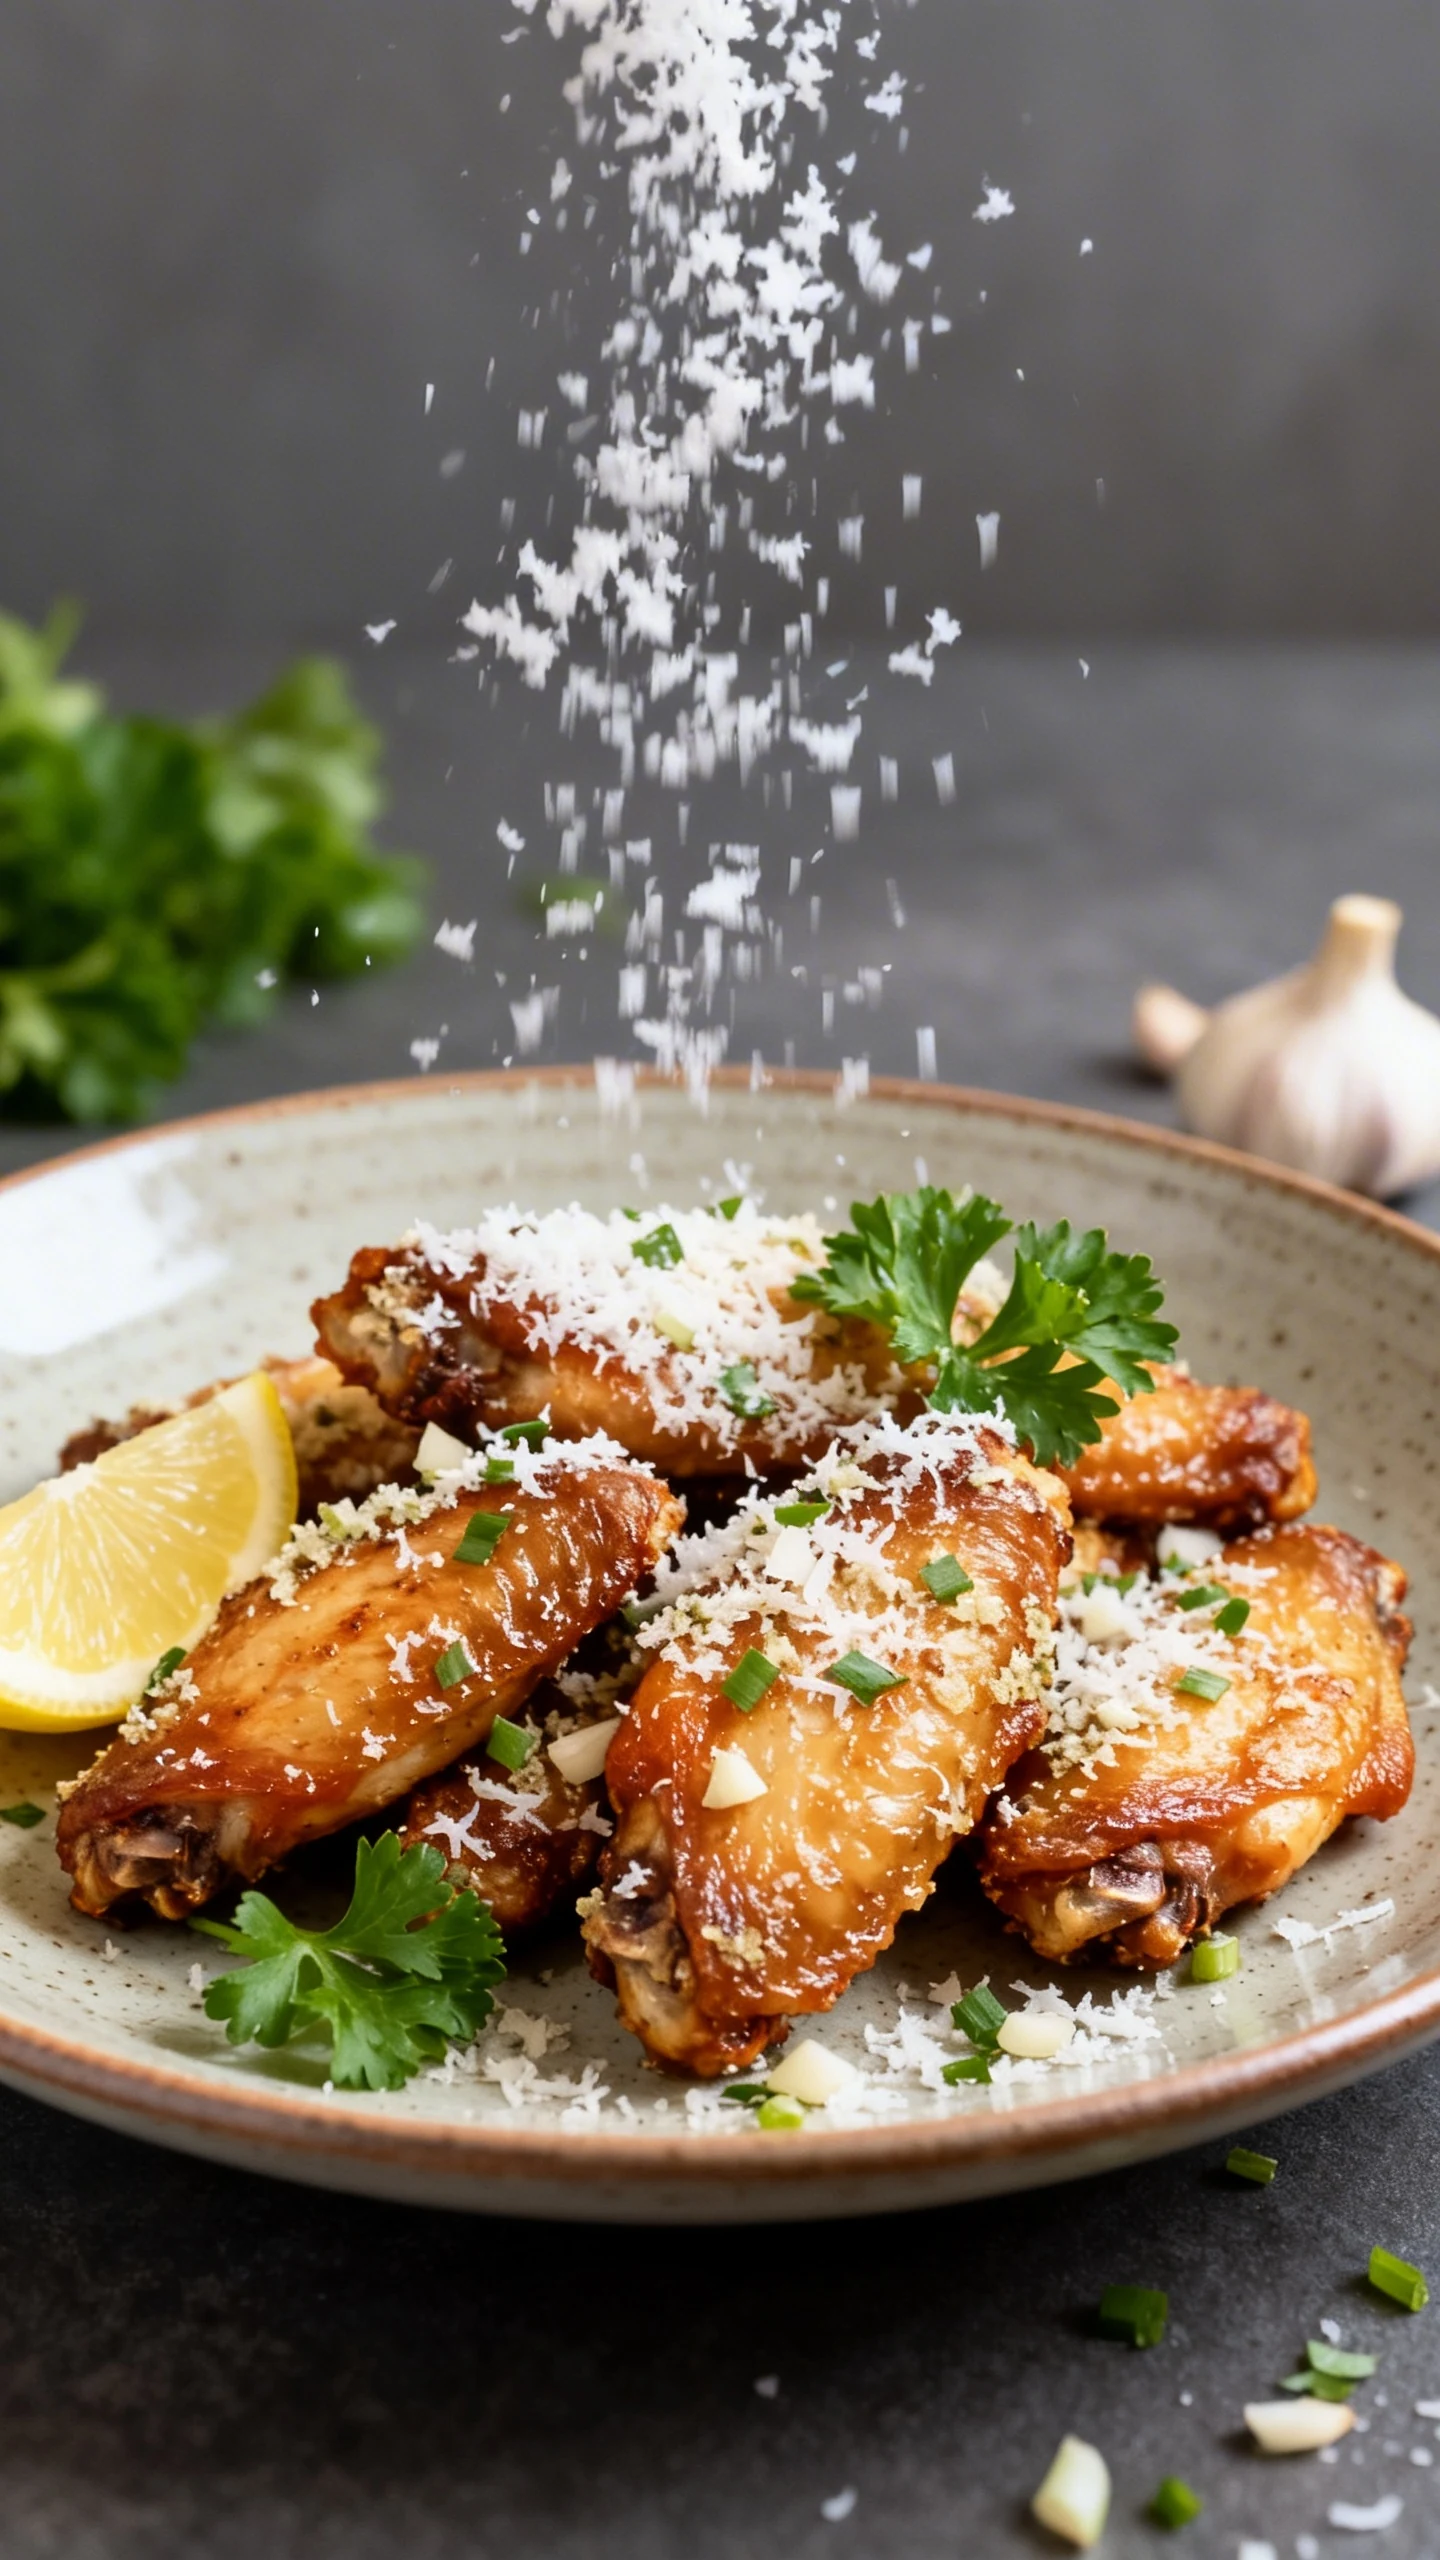
- Garlic Parmesan: Toss with melted butter, minced garlic (or garlic powder), grated Parmesan, and parsley.
- Lemon Pepper: Season with lemon pepper after cooking, plus a squeeze of lemon right before serving.
- Korean-Inspired: Toss with gochujang-based sauce and sprinkle with sesame seeds and sliced scallions.
- Dry Rub BBQ: Use a brown-sugar-free BBQ rub for better crisp, then serve BBQ sauce on the side.
If you want extra drama, finish the wings for 1–2 minutes with a tiny drizzle of honey (or hot honey) and a pinch of chili flakes. Sweet heat plus crunch feels unfair in the best way.
FAQ
Do I need baking powder for crispy wings?
You don’t strictly need it, but it makes the results more consistent. Baking powder raises the pH of the skin and helps it brown and blister. Use a measured amount and mix it well with spices so it doesn’t clump.
Why not use baking soda instead?
Baking soda is much stronger and can taste soapy or metallic if you overshoot by even a little. Baking powder gives you a wider margin for error and a cleaner flavor for wings.
Should I thaw wings before air frying?
Yes, for best texture. Thawed wings dry better and crisp more evenly. You can cook from frozen, but expect longer cook time and slightly less crackle.
How do I make them extra crispy?
Dry the wings thoroughly, don’t crowd the basket, and finish at 400°F. The optional cornstarch adds a little more crunch, and serving sauce on the side keeps the skin loud longer.
What internal temperature should chicken wings be?
They’re safe at 165°F, but wings taste better around 175–190°F because the connective tissue breaks down more. You get juicier meat and better bite instead of that tight, underdone feel.
Can I use whole wings with the tips on?
You can, but they cook unevenly and take up more space. Splitting into flats and drumettes helps everything crisp at the same rate, and you can fit more in the basket.
How do I keep wings warm for a party?
Hold them on a rack in a 200°F oven so air can circulate underneath. If they start to soften, give them a quick 2–3 minute blast at 400°F in the air fryer right before serving.
The Bottom Line
If you want wings that crunch like they mean it, you need a method that respects physics: dry skin, hot air, and space to circulate. This recipe gives you that, plus a simple seasoning blend that works with any sauce you love. Make a batch once and you’ll stop treating deep frying like the only path to greatness. Your air fryer just became the MVP of game night.