Dump Cake Recipes That Win Every Potluck Fast
Go from pantry to crowd pleasing dessert in under an hour, with buttery topping and minimal dishes to wash.
You know that moment when guests are “five minutes away” and your kitchen looks like a crime scene? This is the dessert cheat code for that. You dump, you layer, you bake, you act like you planned it all week. No mixer, no frosting drama, no precise folding like you’re auditioning for a baking show. If you can open a can and melt butter, you’re dangerously qualified.
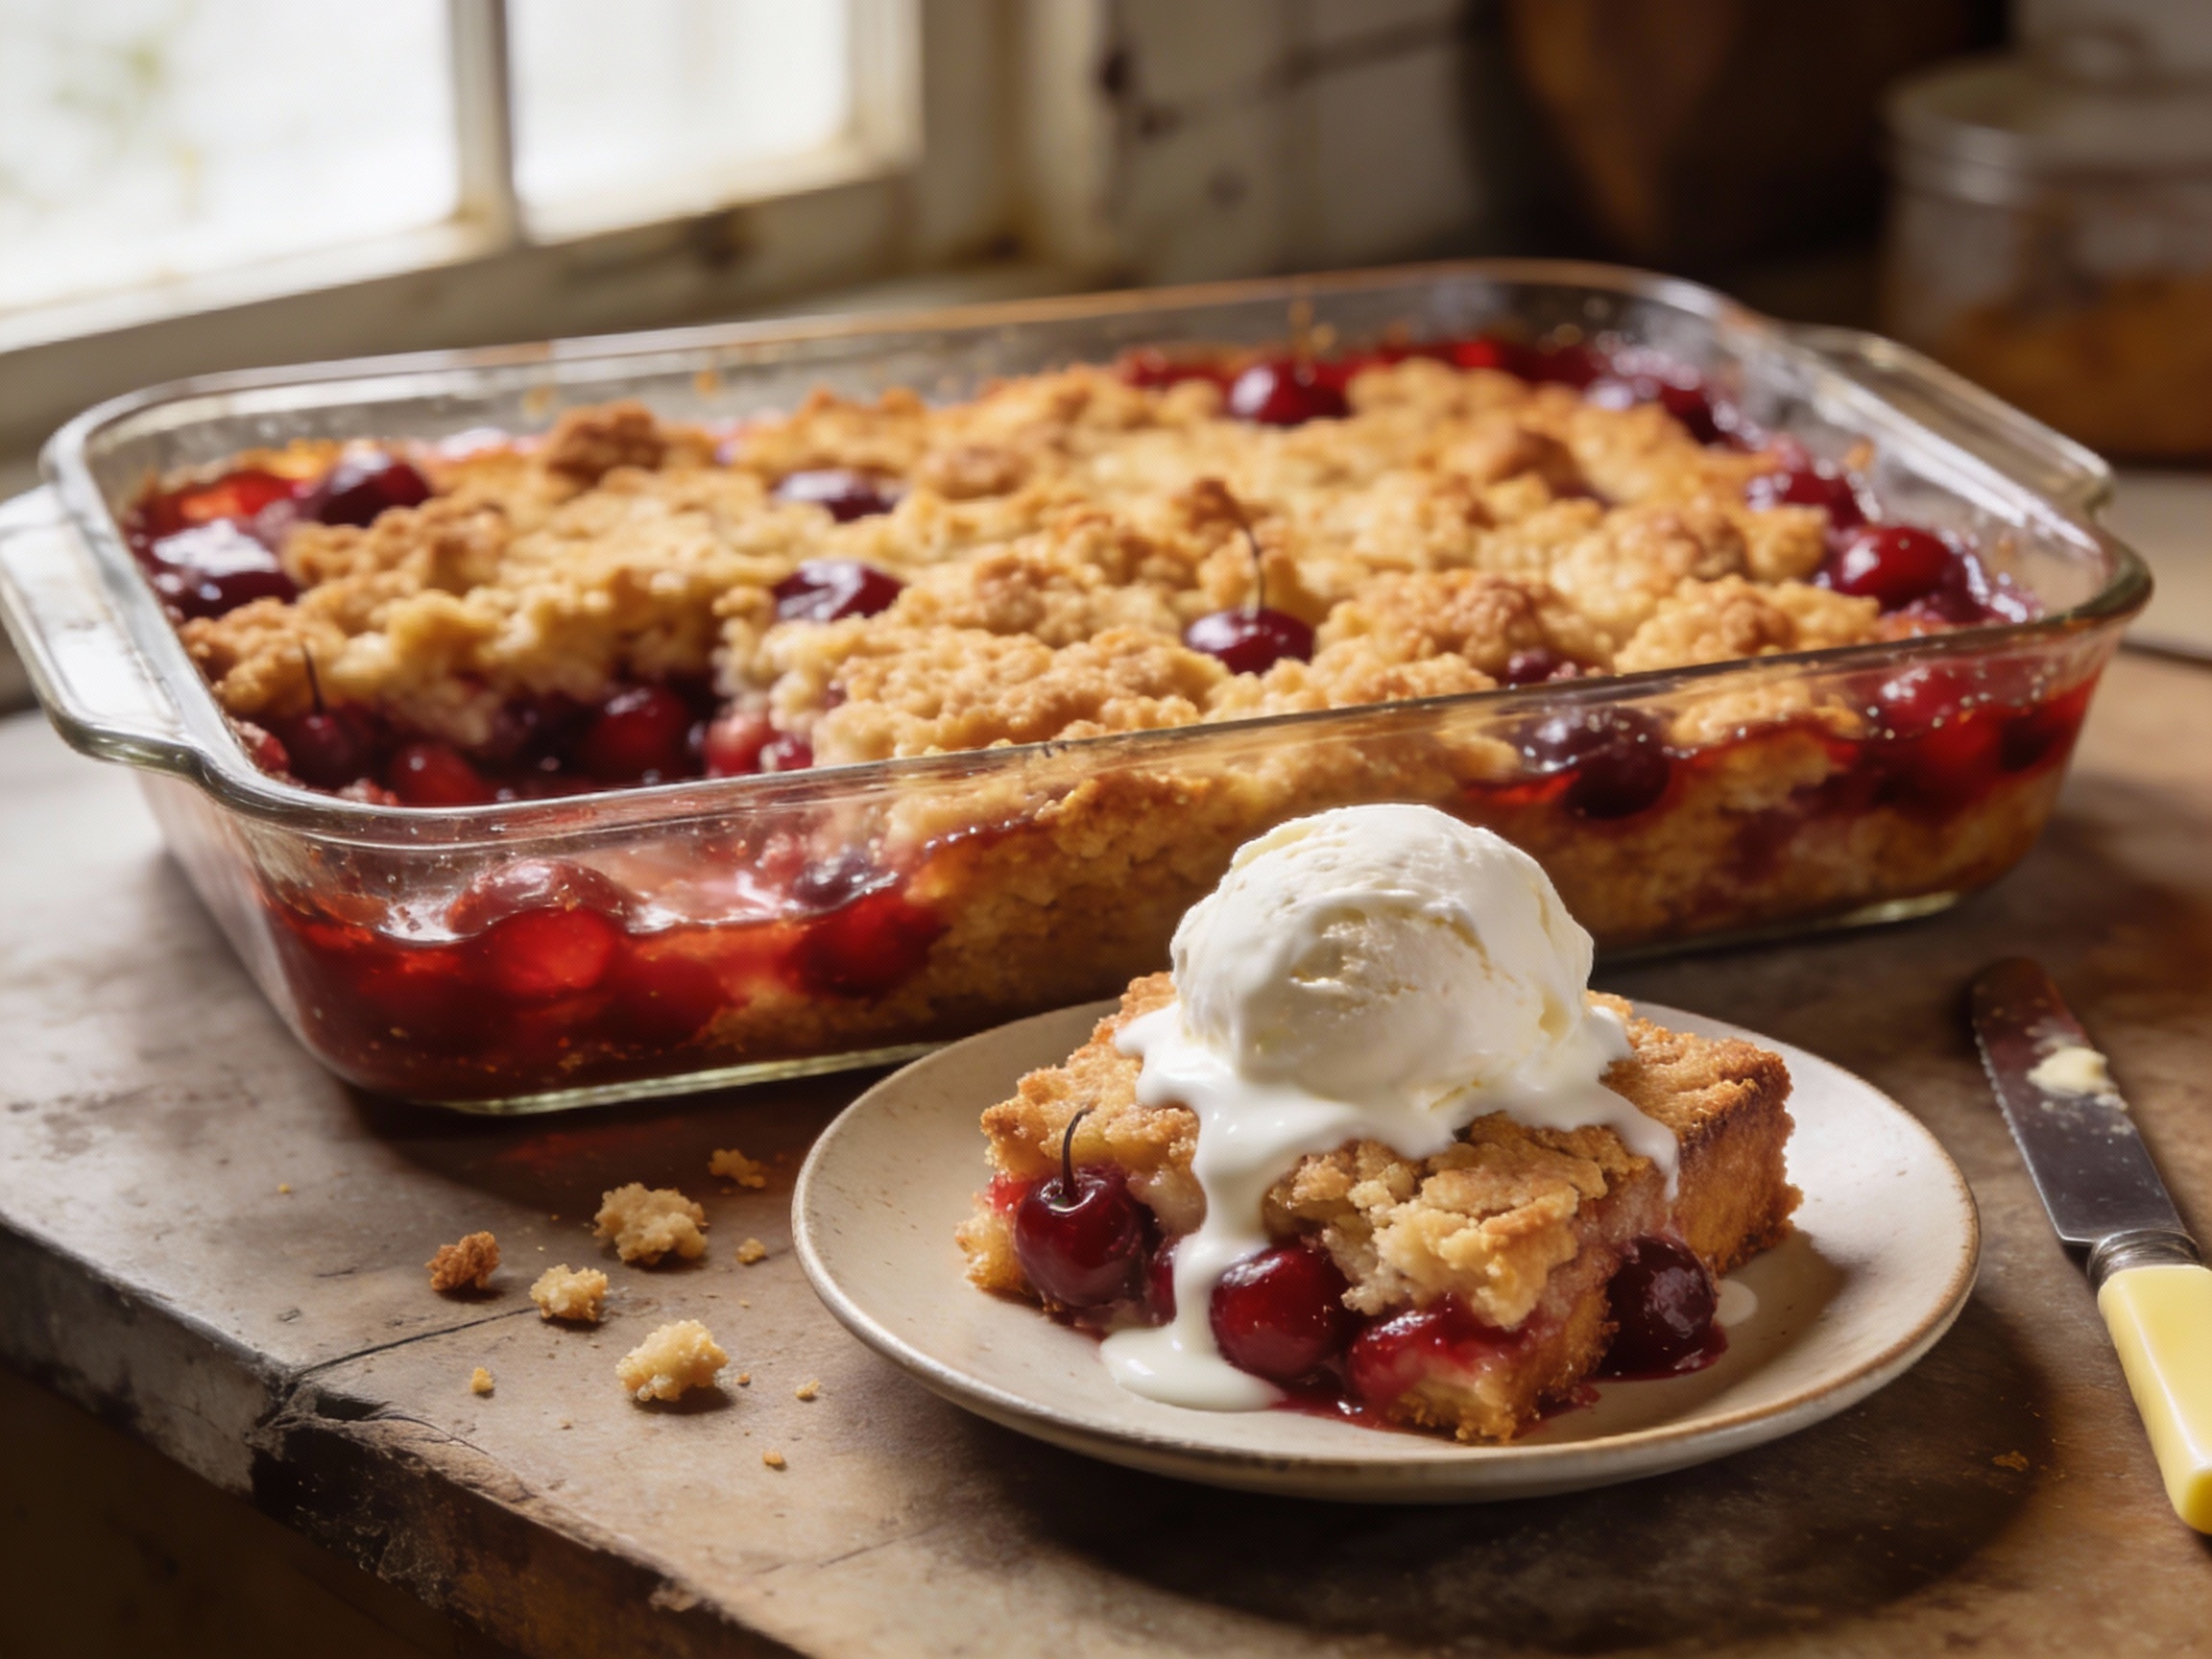
Dump cake is the closest thing dessert has to a shortcut with receipts. It tastes like cobbler met cake at a backyard party and decided to be friends forever. The top turns golden and crisp, the fruit bubbles underneath, and everyone asks for the recipe because they assume it’s complicated. Spoiler: it’s not.
What Makes This Special
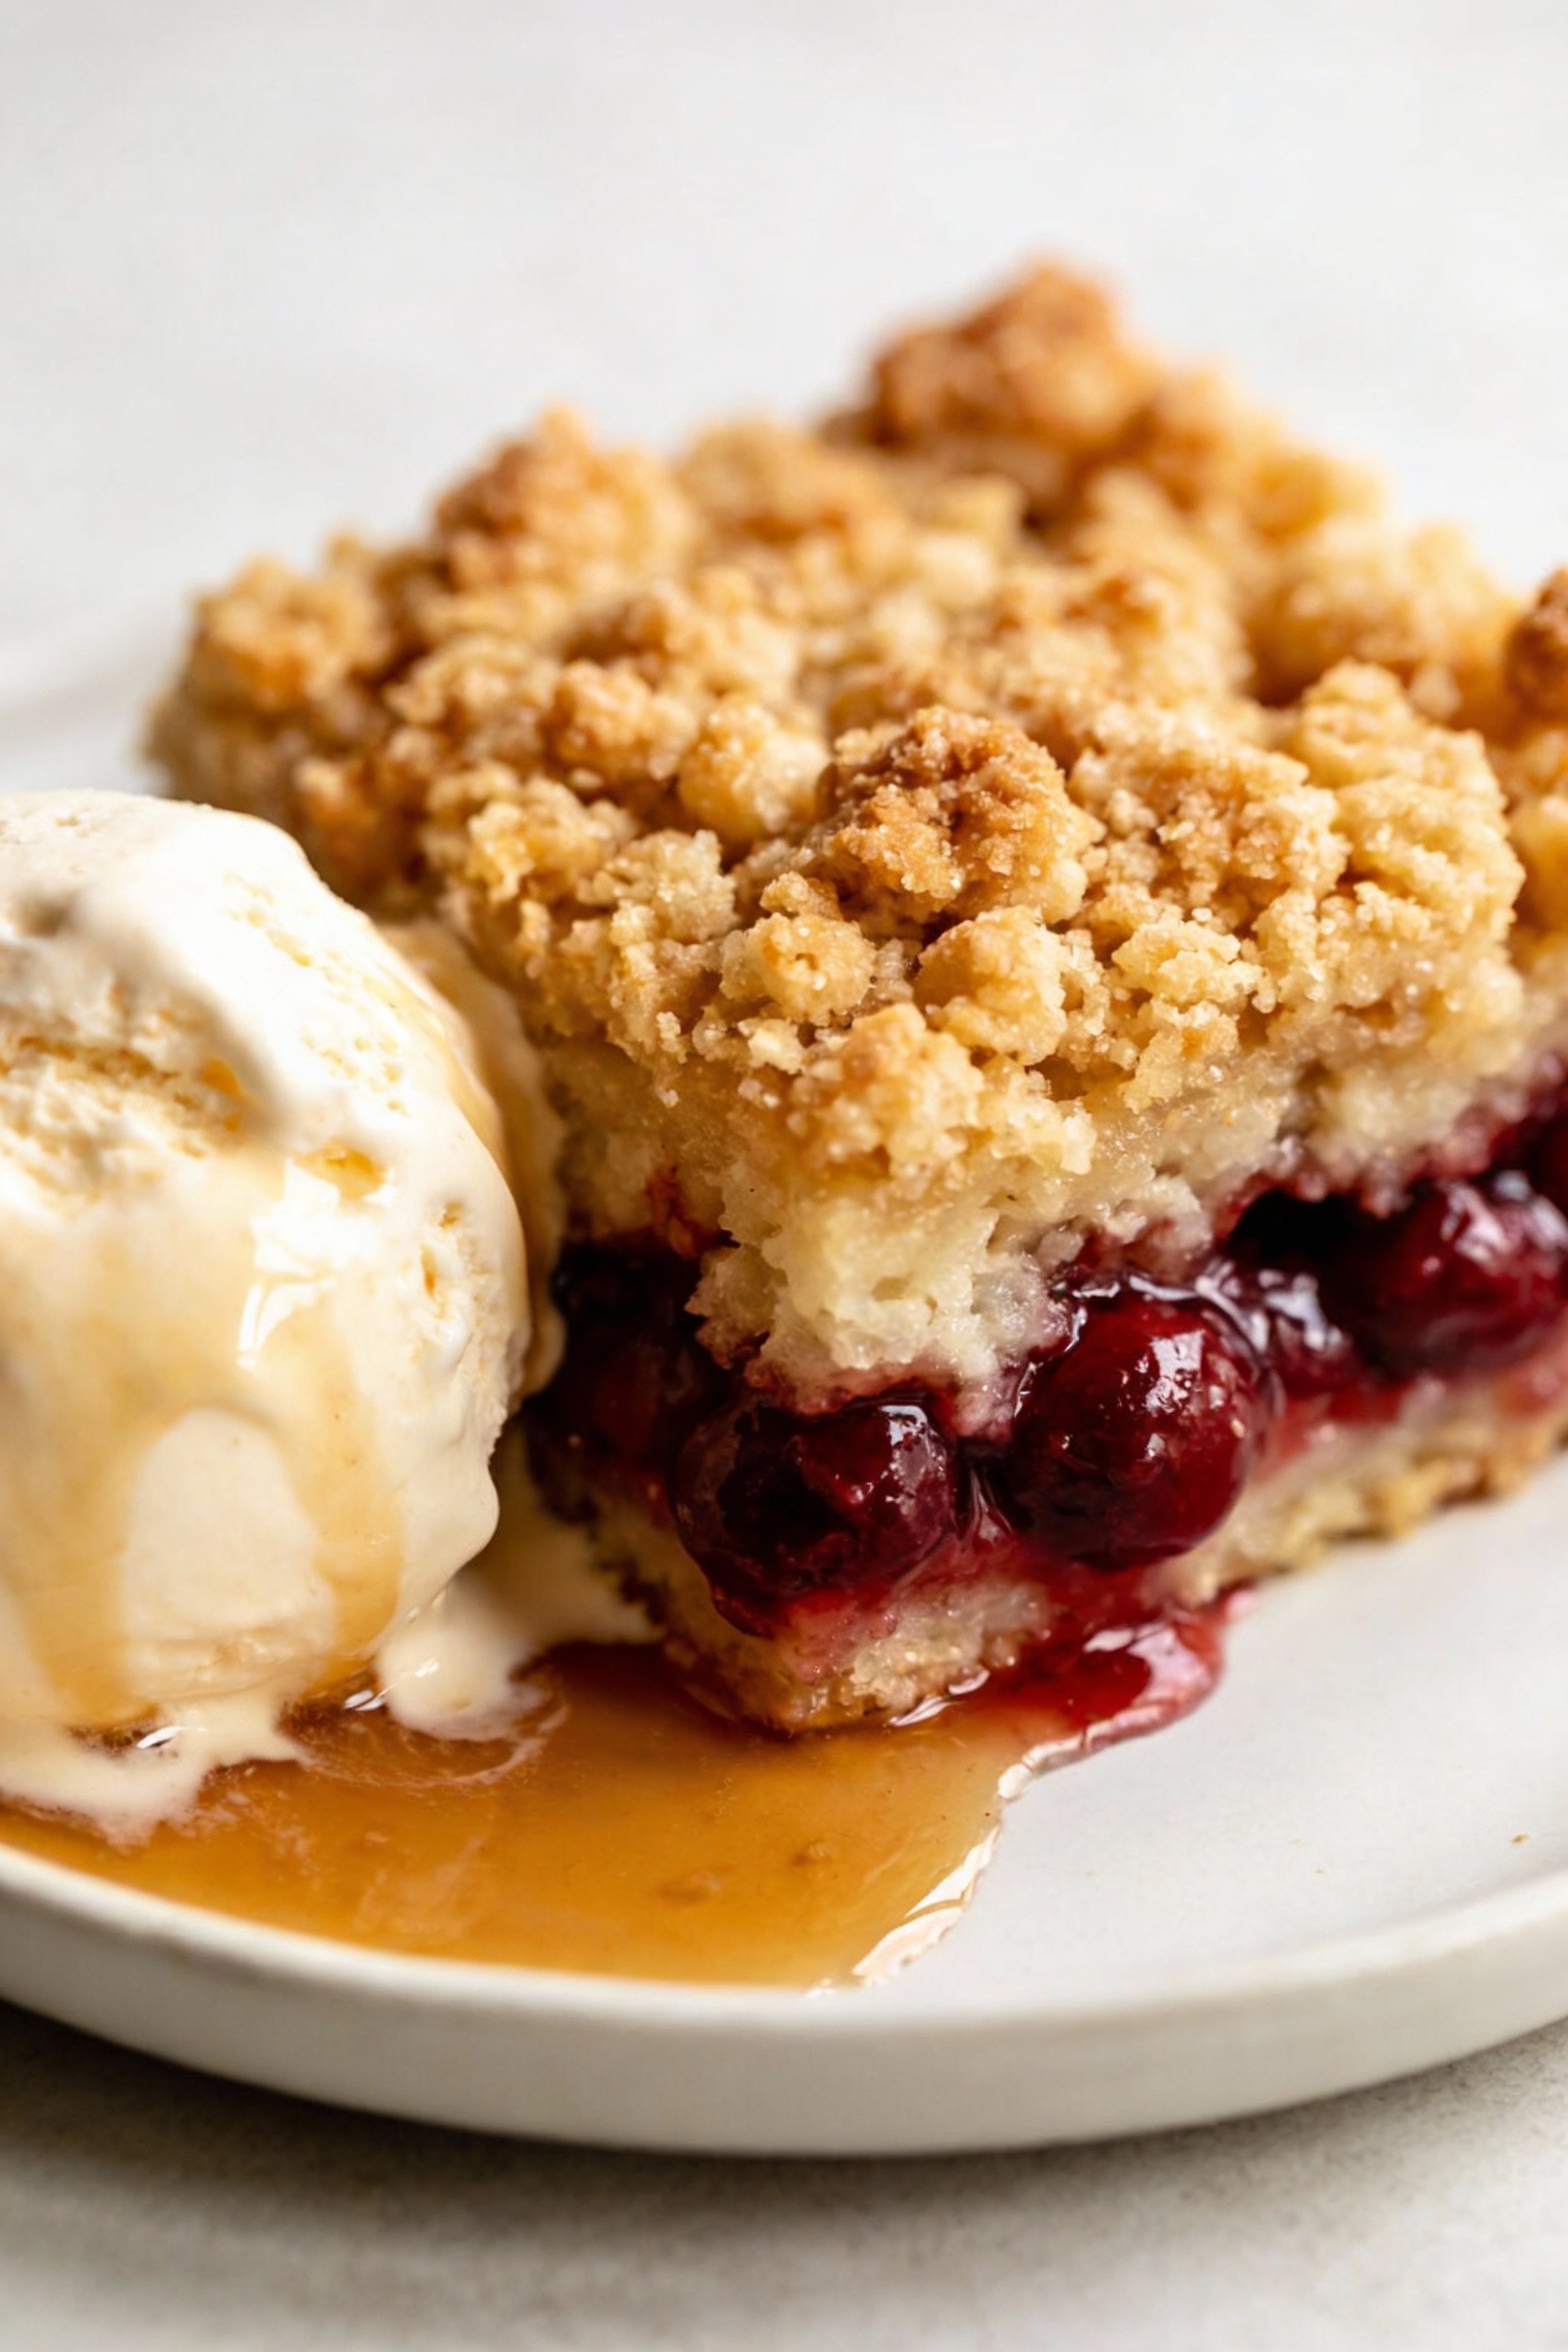
It’s intentionally low effort in the best way. The method skips mixing batter, so you get a layered texture: gooey fruit base, tender middle, and a buttery, crunchy top. That contrast is why people go back for “just a small piece” three times.
It’s flexible and forgiving. Use canned fruit, pie filling, frozen berries, or whatever you panic-bought last weekend. Forgot one ingredient? There’s usually a workaround, and the oven still does the heavy lifting.
It scales for real life. Need a weeknight dessert? Use an 8×8. Feeding a crowd? Go 9×13 and double down. FYI: it also travels well, which means it’s basically made for potlucks.
Ingredients
Below are the core ingredients for the classic 9×13 version, plus optional add-ins that level it up without adding stress.
- Fruit base: 2 cans (21 oz each) fruit pie filling (cherry, apple, peach, or blueberry)
- Optional fruit booster: 1 can (15 oz) crushed pineapple, drained slightly (great with cherry or peach)
- Cake mix: 1 box (15.25 oz) yellow cake mix (or white, butter, spice, chocolate depending on flavor)
- Butter: 3/4 to 1 cup unsalted butter, melted (more butter equals more crisp topping)
- Optional crunch: 1/2 to 1 cup chopped pecans or walnuts
- Optional spice: 1 to 2 teaspoons cinnamon (especially for apple or peach)
- Optional salt balance: 1/4 teaspoon fine salt (useful if your fruit filling is very sweet)
- Optional creamy layer: 4 oz cream cheese, cubed (scatter over fruit)
- Optional finishing touch: vanilla ice cream or whipped cream for serving
Cooking Instructions
This listicle format keeps you moving fast, because the goal is dessert, not a new lifestyle.
-
Heat the oven like you mean it. Preheat to 350°F. Grease a 9×13 baking dish with butter or nonstick spray so cleanup doesn’t ruin your day.
-
Dump the fruit. Pour both cans of pie filling into the dish and spread evenly. If using crushed pineapple or spices, add them now and gently spread to combine.
-
Add any “fancy” extras. Scatter cream cheese cubes and/or chopped nuts over the fruit. This is where you pretend you’re an artist.
-
Blanket it with dry cake mix. Sprinkle the cake mix evenly over everything. Do not mix it in. Yes, it feels wrong. No, you’re not smarter than the method.
-
Butter coverage is the whole game. Drizzle melted butter across the cake mix as evenly as possible. Aim to moisten most of the surface so you don’t get dry powder patches later.
-
Fix the dry spots now, not after baking. If you see large dry areas, drizzle a little more butter. If you’re out of butter, add a few tablespoons of milk over the driest zones (IMO it’s better than pretending it won’t matter).
-
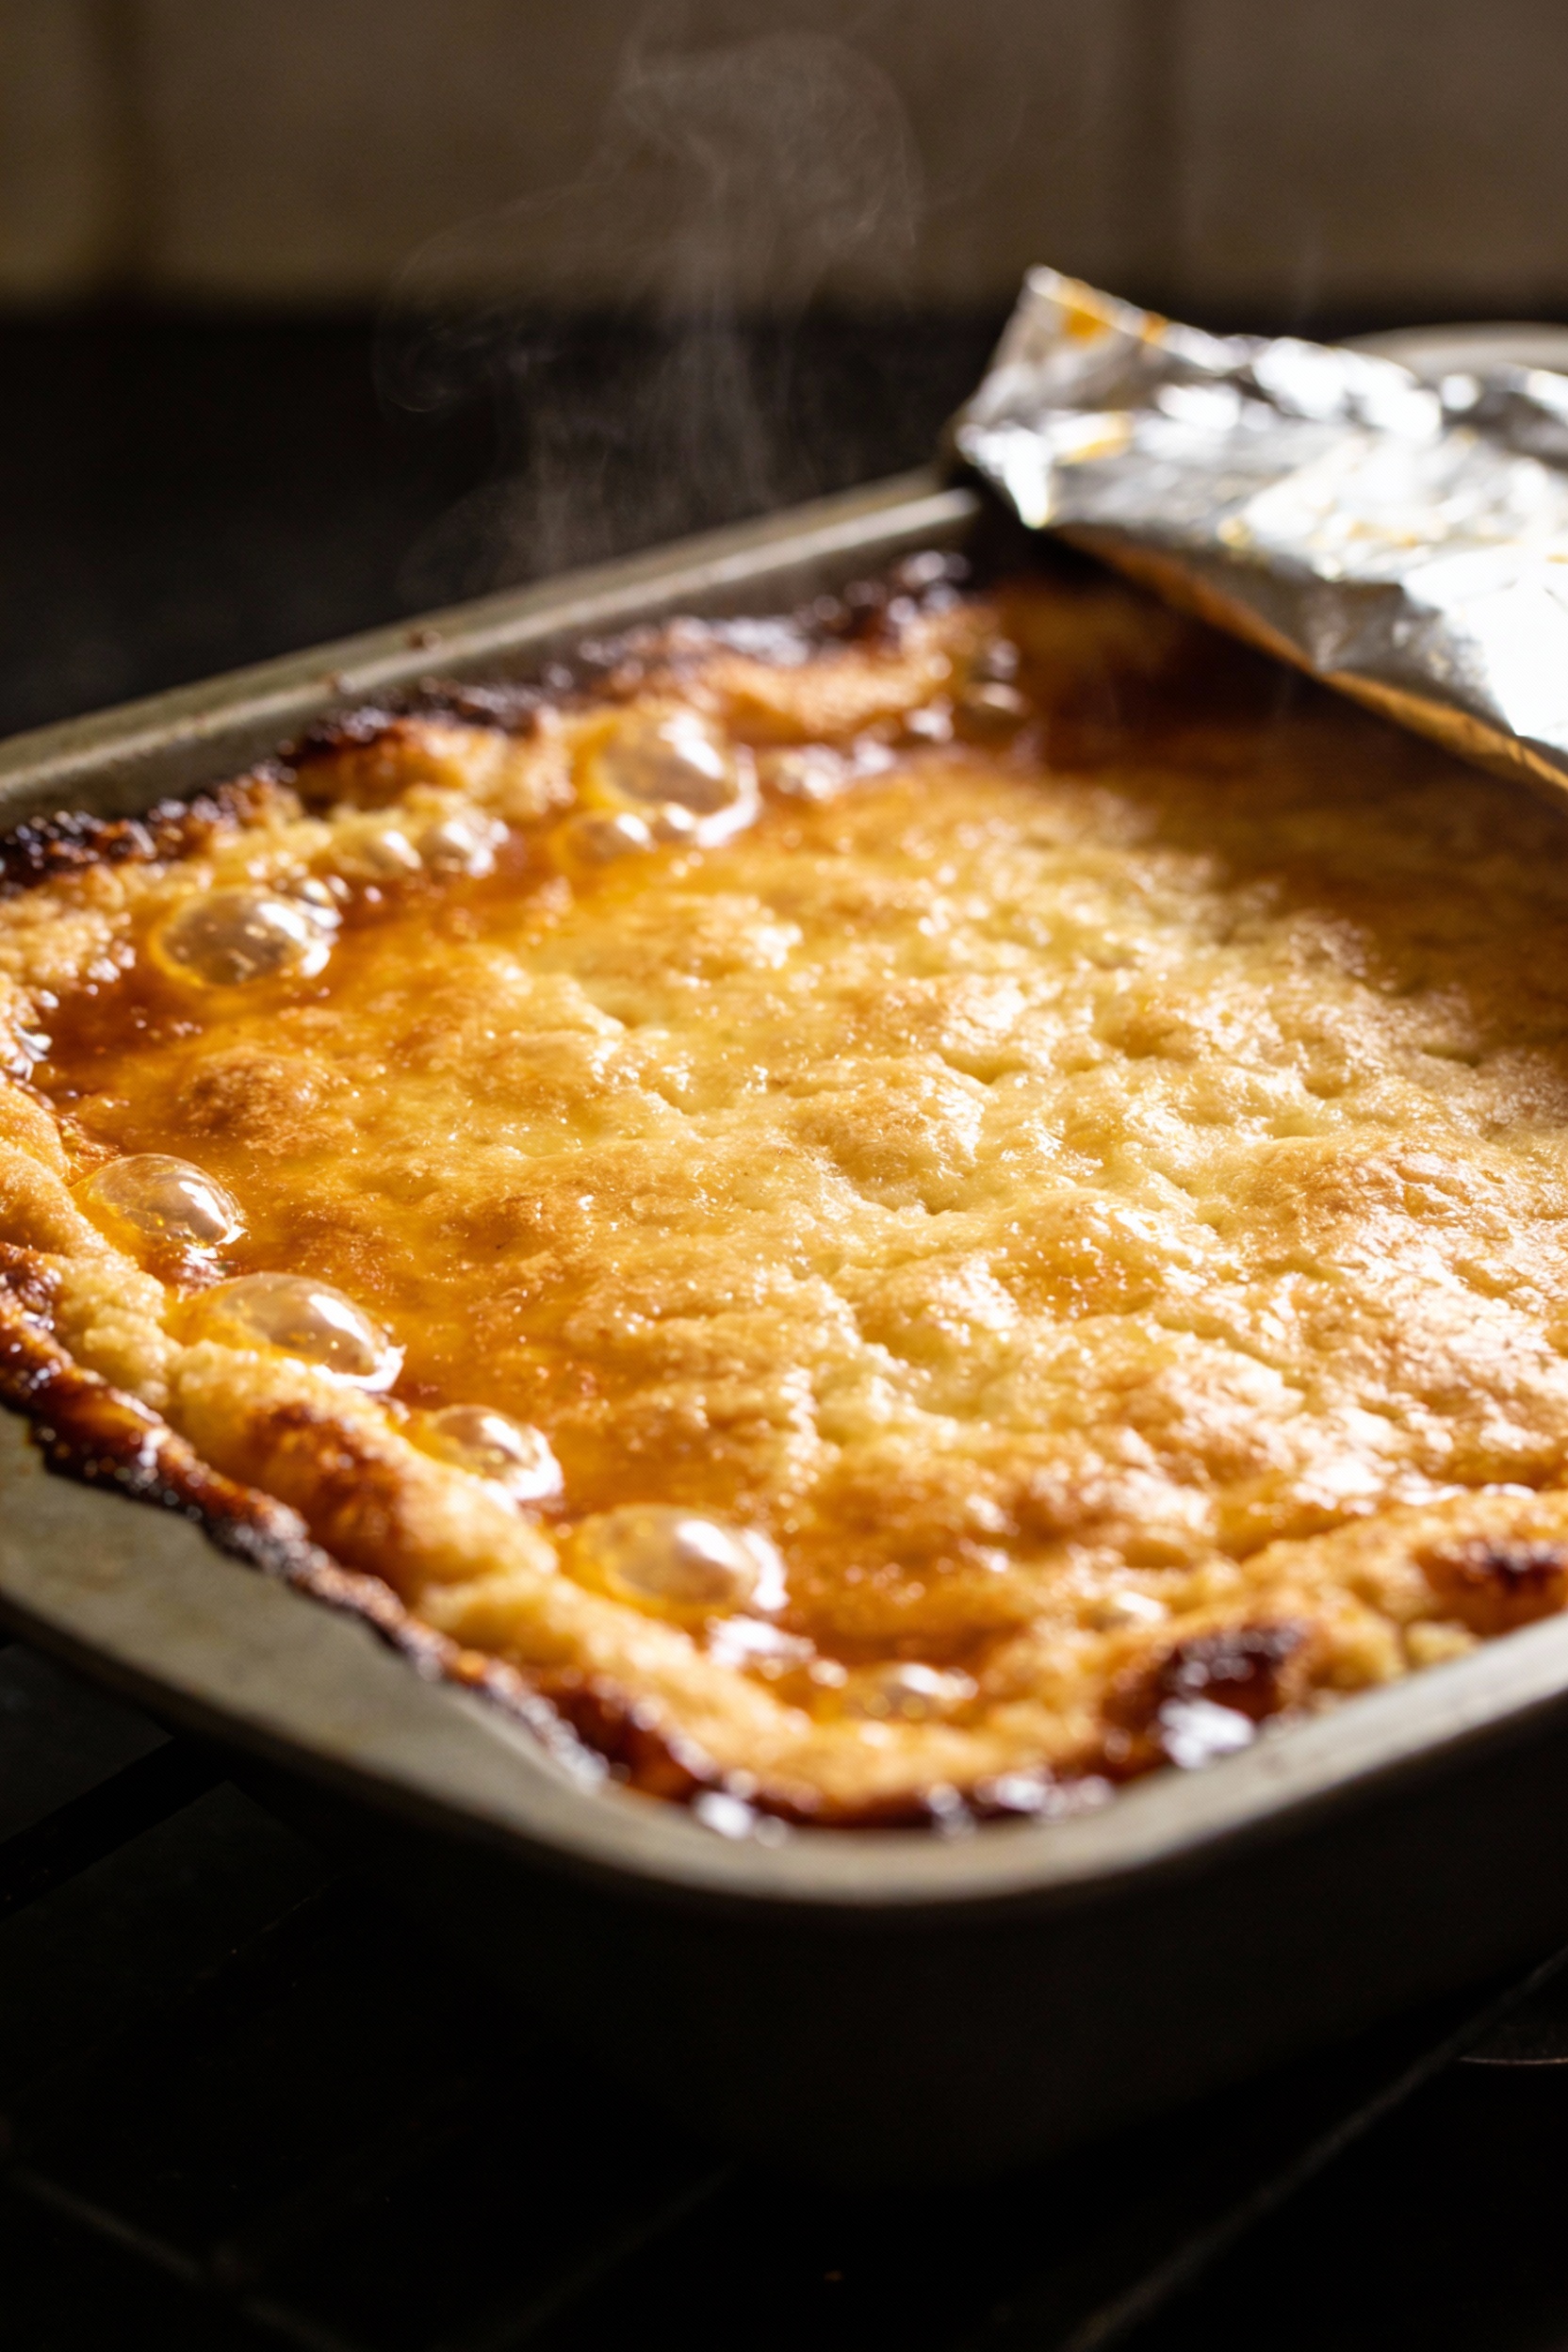
Bake until golden and bubbling. Bake 40 to 50 minutes, until the top looks deep golden and the fruit bubbles at the edges. If the top browns too fast, loosely cover with foil for the last 10 minutes.
-
Rest before serving. Let it cool 15 to 20 minutes so the filling thickens. Serve warm with ice cream if you want instant popularity.
How to Store
Let leftovers cool completely, then cover the dish tightly or transfer portions to airtight containers. Store in the refrigerator for up to 4 days. The topping softens over time, but the flavor stays strong.
To reheat, warm individual servings in the microwave for 20 to 40 seconds. For a crisper top, reheat in a 350°F oven for 10 to 15 minutes. If you freeze it, wrap portions well and freeze up to 2 months; thaw overnight in the fridge before reheating.
Nutritional Perks
Is it a health food? Absolutely not. But it’s not a useless dessert either, and you can make it a bit more balanced without ruining the fun.
- Fruit brings real nutrients like vitamin C and potassium, plus some fiber depending on the filling.
- Nuts add healthy fats and a little protein, and they make the texture more interesting.
- Portion friendly by design: It’s rich, so smaller squares still feel satisfying.
If you want a lighter approach, choose fruit packed in juice, use a little less butter, and add nuts for satiety. You’ll still get that buttery crunch, just slightly less “I regret nothing.”
Don’t Make These Errors
-
Mixing the layers. Dump cake works because the cake mix sits on top and bakes into a crust. Stirring turns it into a confused casserole.
-
Dry cake mix islands. Uneven butter leads to powdery patches. Drizzle slowly, cover the surface, and patch dry areas before baking.
-
Using too little fruit. The filling creates steam and sauciness. If you skimp, the top bakes up dry and the bottom looks sad.
-
Serving immediately. The filling needs a short rest to thicken. Cut too soon and it runs like it’s escaping.
-
Overbaking for “extra crisp.” You’ll burn the top before the center improves. Golden and bubbling is the target.
Variations You Can Try
Same method, different vibe. Pick one based on what’s in your pantry and what kind of compliments you want.
-
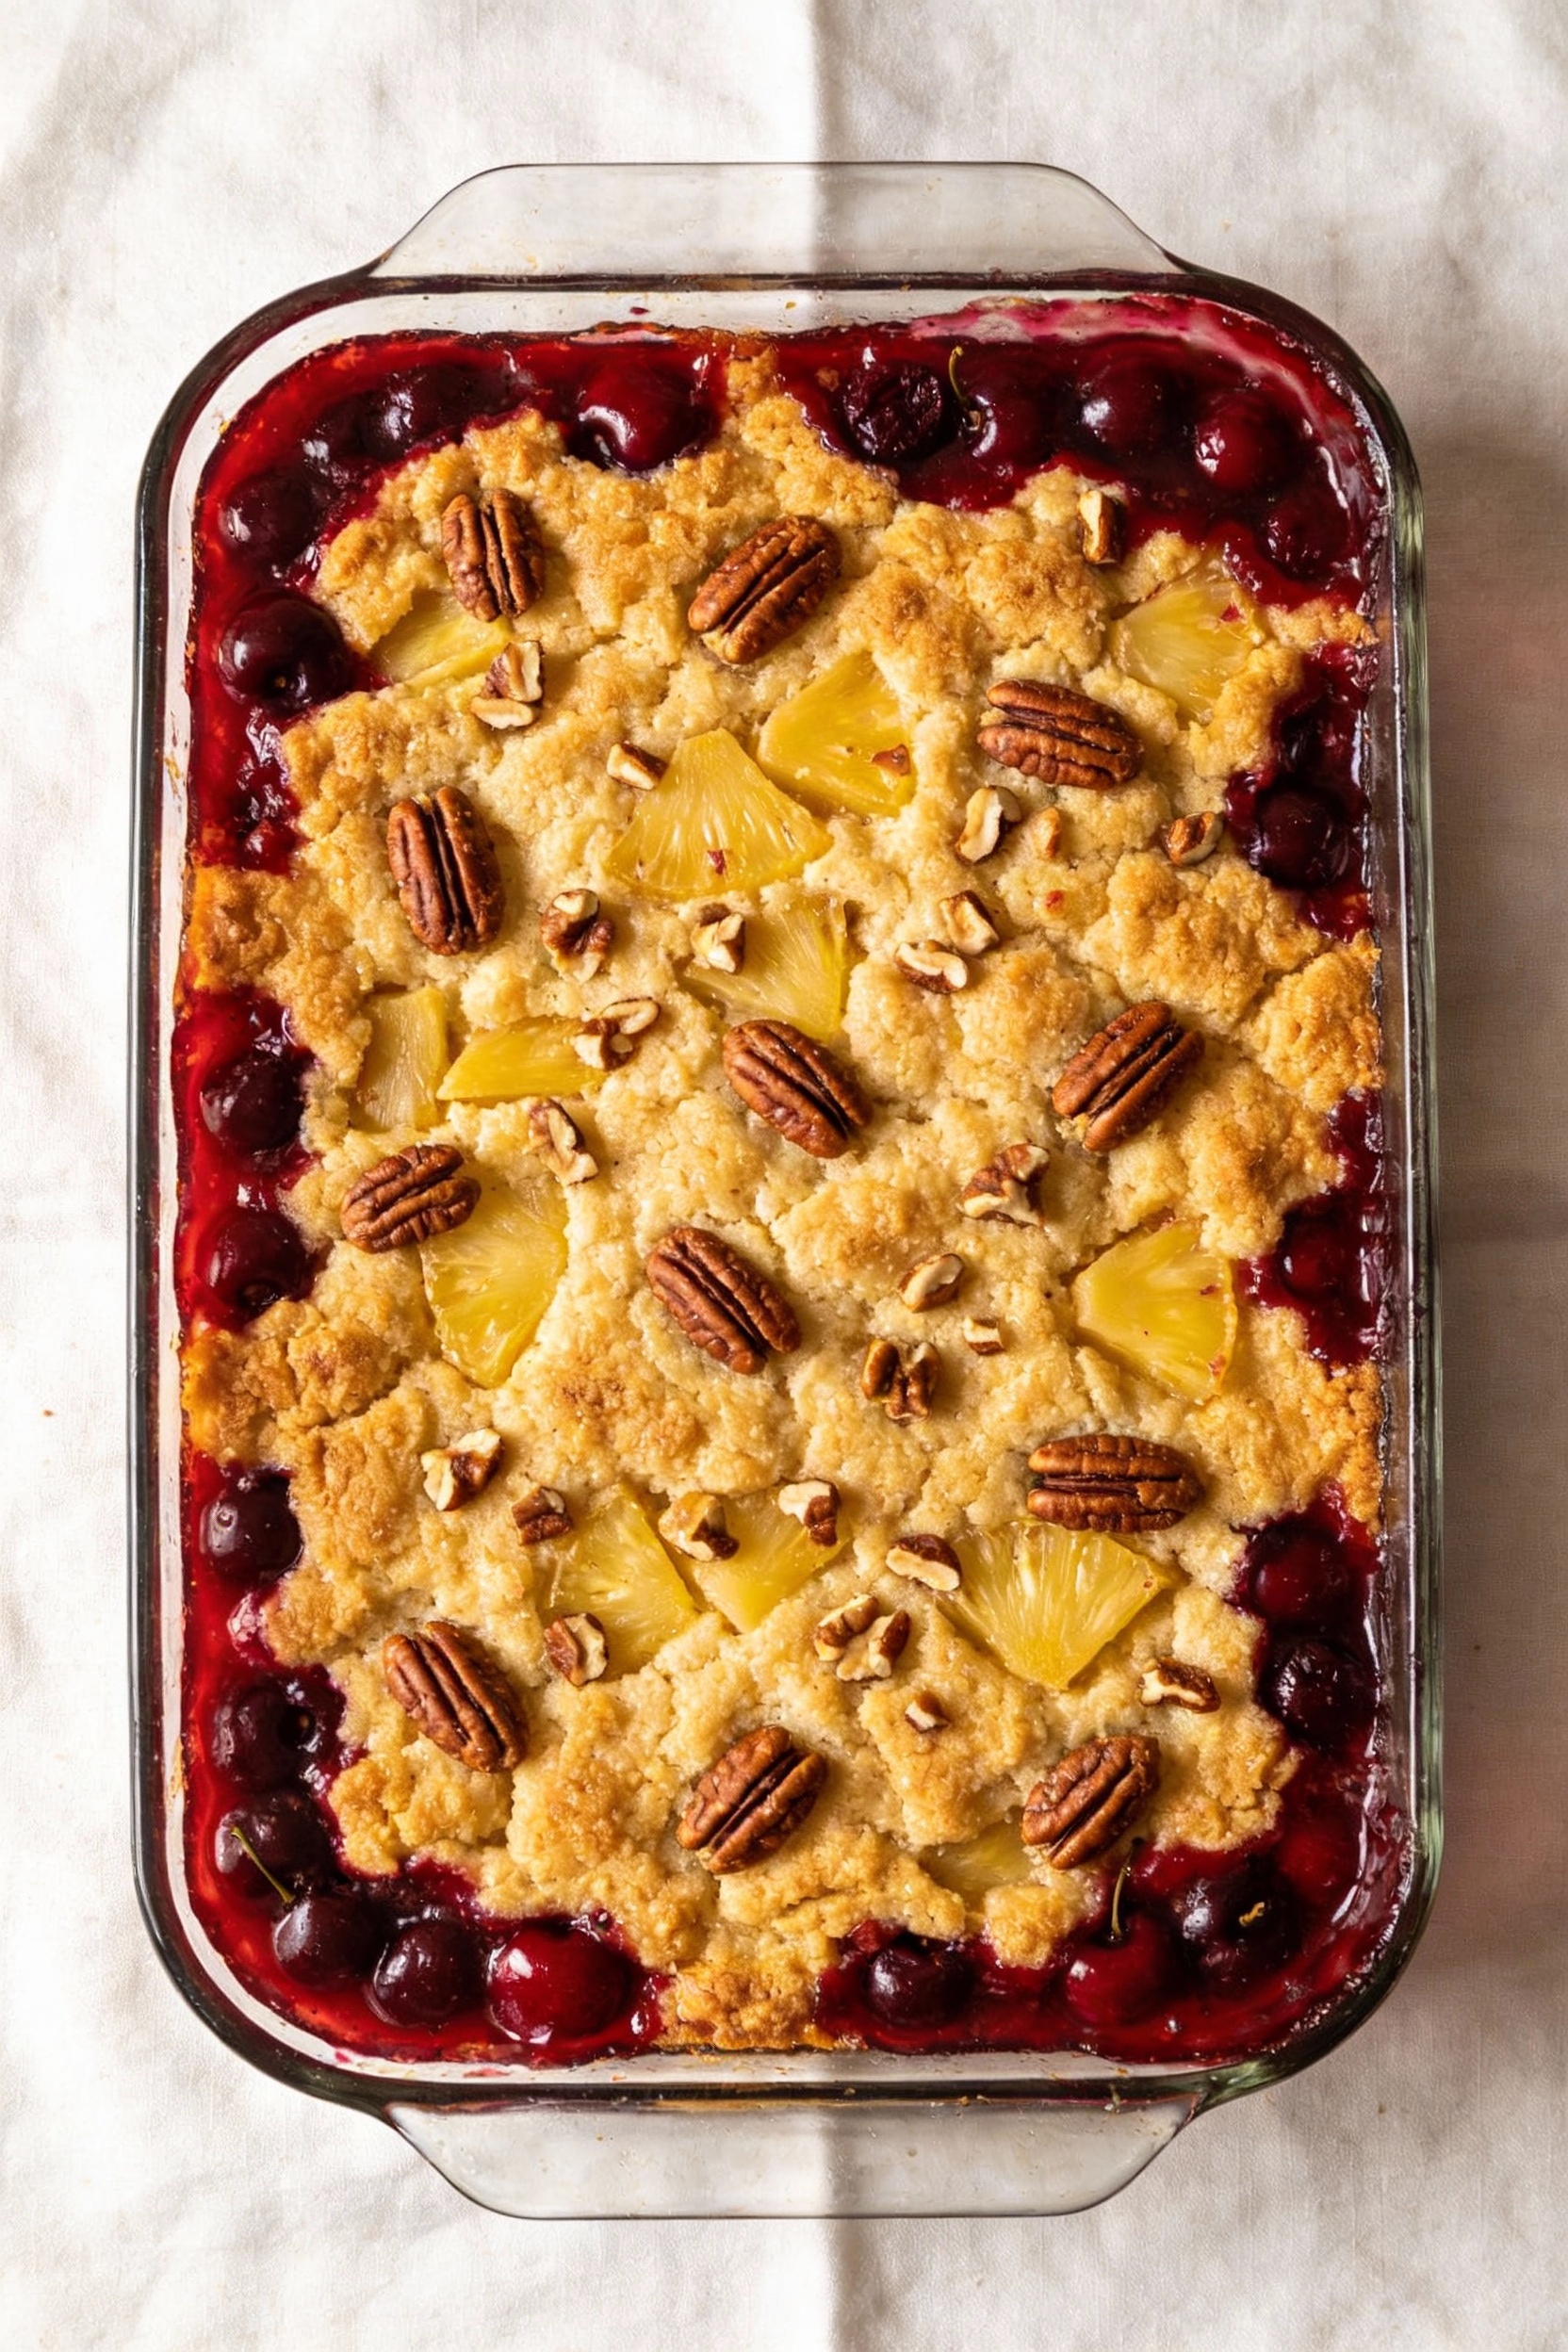
Cherry pineapple: Cherry pie filling plus crushed pineapple, topped with yellow cake mix and chopped pecans.
-
Apple spice: Apple pie filling, spice cake mix, extra cinnamon, and walnuts. Serve with vanilla ice cream.
-
Peach cobbler style: Peach pie filling or canned peaches (drained), white cake mix, butter, and a pinch of salt for balance.
-
Blueberry lemon: Blueberry filling, yellow or lemon cake mix, and a little lemon zest over the fruit before the cake mix.
-
Chocolate cherry: Cherry filling with chocolate cake mix. Add chocolate chips if you want maximum chaos.
-
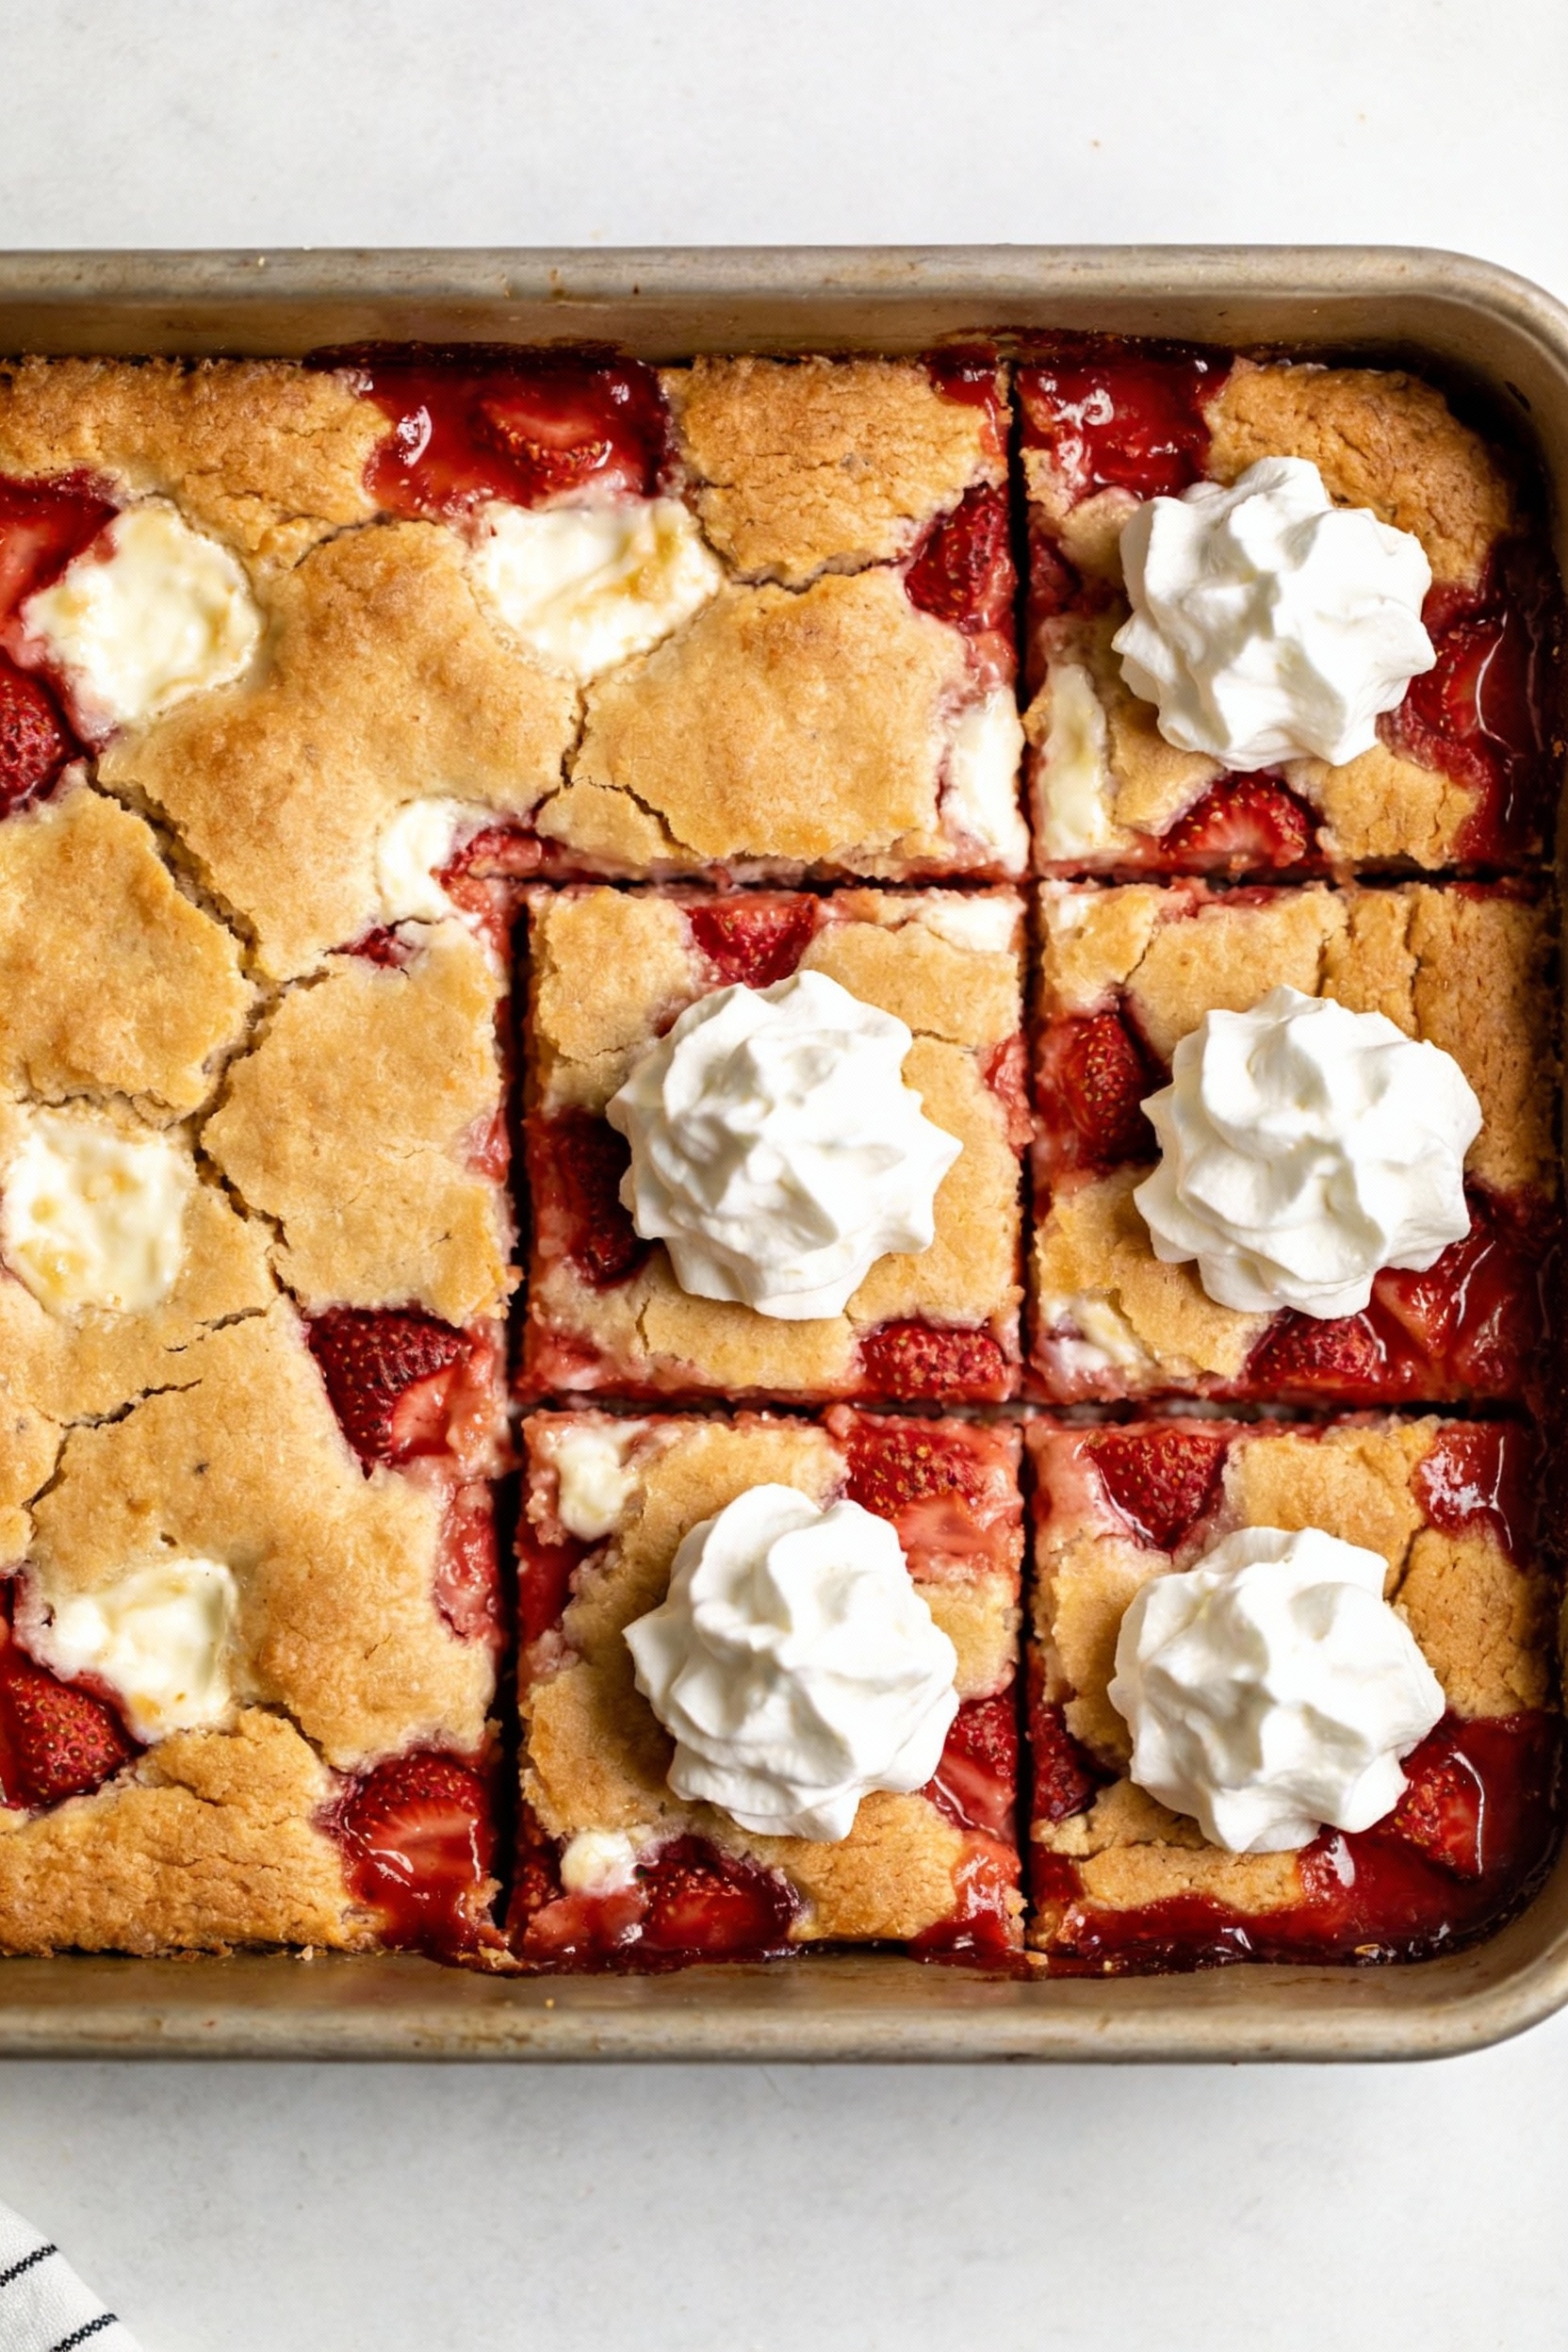
Strawberry cheesecake: Strawberry pie filling with cream cheese cubes scattered over the fruit, then white cake mix and butter.
-
Tropical mango: Mango pie filling or canned mango plus crushed pineapple, butter cake mix, and toasted coconut on top after baking.
FAQ
Why is it called a dump cake?
Because you literally dump the ingredients into the pan in layers. No mixing bowl, no batter prep, no pretending you enjoy washing whisks.
Do I have to use pie filling, or can I use canned fruit?
You can use canned fruit, but you’ll want extra sweetness and thickening. Add 1/3 to 1/2 cup sugar (to taste) and 1 to 2 tablespoons cornstarch, then toss the fruit before adding it to the pan.
What if I only have salted butter?
Use it. Just skip any added salt in the recipe. The sweet filling can handle a little salty contrast, and it often tastes better.
Can I use a sugar free cake mix?
Yes, and it bakes similarly. Keep an eye on browning since some mixes color faster. The fruit filling still carries most of the sweetness and moisture.
How do I avoid dry powder on top?
Spread the cake mix evenly, then drizzle butter slowly to cover the surface. If you still see dry patches, add a bit more melted butter or a small splash of milk to those spots before baking.
Can I make it in advance for a party?
Yes. Bake it earlier the same day, cool, and store covered in the fridge. Reheat in a 350°F oven for 15 to 20 minutes to bring back some crispness before serving.
What pan size works best?
A 9×13 pan gives the classic thickness and bakes evenly. For an 8×8 pan, cut the ingredients roughly in half and start checking around 30 to 35 minutes.
In Conclusion
Dump cake exists for people who want a legit dessert without signing a contract with their kitchen. It’s fast, flexible, and weirdly impressive for something you assemble in minutes. Keep a box of cake mix and a couple cans of fruit on standby, and you’ll always have a “how did you make this?” answer ready. Make it once, and you’ll start looking for excuses to “accidentally” bring dessert.